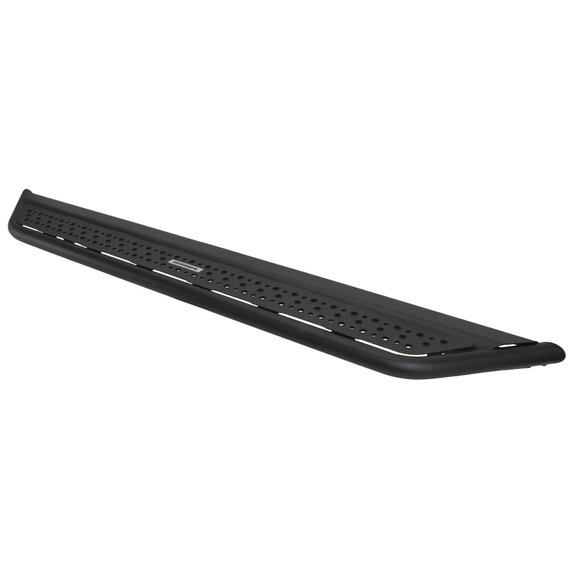
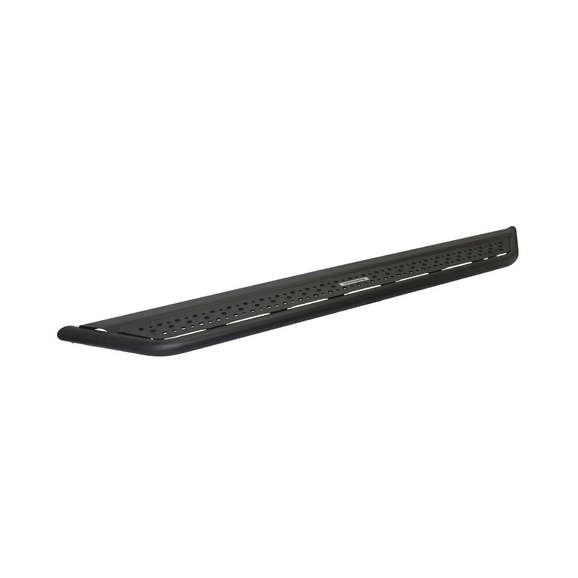
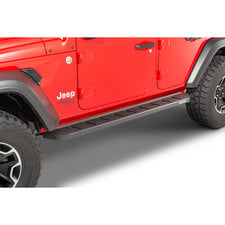
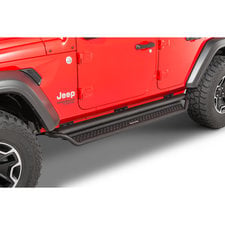
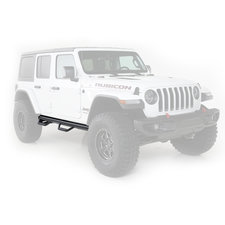
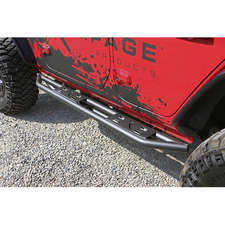
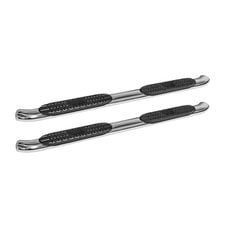
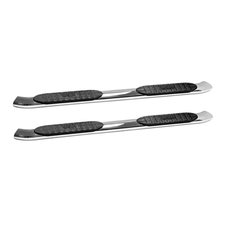
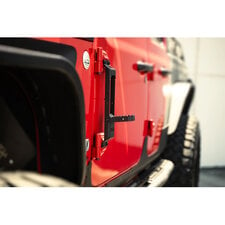
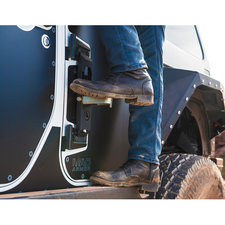
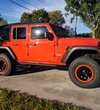
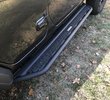
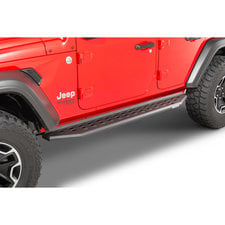
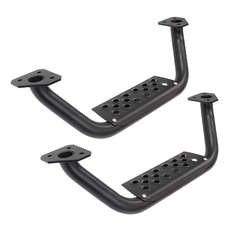
Multi-Purpose Design: You want to protect that New Jeep JL 4door with these rock sliders and Functional 6” wide steps.
Heavy Duty: Go Rhino uses a one-piece welded construction giving you the strength for whatever the trail may throw at you.
Easy Installation: A simple non-drill installation that mounts to existing holes in your body. Making the installation a breeze with simple hand tools.
- Color: Black
- Armor Type: Rocker Guards
- Shipping Weight: 77lb
- Shipping Dimensions: 77in x 10in x 8in (L x W x H)
Jeep Wrangler Unlimited 4-Door (JL)
- 2025 Jeep Wrangler Unlimited 4-Door (JL)
- 2024 Jeep Wrangler Unlimited 4-Door (JL)
- 2023 Jeep Wrangler Unlimited 4-Door (JL)
- 2022 Jeep Wrangler Unlimited 4-Door (JL)
- 2021 Jeep Wrangler Unlimited 4-Door (JL)
- 2020 Jeep Wrangler Unlimited 4-Door (JL)
- 2019 Jeep Wrangler Unlimited 4-Door (JL)
- 2018 Jeep Wrangler Unlimited 4-Door (JL)
- Shared By Others
- Share a Photo
- Ask a Question
- Write a Review
Go Rhino Dominator D6 Steps Reviews
I get a lot of compliments on these
Installed the boards this weekend - Overall pretty easy - but way more than an hour with two people. Close to 3. Couple of points -
1. These boards sit almost level with the bottom of the door jams. This is NOT a step up like the factory plastic boards or even the D2s. I don't love that aspect of it but they really LOOK great.
2. Installation tips -
So the directions they provide have letters in the pics - They refer to bolts, nuts and washers in the table up front - Use that info to your advantage. However, note that some of the bolts they show as SILVER are actually BLACK.
The brackets to hold the boards to the brackets that attach to the jeep are slid into the frame of the rail. The trick is holding them vertical and the right height in the channel, while feed the bolts. This is done COMPLETELY blind. It is made worse by the fact that there is no tapering or leeway in the bolts and that the threads inside the bracket are covered in paint/powder coat. Get it straight in or it cross threads. The last bracket I put in has two cross threaded holes - one of which has the bolt "frozen" in place, and the other is just sitting without a bolt until I can get under there in the spring.
On the JL there is a pin that sticks out where the rail tip ends. I found that this was a good guide for front on both sides - the front end of the rail sits flat on that pin for the correct height.
Use jack stands and a friend. Start with the middle and then to the rear and then the front for installing the rail itself with the jack stands towards the front. Remember the stands will either be higher or lower than the final spot, unless you've got some amazing precision. So get the middles in and "loose" so all of the deviation is in the rear, then use the stands as a safety while you adjust up or down on the rear. Again, keep all of the bolts on the rail loose until after you have all 6 in place.
Short allen and long allen wrenches are helpful. The short allows you to start the bolt and the long gives you leverage. I am sure a pneumatic wrench with the right bits would help but the paint makes starting the bolts a pain in the rear so just go slow until it is well seated.
Perfect! It was a little tricky figuring out how to install them, but once we got over the hurdles, they came out great. The suppled bolts for the middle brackets were just a bit too short. Finding clear installation instructions was a bit challenging. (We found some online). And, they totally fit into existing holes and brackets already on the car. Overall, very happy with the look and feel (very sturdy)! I love them!


