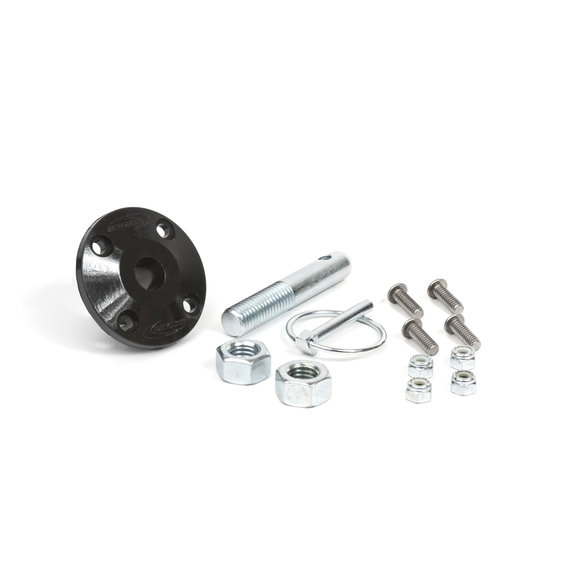
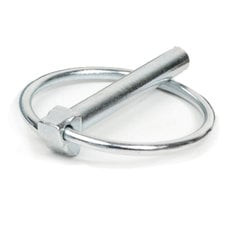
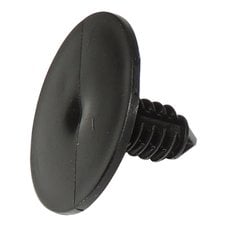
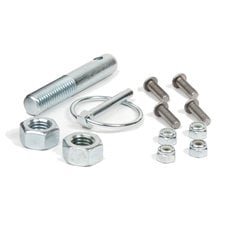
Daystar's Hood Pin Kits utilize Polyurethane grommets that help keep the hood isolated from its attachment points. Without these grommets, fiberglass hoods tend to crack around their mounting points. The grommet allows a certain amount of give that enables the fiberglass to flex as needed, yet still maintain a positive attachment. The kit includes a 5/8" diameter steel pin along with stainless steel fasteners to attach the grommet to the hood. A spring retaining clip rounds out the kit.
The Daystar Hood Pin Kits are sold individually since not everyone uses an even number of hood pins (i.e. some racers use three across the front). This Part number is a complete hood pin kit that includes everything needed for one pin (grommet, pin, and related hardware). Since racing by necessity is hard on equipment, Daystar also offers the hood pin components individually. Best of all, they are priced with the budget racer in mind!
- Constructed of High-Quality Polyurethane material
- Prevents fiberglass hoods from cracking around attachment points
- Includes the necessary components for one complete Hood Pin
- Components are also available individually
- Made in the USA
- Color: Black
Daystar Hood Pin Kit Options
| Part Number | Catalog # | Price | |||||||
|---|---|---|---|---|---|---|---|---|---|
| KU71104BK | 16053-5021 | Black | $22.06 | ||||||
| KU71104RB | 16053-5022 | Blue | $21.99 | ||||||
| KU71104RE | 16053-5024 | Red | $22.06 |
- Shared By Others
- Share a Photo
- Ask a Question
- Write a Review
Daystar Hood Pin Kit Reviews
Robert seems like the type of guy who pays another man to change his oil. Anyway these are hood pins. Their $20 bucks for one pin so make sure you put 2 in the QTY. These hood pins are basic and really straight forward. They aren’t sexy but dude you’re wheelin’ that’s pretty cool.
I like the part, but the lack of instructions really hurt my rating. The 4 mount bolts can not be tightened as they pull right through the soft rubber. No washers are included and there needs to be a washer with each nut to add strength. I used a 1 1/2 inch hole saw for the hood holes. The top hole for the rubber mount worked good. The hole in the bottom of the hood was not big enough to allow the nuts to be installed. I used a 4 inch grinder with a cone shaped stone to grind out the hole in the bottom of the hood. I ground it out big enough to get rid of the four holes I drilled to run the bolts through the hood. No instructions so I drilled through to be able to get the nuts on. I figured I would just buy longer bolts. I also bought a stainless steel washer to go on top of the rubber mount to add more strength to the pin. I bought small stainless steel washers to go under the 4 supplied mount bolts and hopefully these will fix the problem with tightening the mount bolts. I think rivets would have been the thing to use along with the washers. One hole for each rivet in the top of the hood only. Once the job is completed I think it will be OK. I just have to take a established companies part, and make it fit without any real idea of how it should mount. I do not understand why a part sold for a specific vehicle can not have instructions for that vehicle. A set of generic directions and a simple line drawing would be better then nothing at all. Hoods aren't cheap.


