by Scott Ammerman
Quadratec Channel Correspondent
Crunch.
If you have spent any time off road in your Jeep Wrangler, then you probably know that sound well when you are dealing with more severe departure angles. One minute you are on top of the world, and the next you hear this nasty sound from behind your vehicle.
Sure, it may only be the noise of your bumper hitting a rock, or some other trail obstacle, but more often than not it can also be your muffler or tailpipe taking a beating to the point they are no longer really functional.
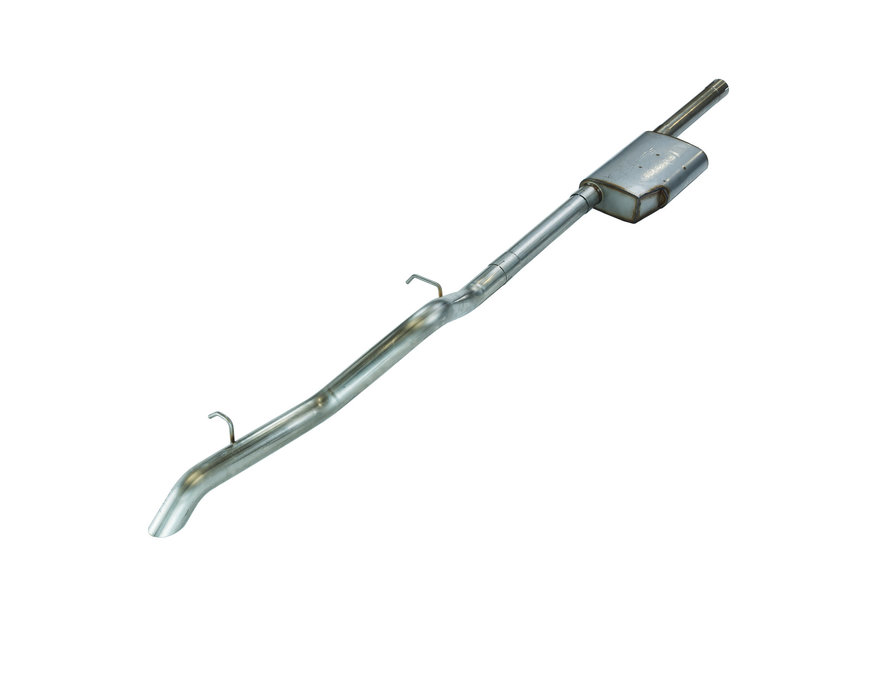
Truth is, your factory exhaust is not set up very well for the off-road life, which is why switching to a high ground clearance kit—like the Pypes Performance exhaust with Street Pro Muffler—really makes sense.
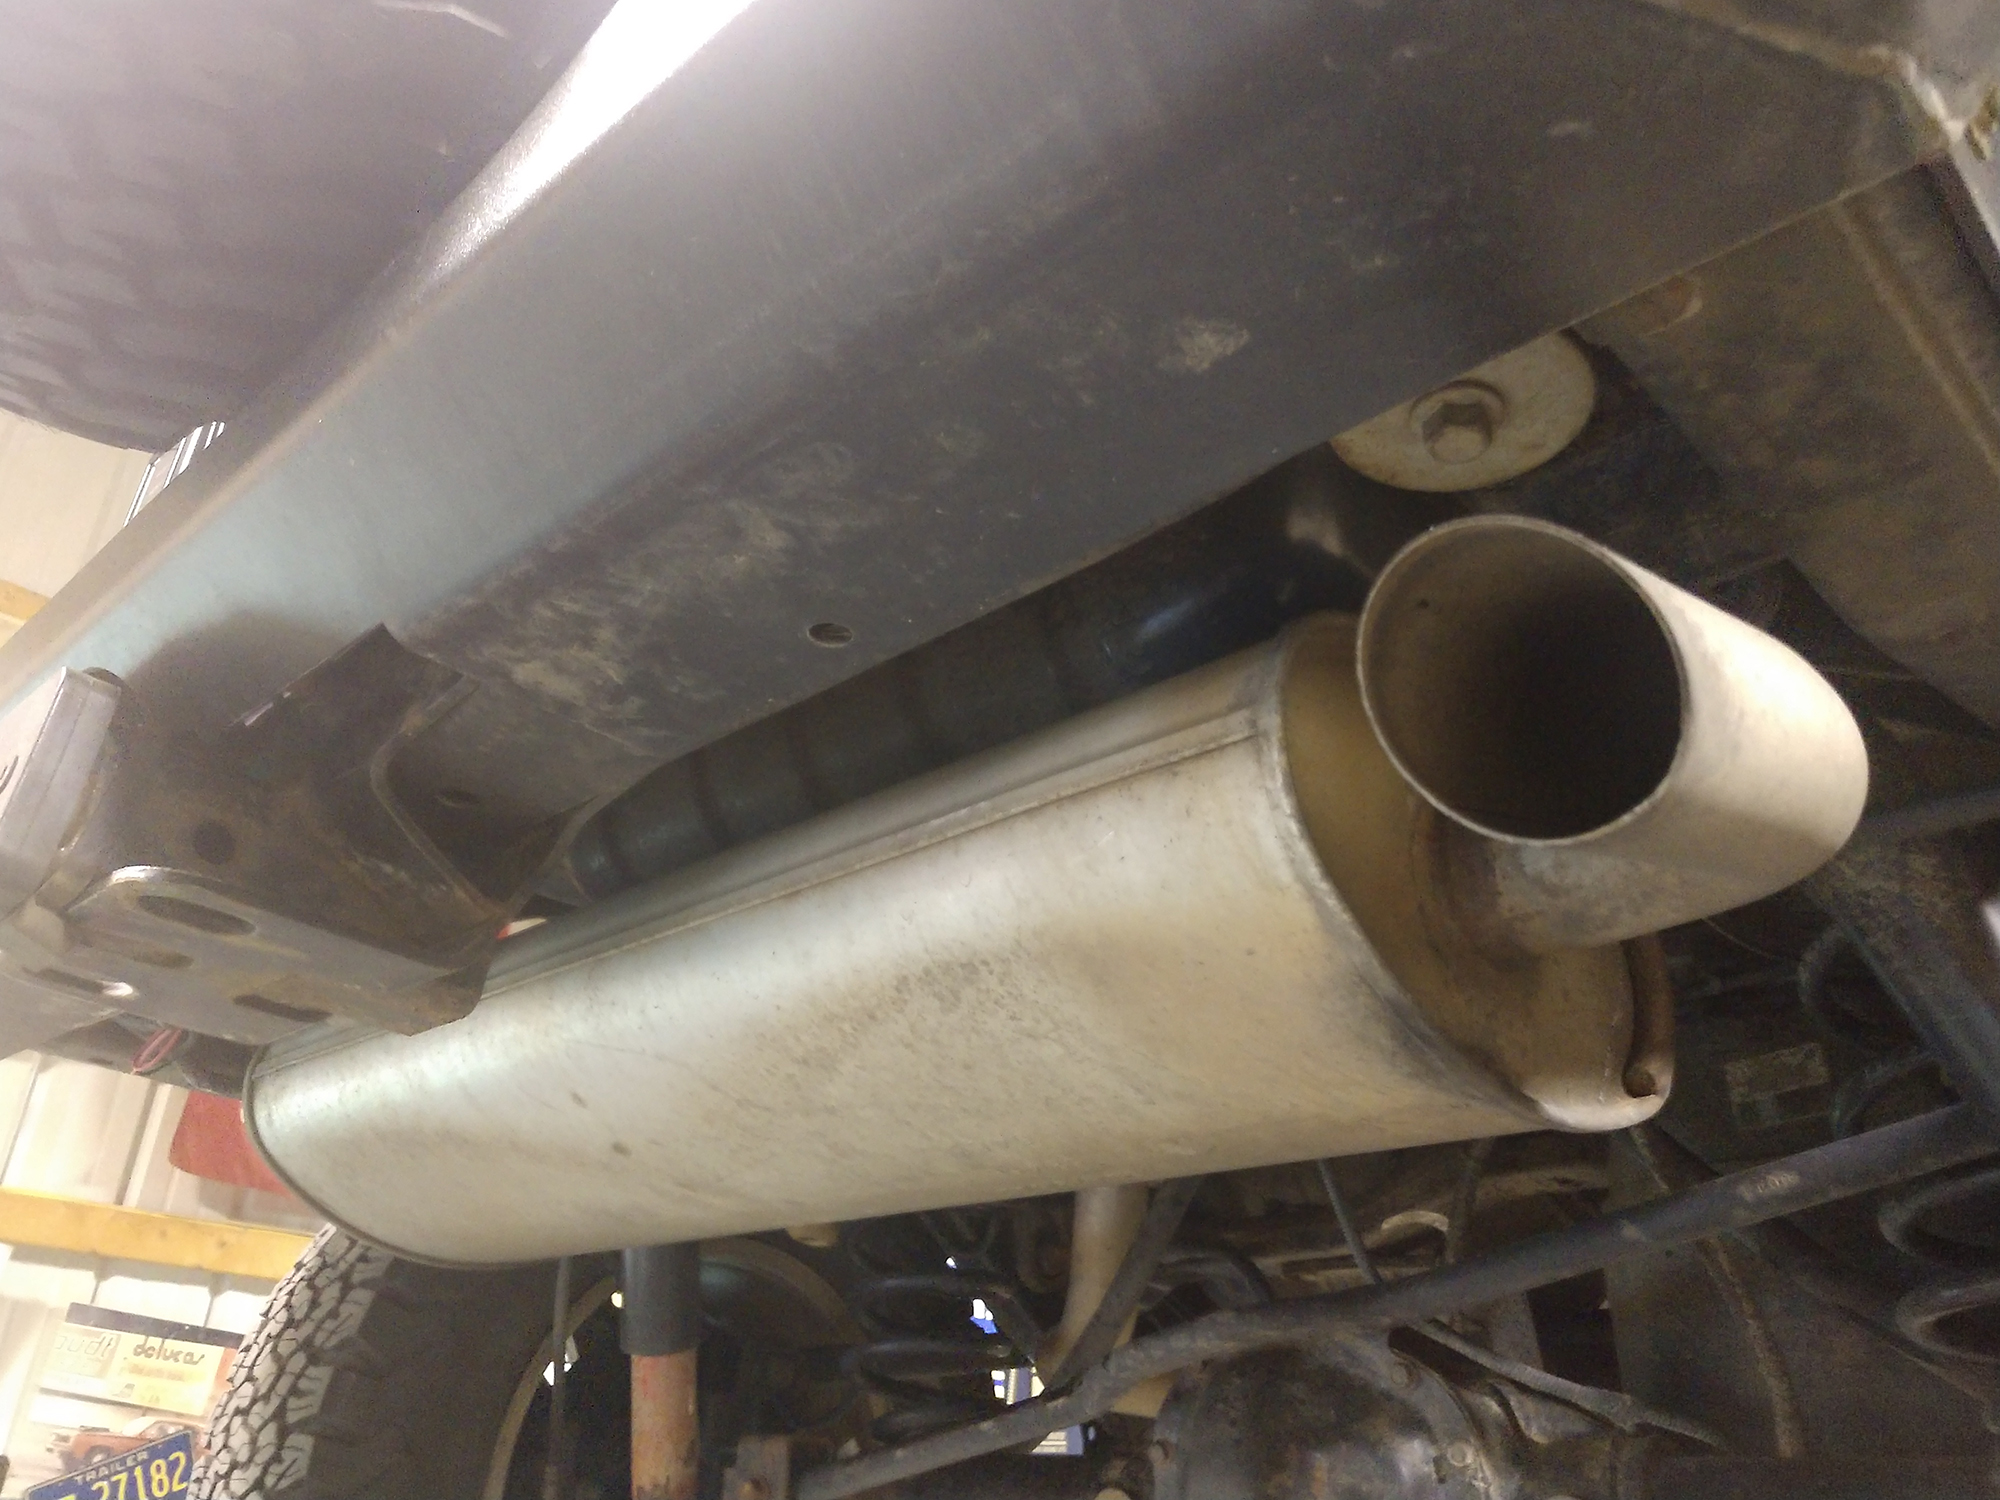
And it is not just the damage aspect, either. It is also about weight and performance.
That’s because the factory kit employs both a heavy resonator and muffler to help reduce exhaust noise. Combine this weight with any other modifications you’ve made, like new bumpers, sidebars, winch, or tire carrier, and your vehicle has really put on some pounds. This extra weight can make it tough for the restrictive factory exhaust, so swapping to a more free-flowing kit like the Pypes Performance High Ground Clearance exhaust can mean unlocking performance gains like extra horsepower and better fuel economy. No, it won't turn your Jeep into Ferrari-like demon, but it will be something noticeable.
The Pypes Performance High Ground Clearance line simplifies things by using a single high flow muffler in place of the factory resonator, and an exhaust pipe tucked up as high as possible to prevent trail damage. The whole system is made from 304 stainless steel to prevent corrosion, and is far more durable than the factory steel.
On ‘Project Snake Eyes’, my 2008 Rubicon JKU, I replaced the factory exhaust with a Pypes High Clearance system employing a M-80 Race Pro muffler. ‘Project Grey Wolf’ also uses this kit. For me, with the 3.8L engine, this exhaust was just about perfect in every way and I ran this exhaust on trails from West Virginia to Maine with absolutely zero problems. I also had no interference with my Rock Krawler X-Factor 2.5 suspension, or any of the various skid plate systems I used. While on the louder side of the spectrum, for the money, I believe this Pypes High Clearance system is one of the best values in the stainless cat-back exhaust series.
For my newly acquired 2013 Rubicon JKU with a 3.6L Pentastar, I decided to give Pypes’ newer Street Pro High Ground Clearance system a try. This exhaust offers a larger muffler than the M-80 set up, which means it runs quieter at lower RPMs.
Both systems have their place, and I was very happy with the exhaust tone of the M-80 system on the trail. Here it is in action during the second half of this video:
While I have a full shop with power and air cutting tools at my disposal, the 2013 Wrangler’s exhaust didn’t seem too badly corroded, so I opted to do the installation with the bare minimum of tools just to illustrate how easy the process will be for you. If a cut off tool, reciprocating saw, angle grinder or air chisel is in your toolbox, then you may be able to get this process done faster, but for me the total installation time was just shy of an hour and a half—and I wasn’t really rushing through it.
Tools and materials required:
- 9/16” wrench (ratcheting box end worked great)
- 5/8” deep socket
- 15mm deep socket
- An impact wrench or air ratchet to compress clamps is recommended
- A long pry bar or flathead screwdriver
- WD-40 or similar penetrating oil
- Exhaust and tailpipe sealant (recommended, not required)
Start by spraying the clamps, pipe junctions and rubber exhaust hangers down with a solid dose of penetrating oil. You’ll be glad you did.
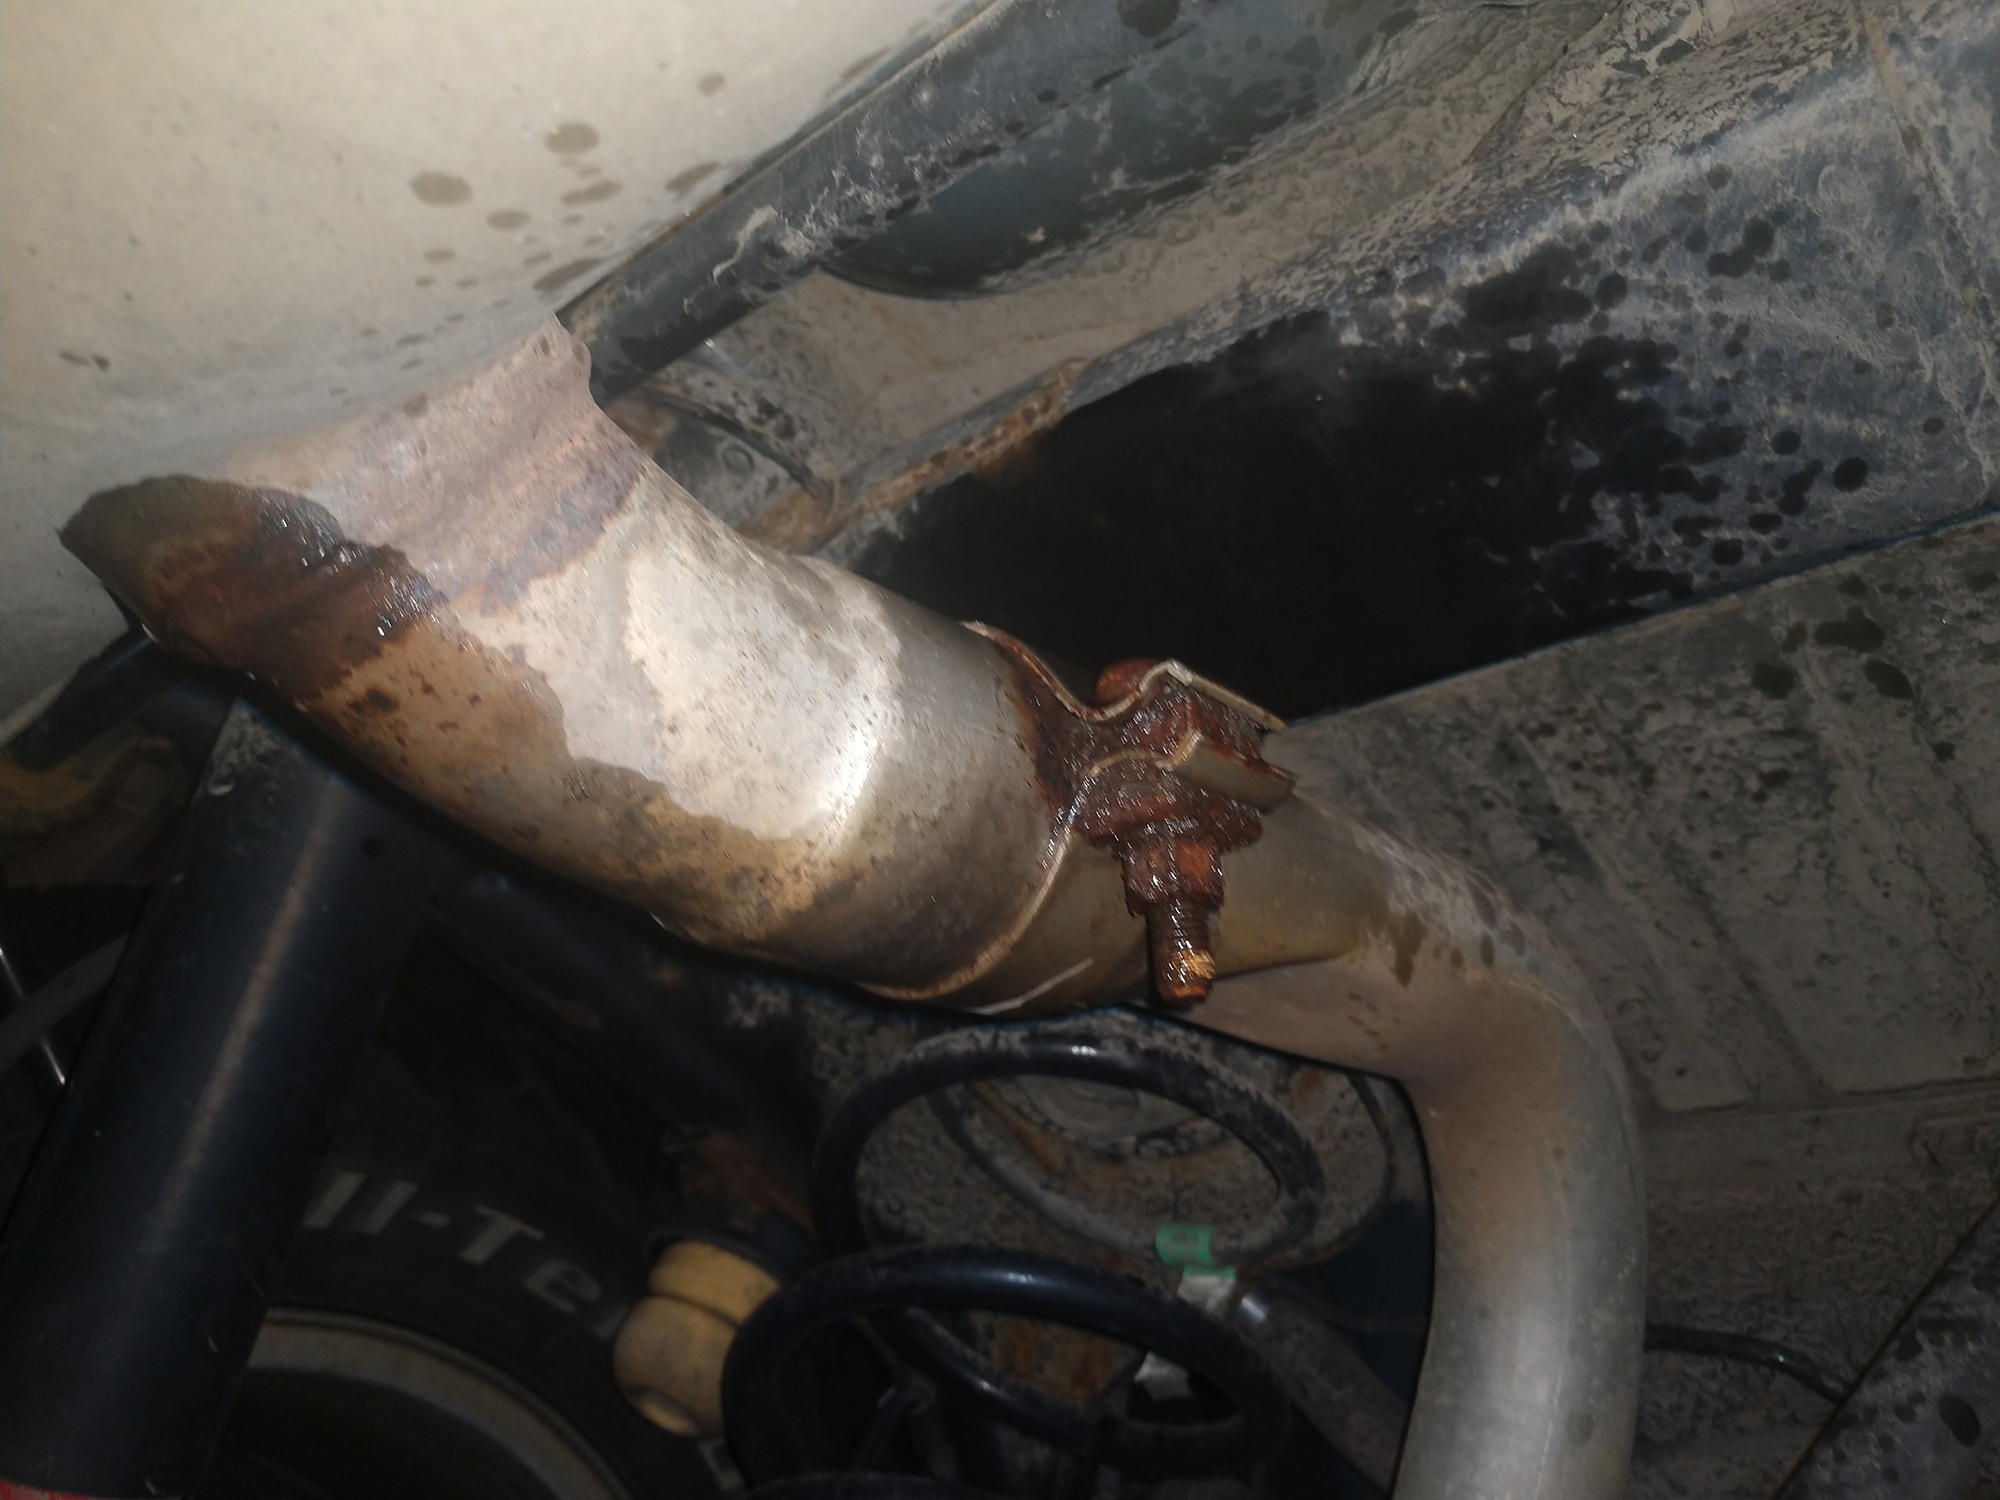
The nuts on the clamps may need some soaking time, so unpack the Pypes system and check out the new components.

The factory system underneath your Wrangler is only held together with two clamps and four isolators—on mine, the clamps were welded to the pipes and the front clamp had the nut on the top side, making it a little harder to reach.
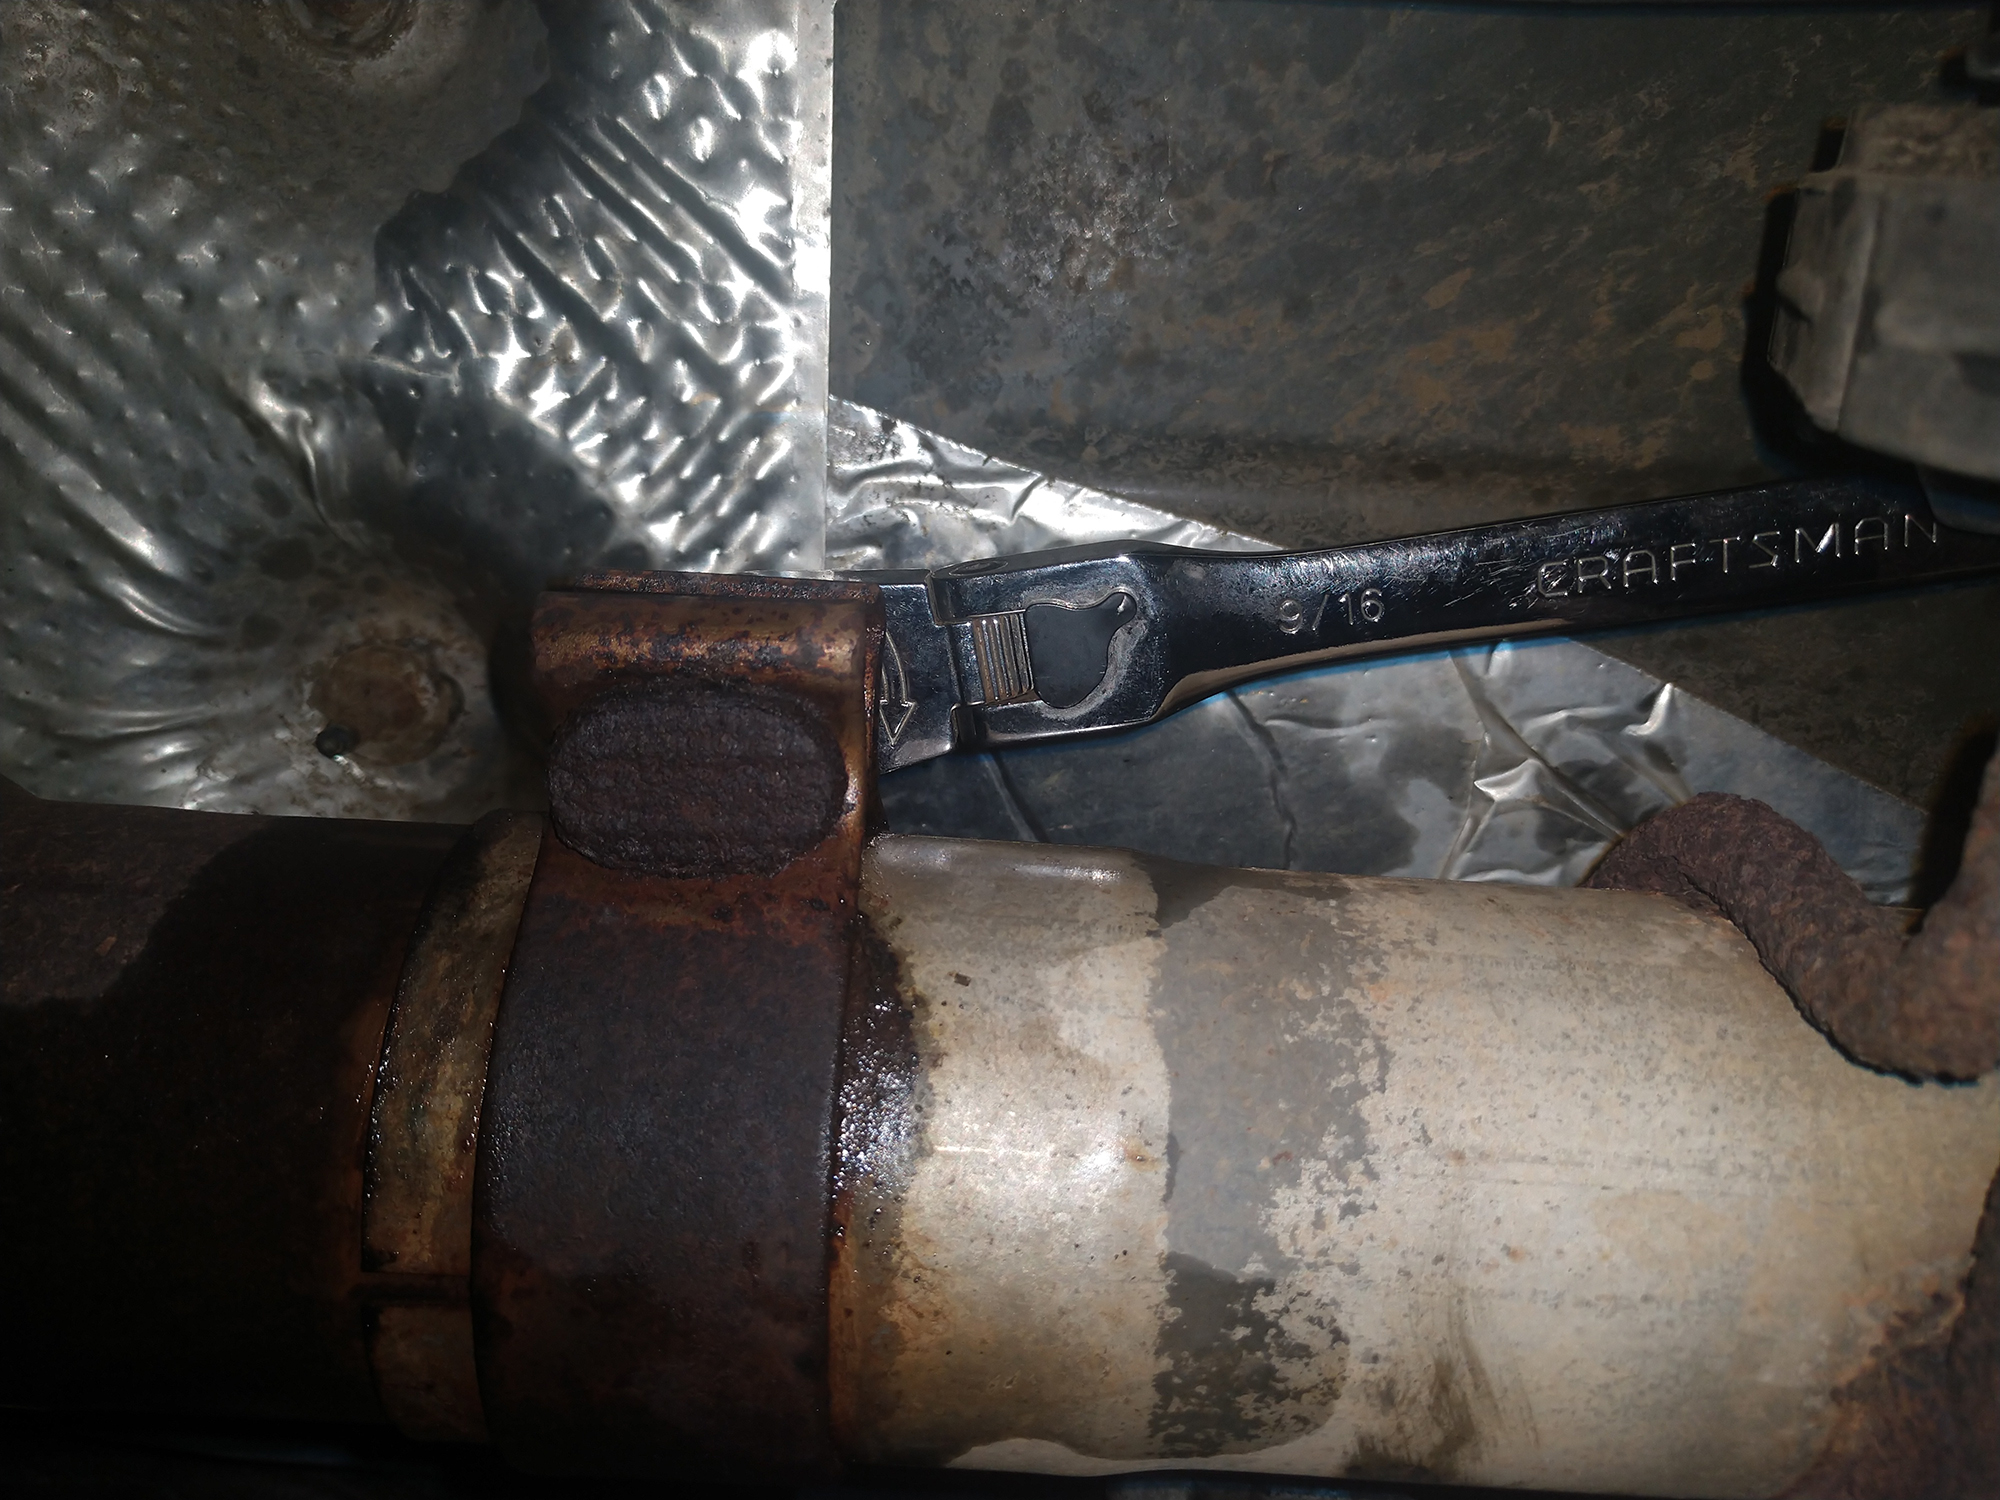
This clamp took a few minutes with the 9/16” wrench, a few clicks at a time. You don’t need to take the nut fully off, but definitely get it loosened up a bit.
Above each of the muffler hangers are small holes in the body that I was able to use a prybar on to pry the isolator blocks off the body side hanger rods. These things get kind of scaly with rust, so spraying them with oil before removal really helps. The ones on the body side were less ugly, so I focused on those.
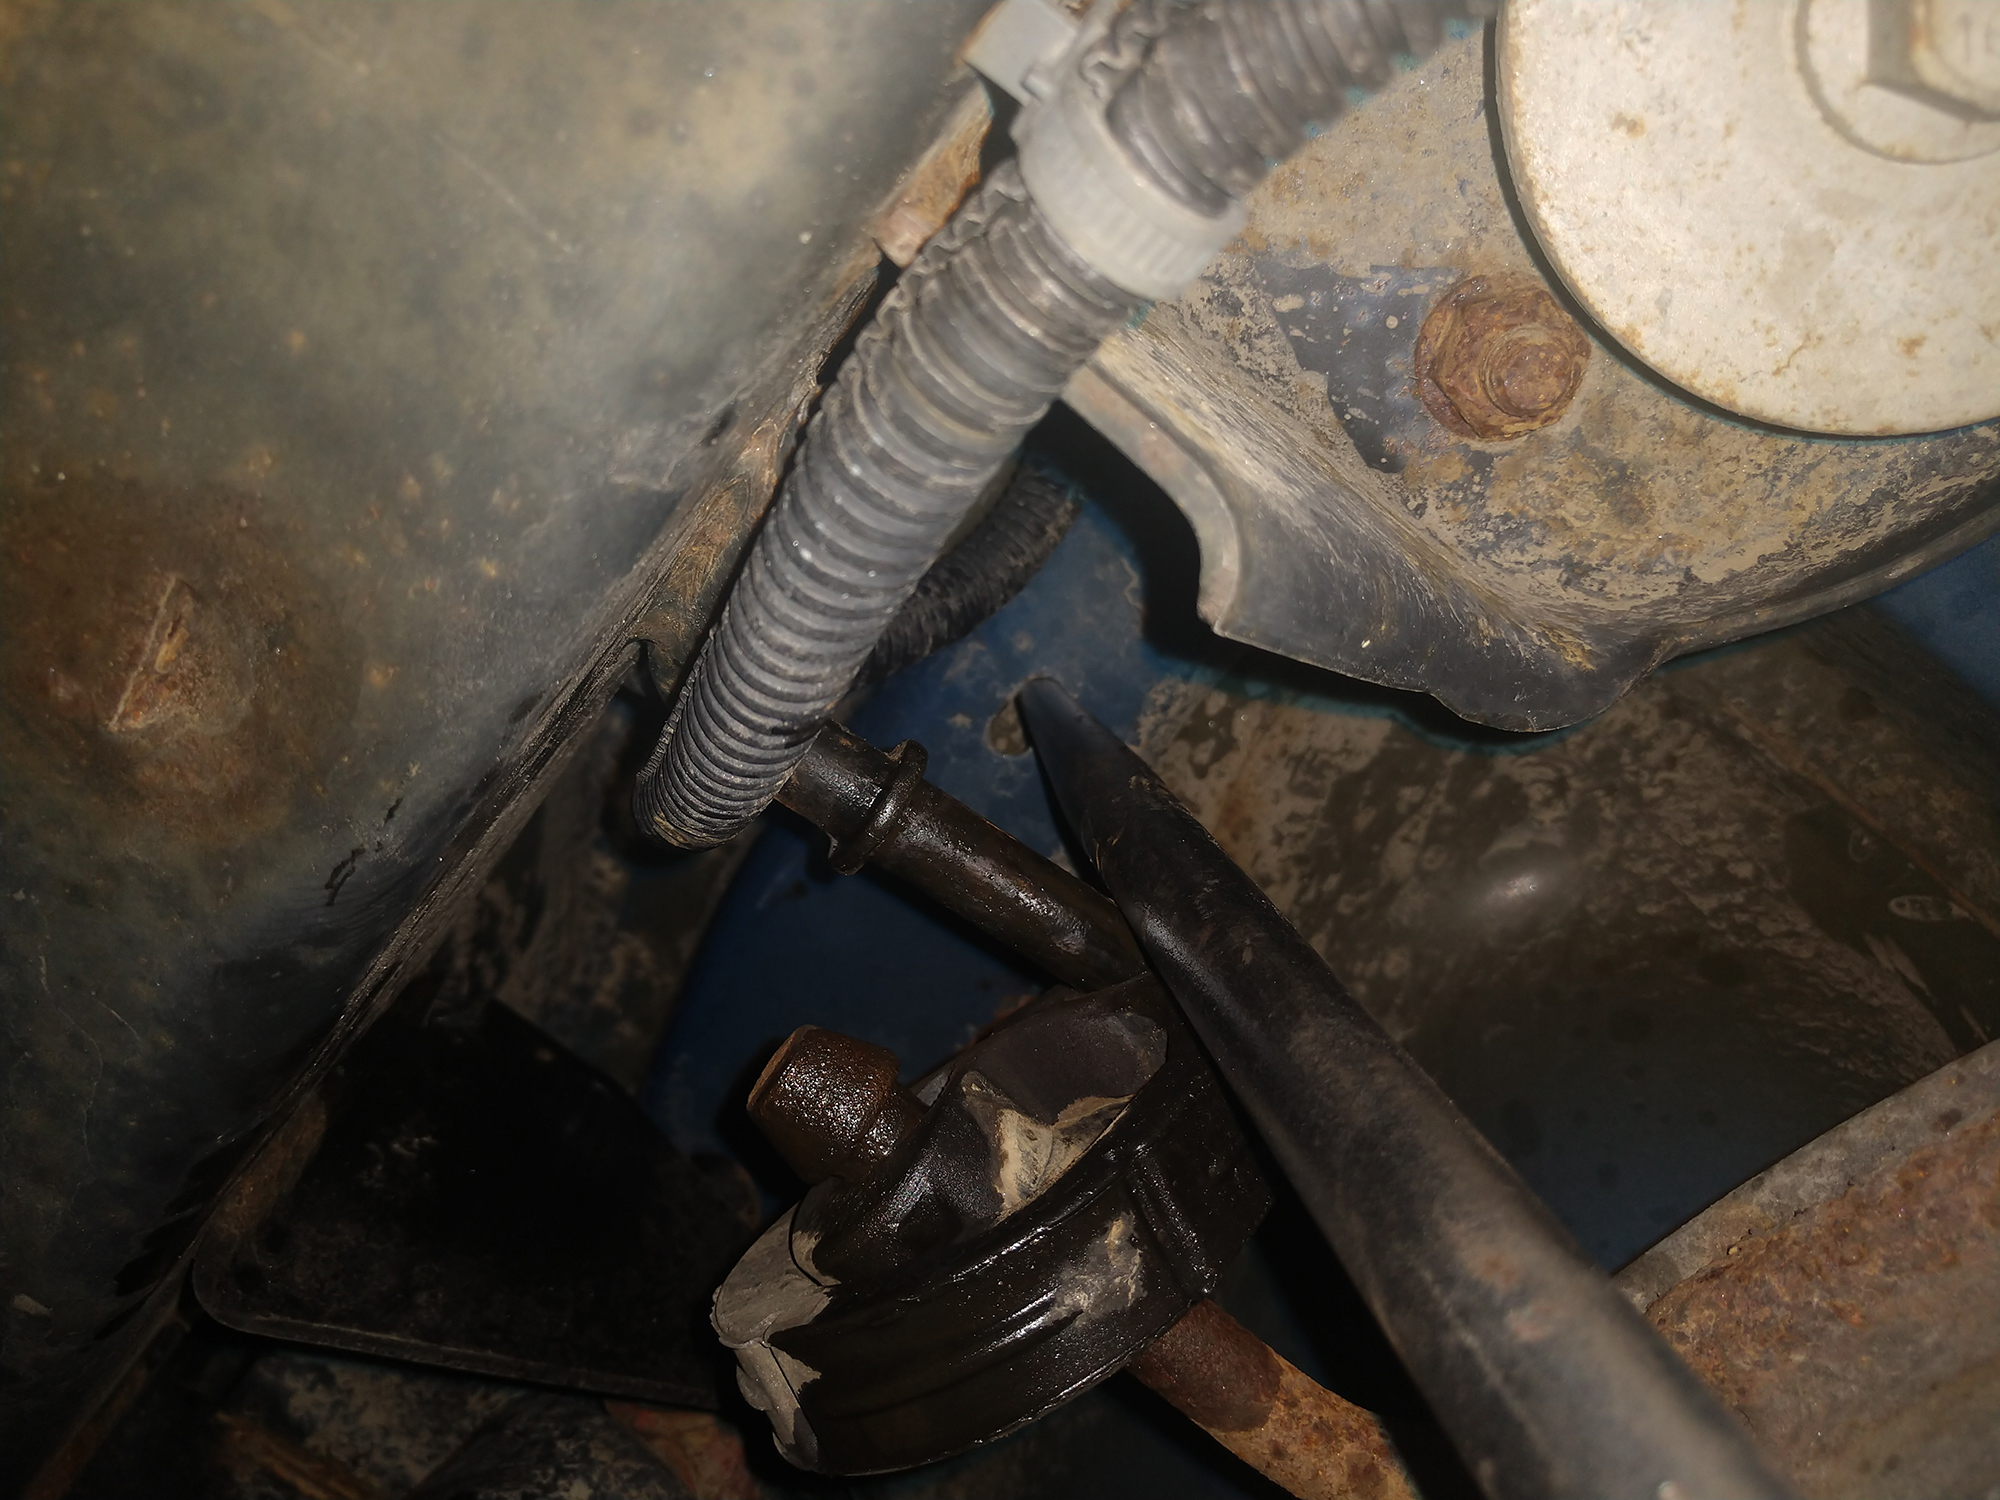
Next, moving to the exhaust hangers, please remember to not cut these off, as they will be reused with most installations. Then, with both of the hangers dislodged, use that ⅝” deep socket to remove the nut for the rear clamp. With luck, you can pull the muffler out by rotating it back and forth. For me, the process took a few minutes and then I had the muffler on the ground.
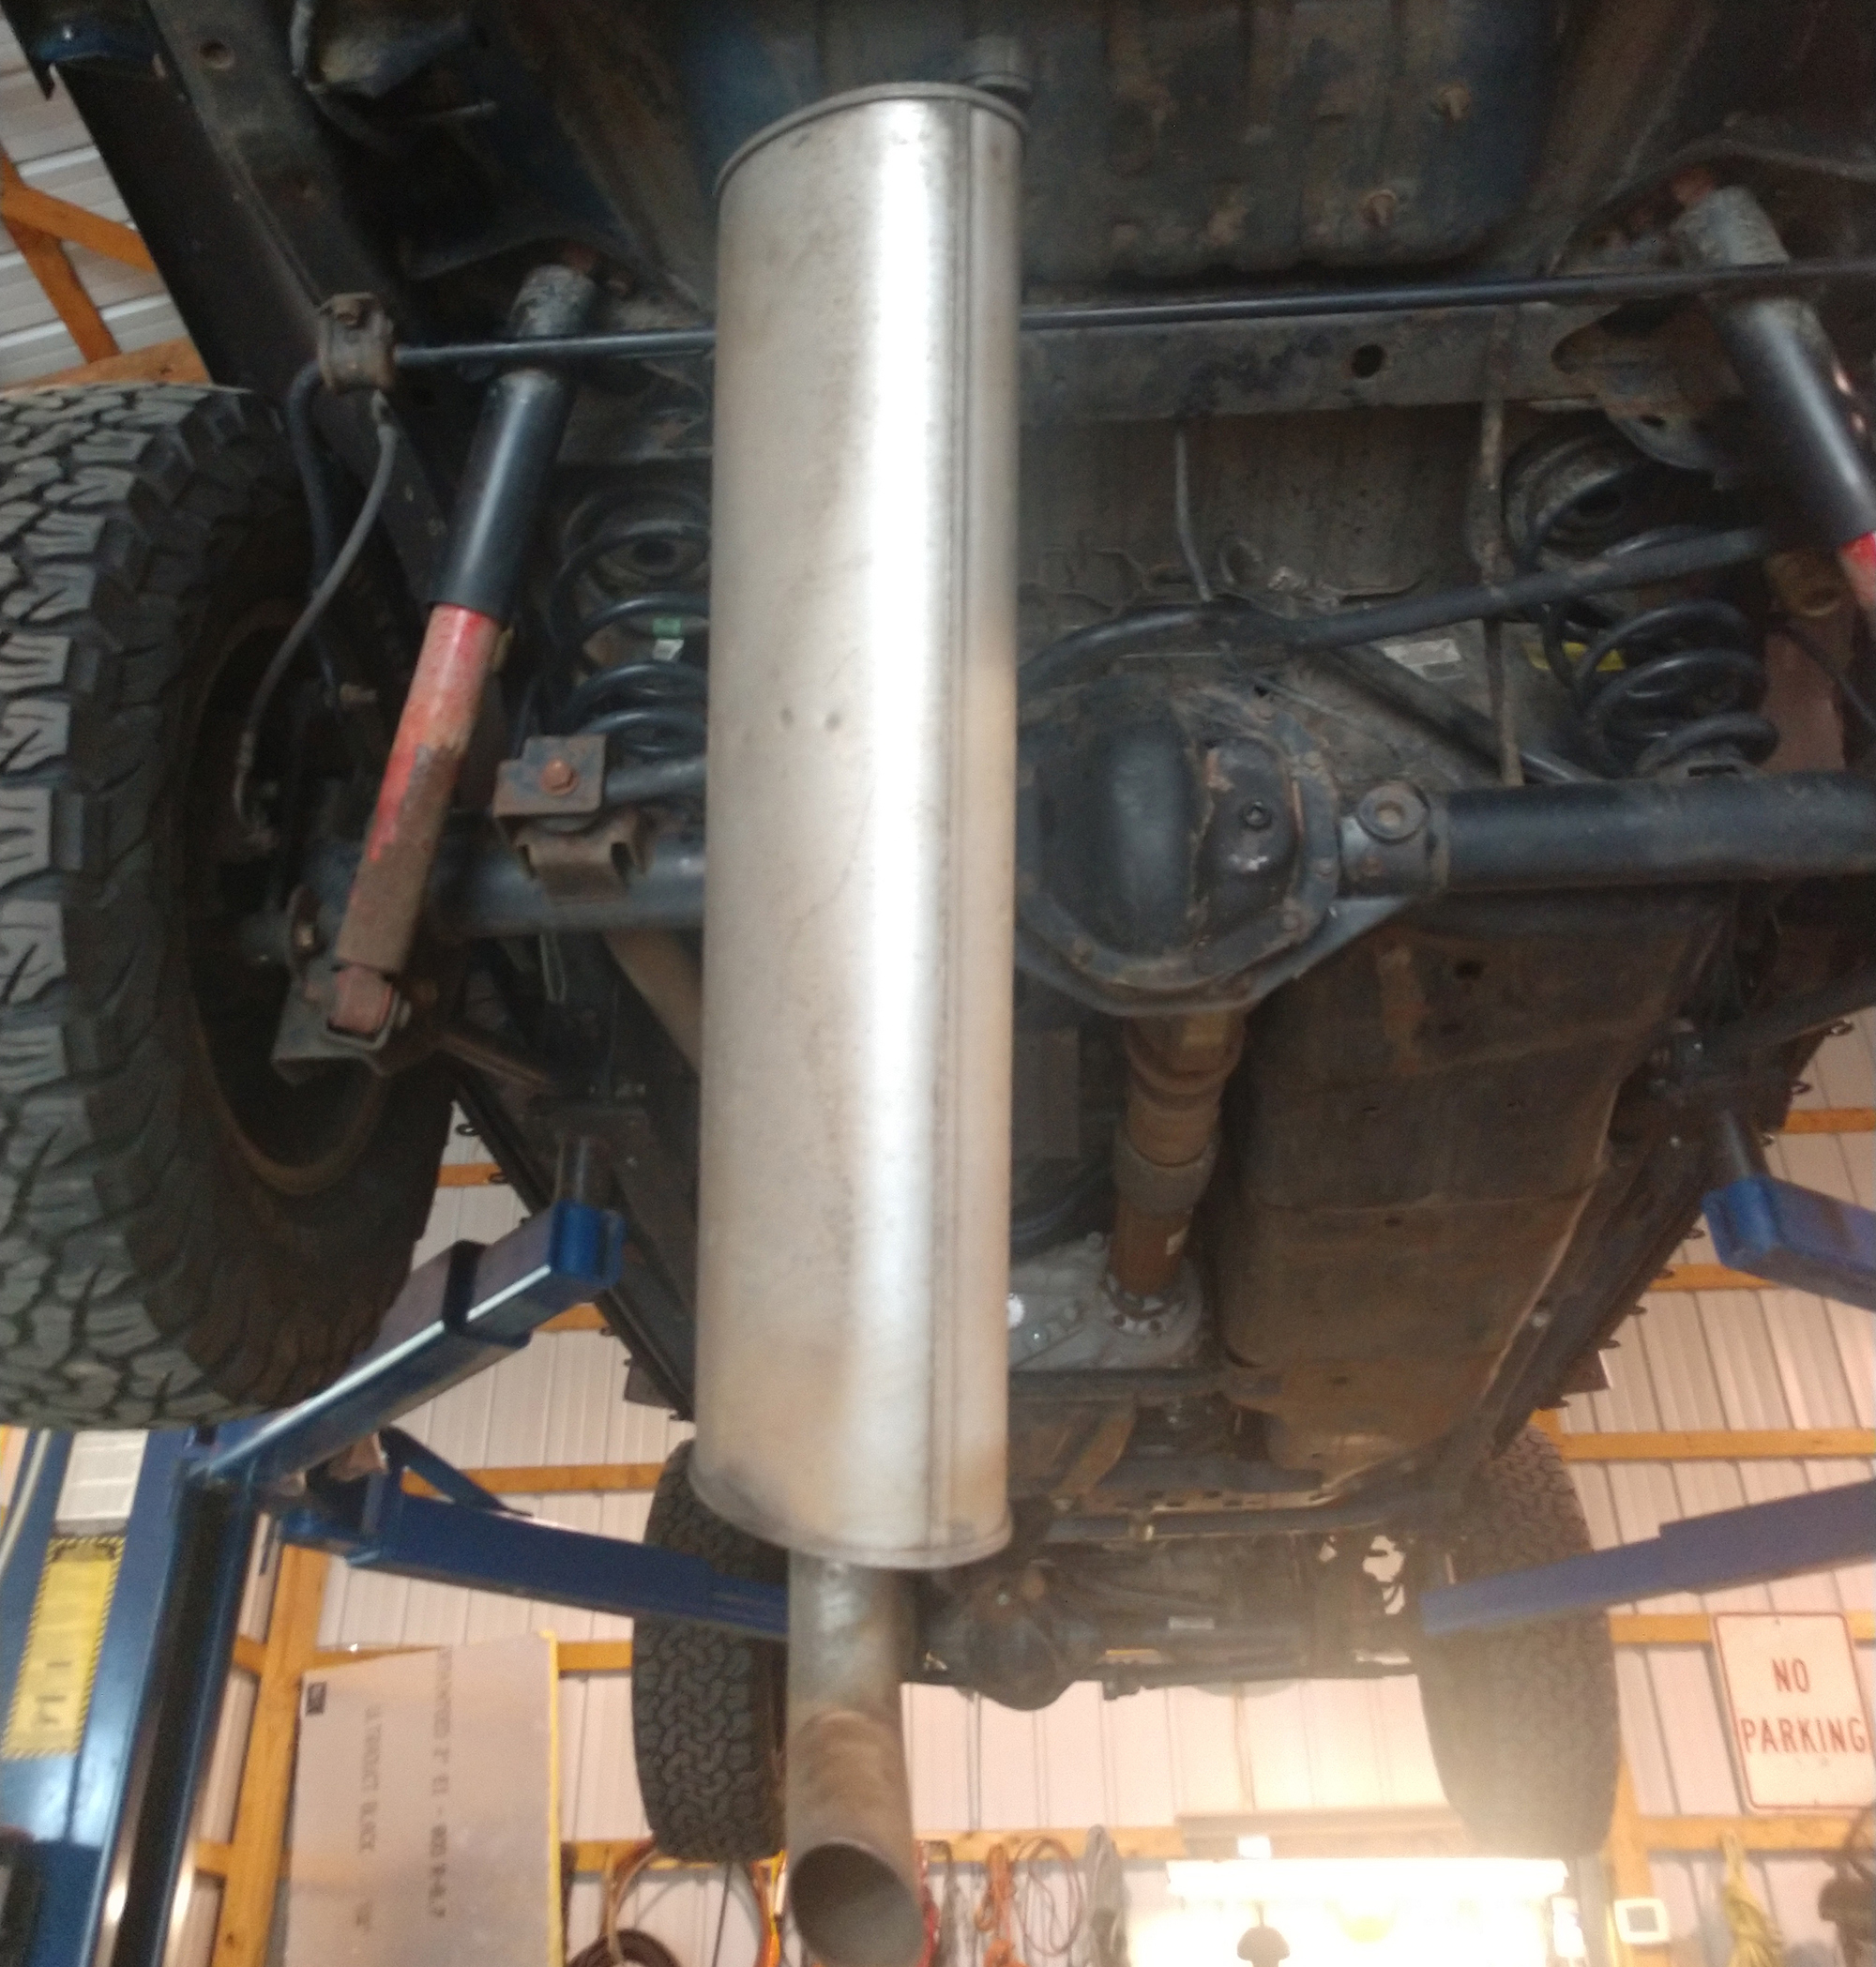
Also, because I loosened the clamp up front, the other connection had loosened up as well—all the leverage with the old muffler broke it loose.
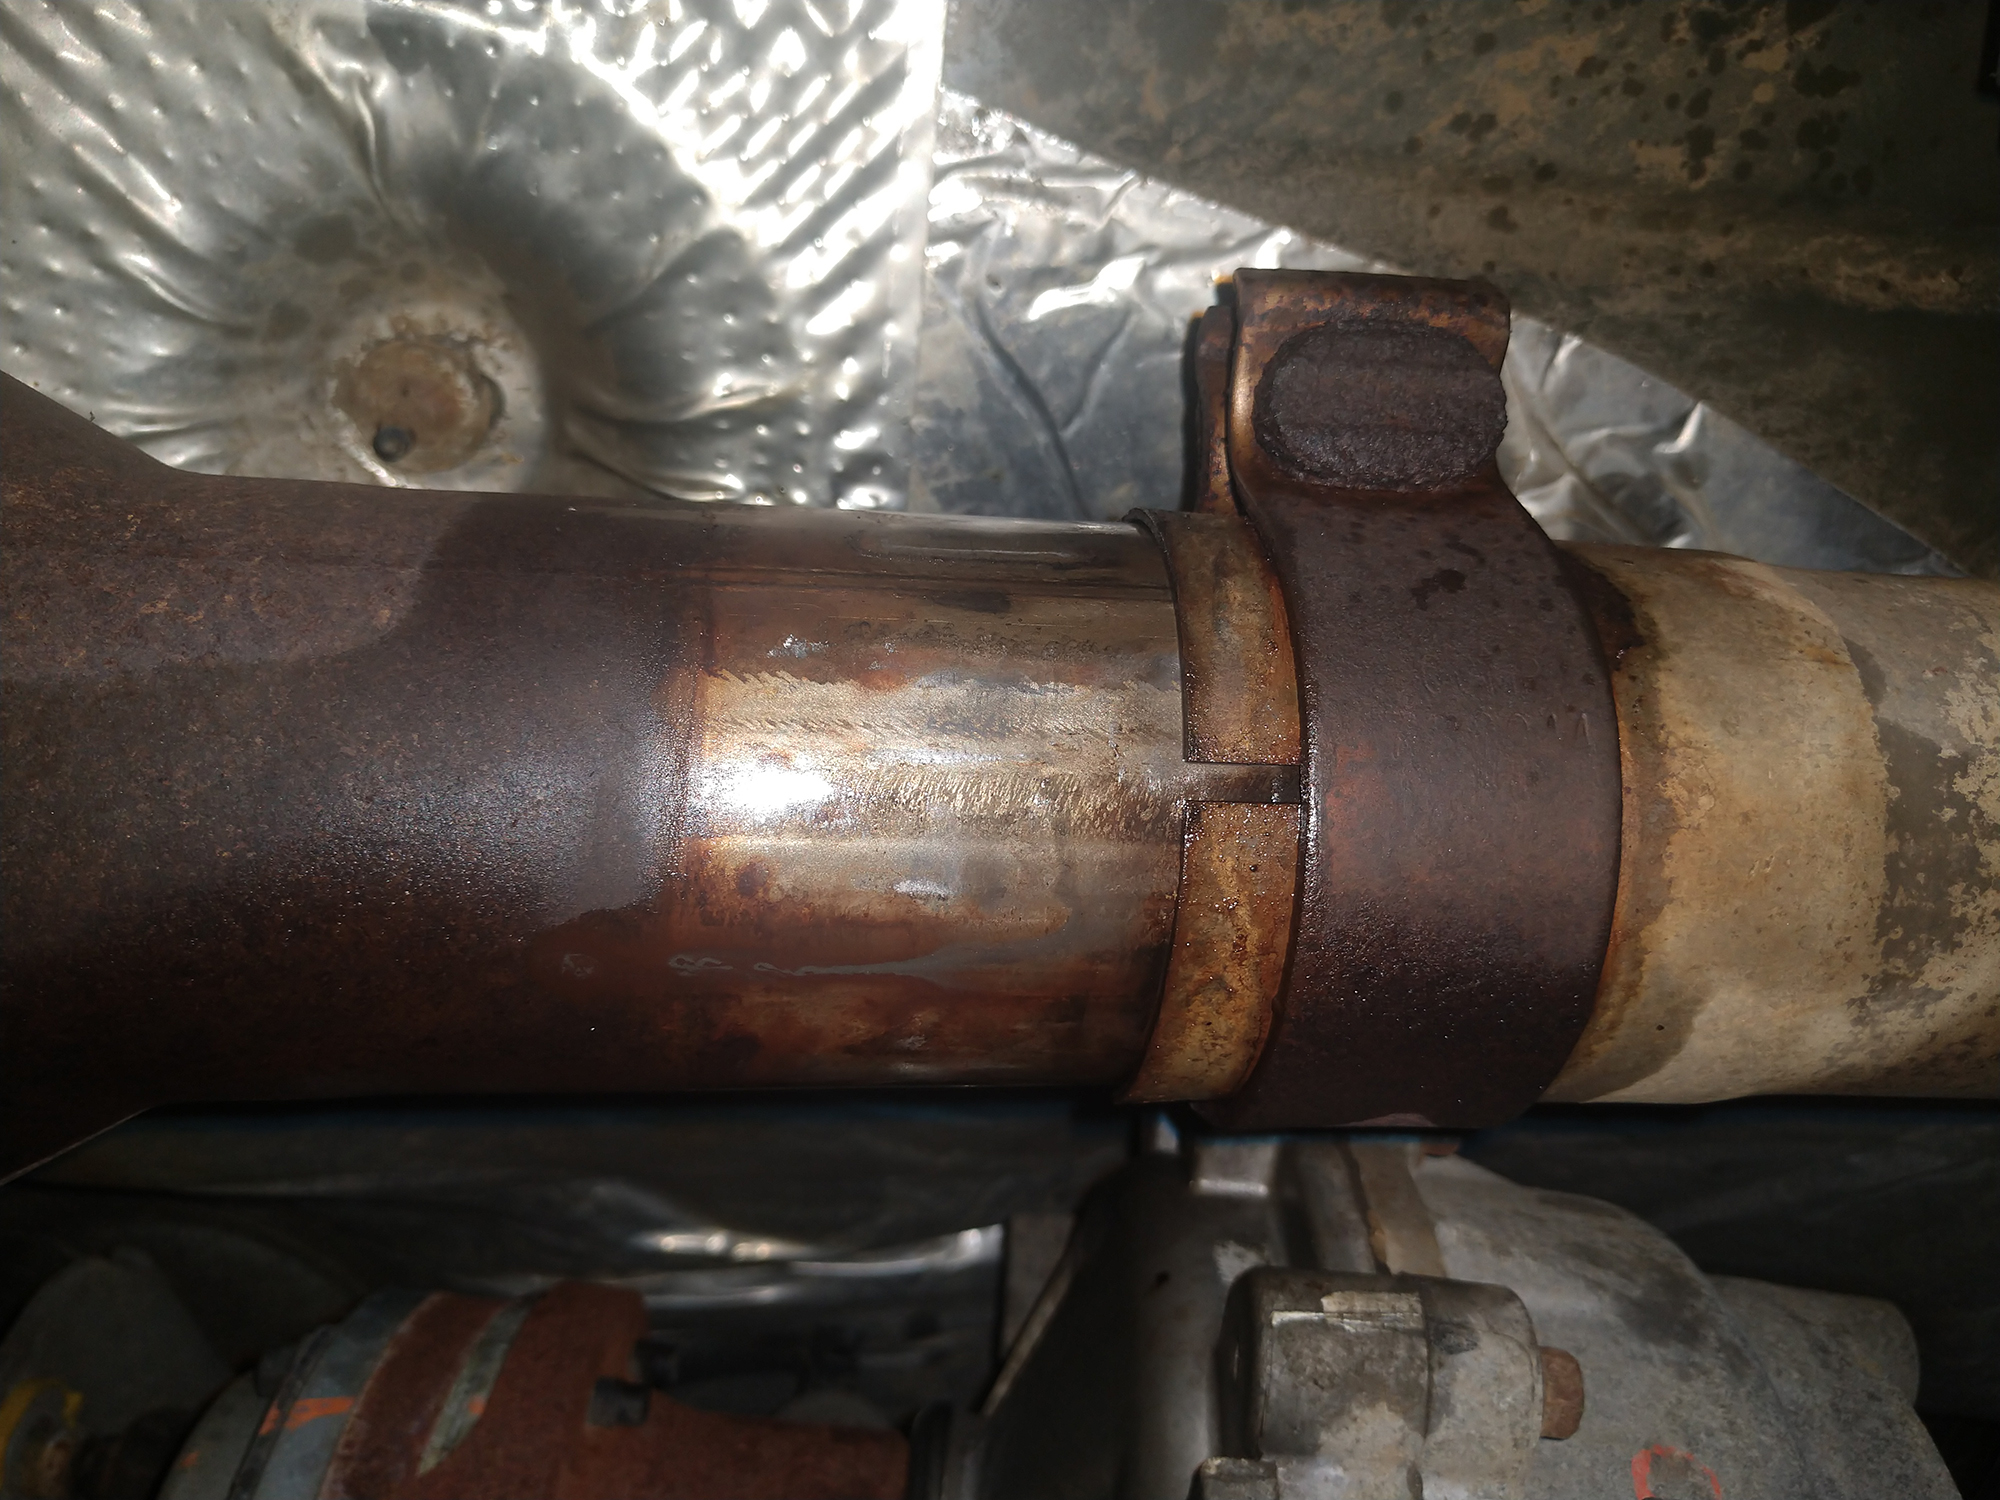
Since the rest of the system stretches from the downpipe all the way over the back axle, I had to loosen the evap canister and its dainty little factory skid to allow the pipes to drop free. On a two-door Jeep JK, the larger Street Pro muffler requires that this piece of emissions hardware be relocated entirely. I am planning to do that on this Jeep anyway, since they are expensive to replace and in a really vulnerable location.
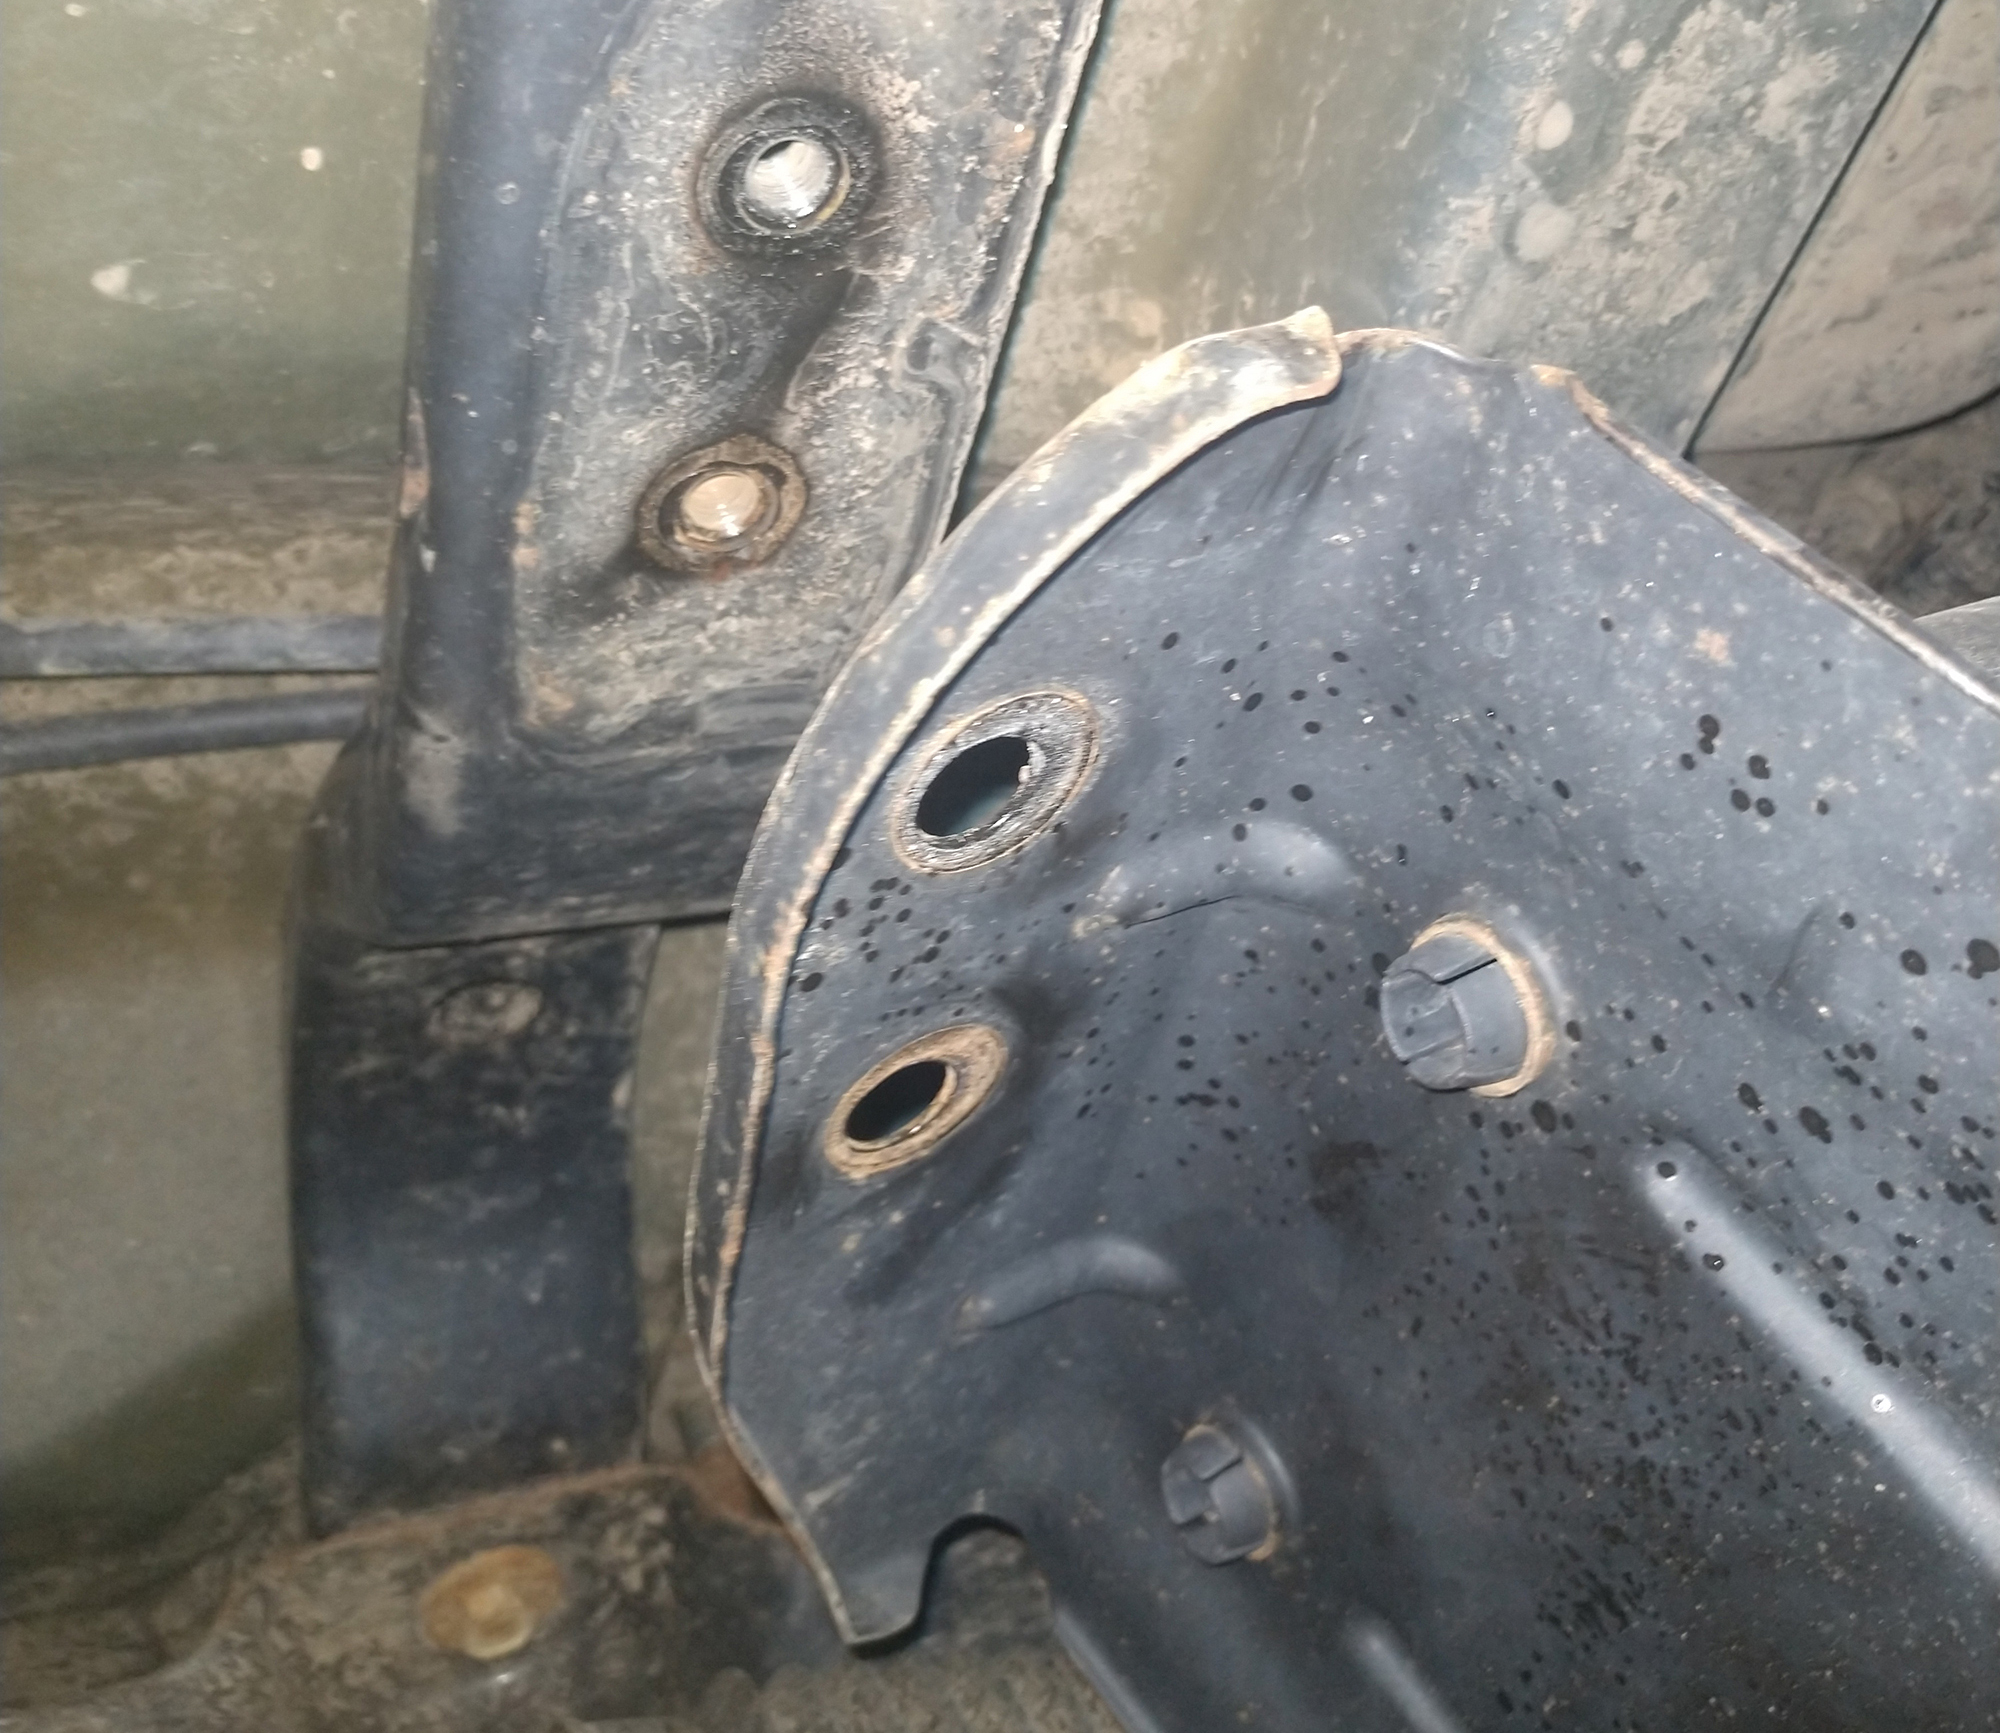
If you’re cutting the factory system apart, you can save a little effort here.
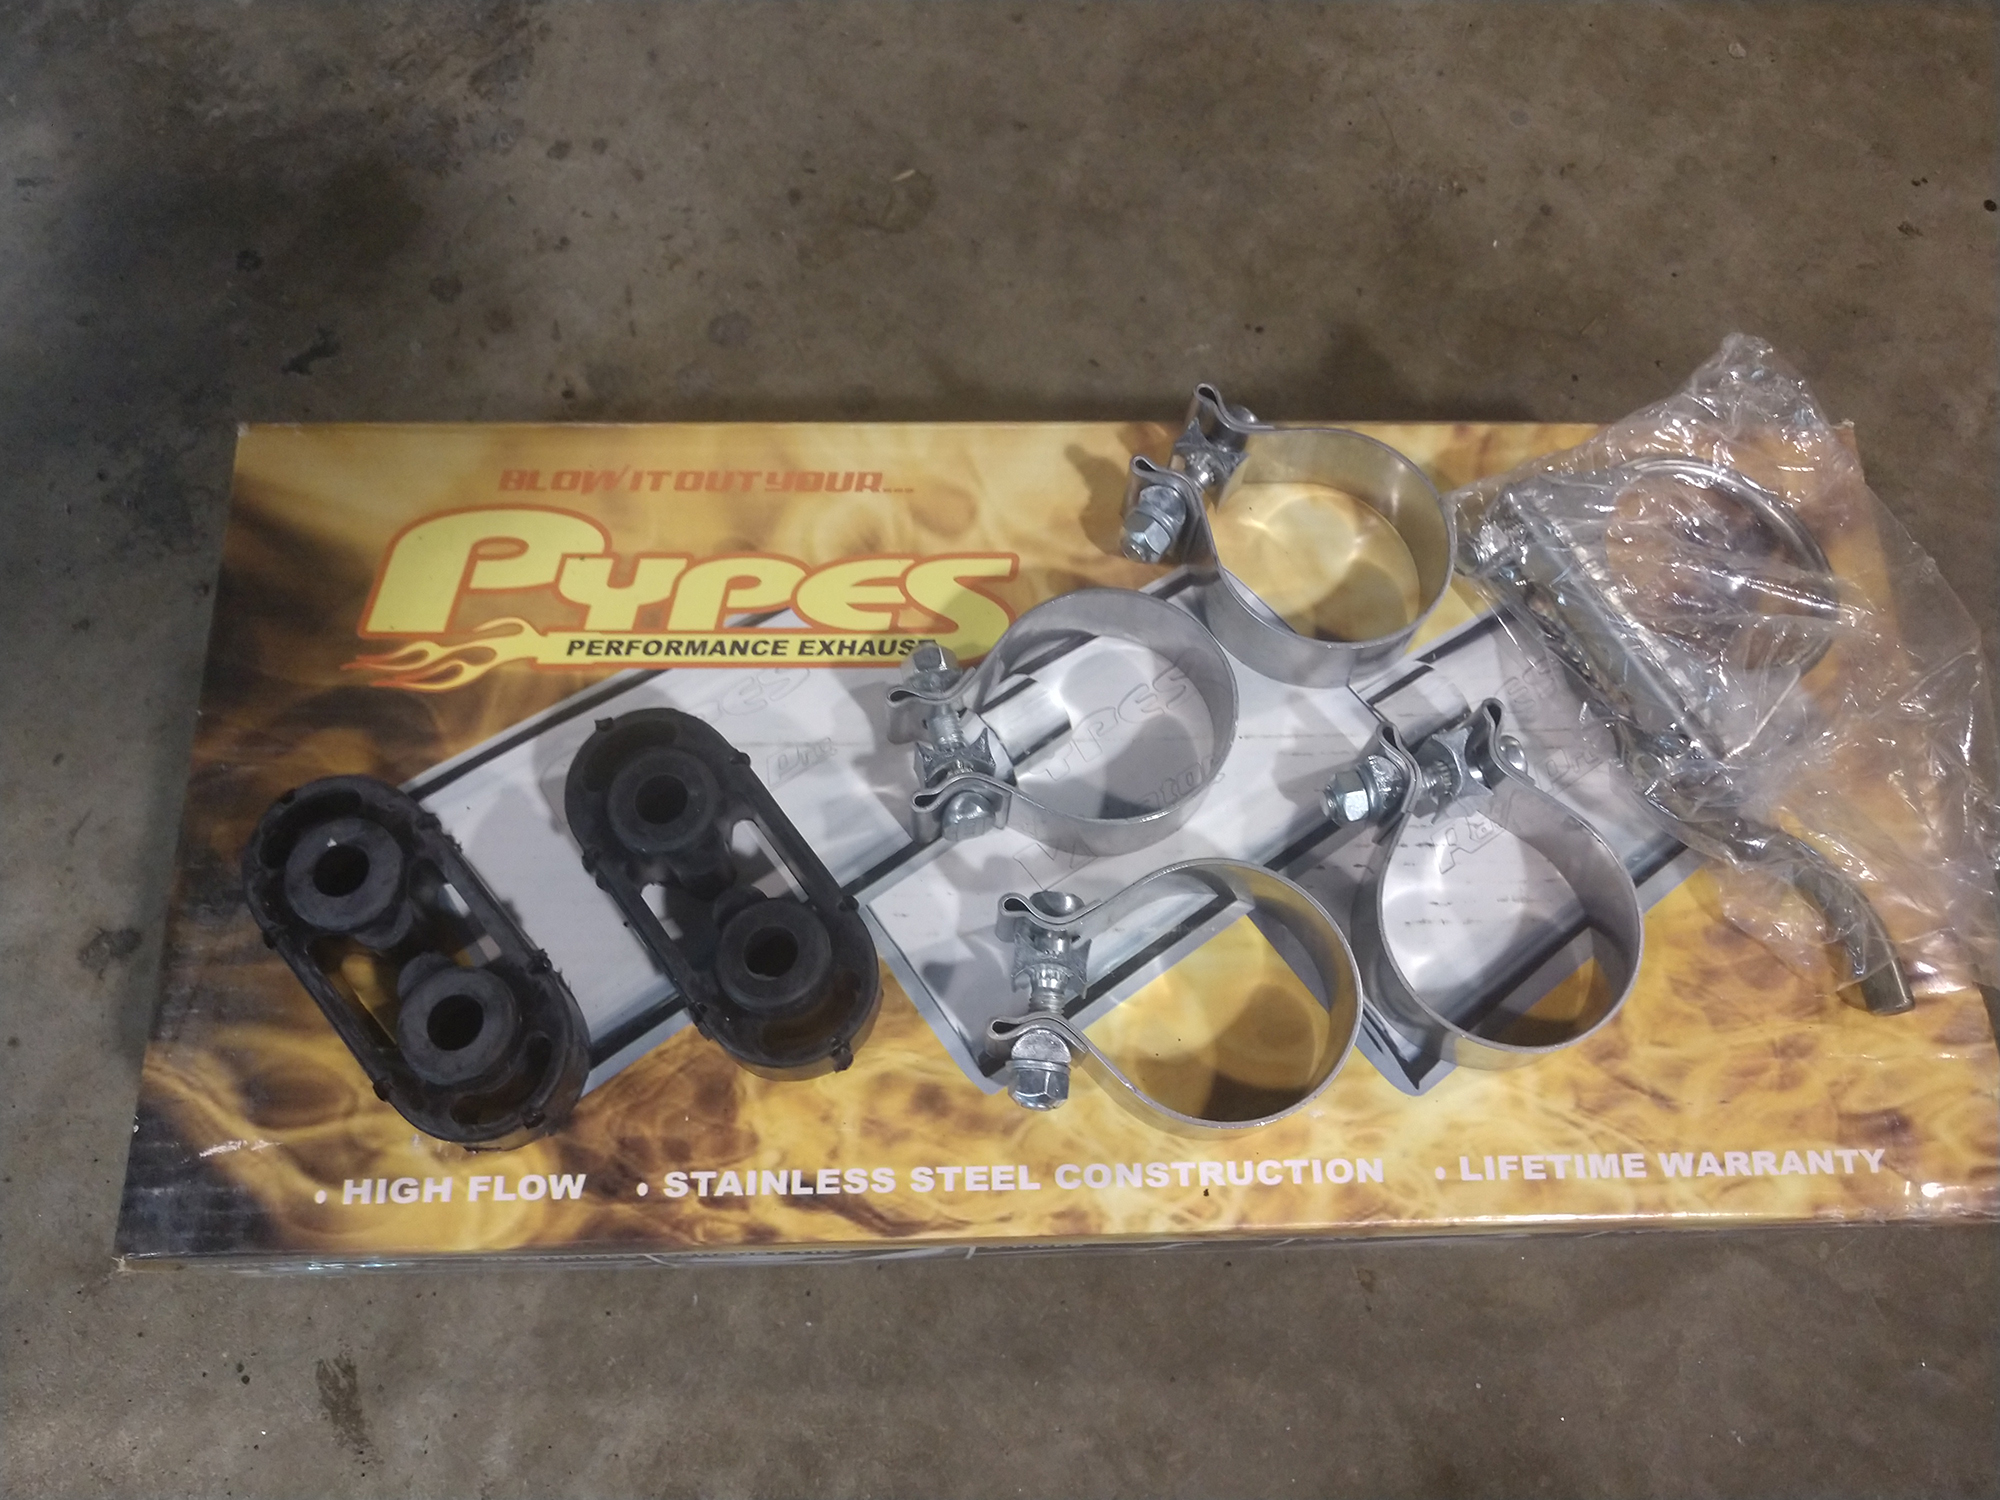
The Pypes system parts kit has four clamps, two slightly longer exhaust hangers (for use if your sway bar has spacer blocks between its mount and the frame as part of a lift kit), and an optional hanger bracket that goes up front near the transfer case, provided it does not create a clearance issue.
I did not use any of these components aside from the clamps with my installation, but your needs may vary. You may need to use the larger mounts though if one of the factory versions is badly damaged,. They’ll still work fine, even with the factory sway bar arrangement.
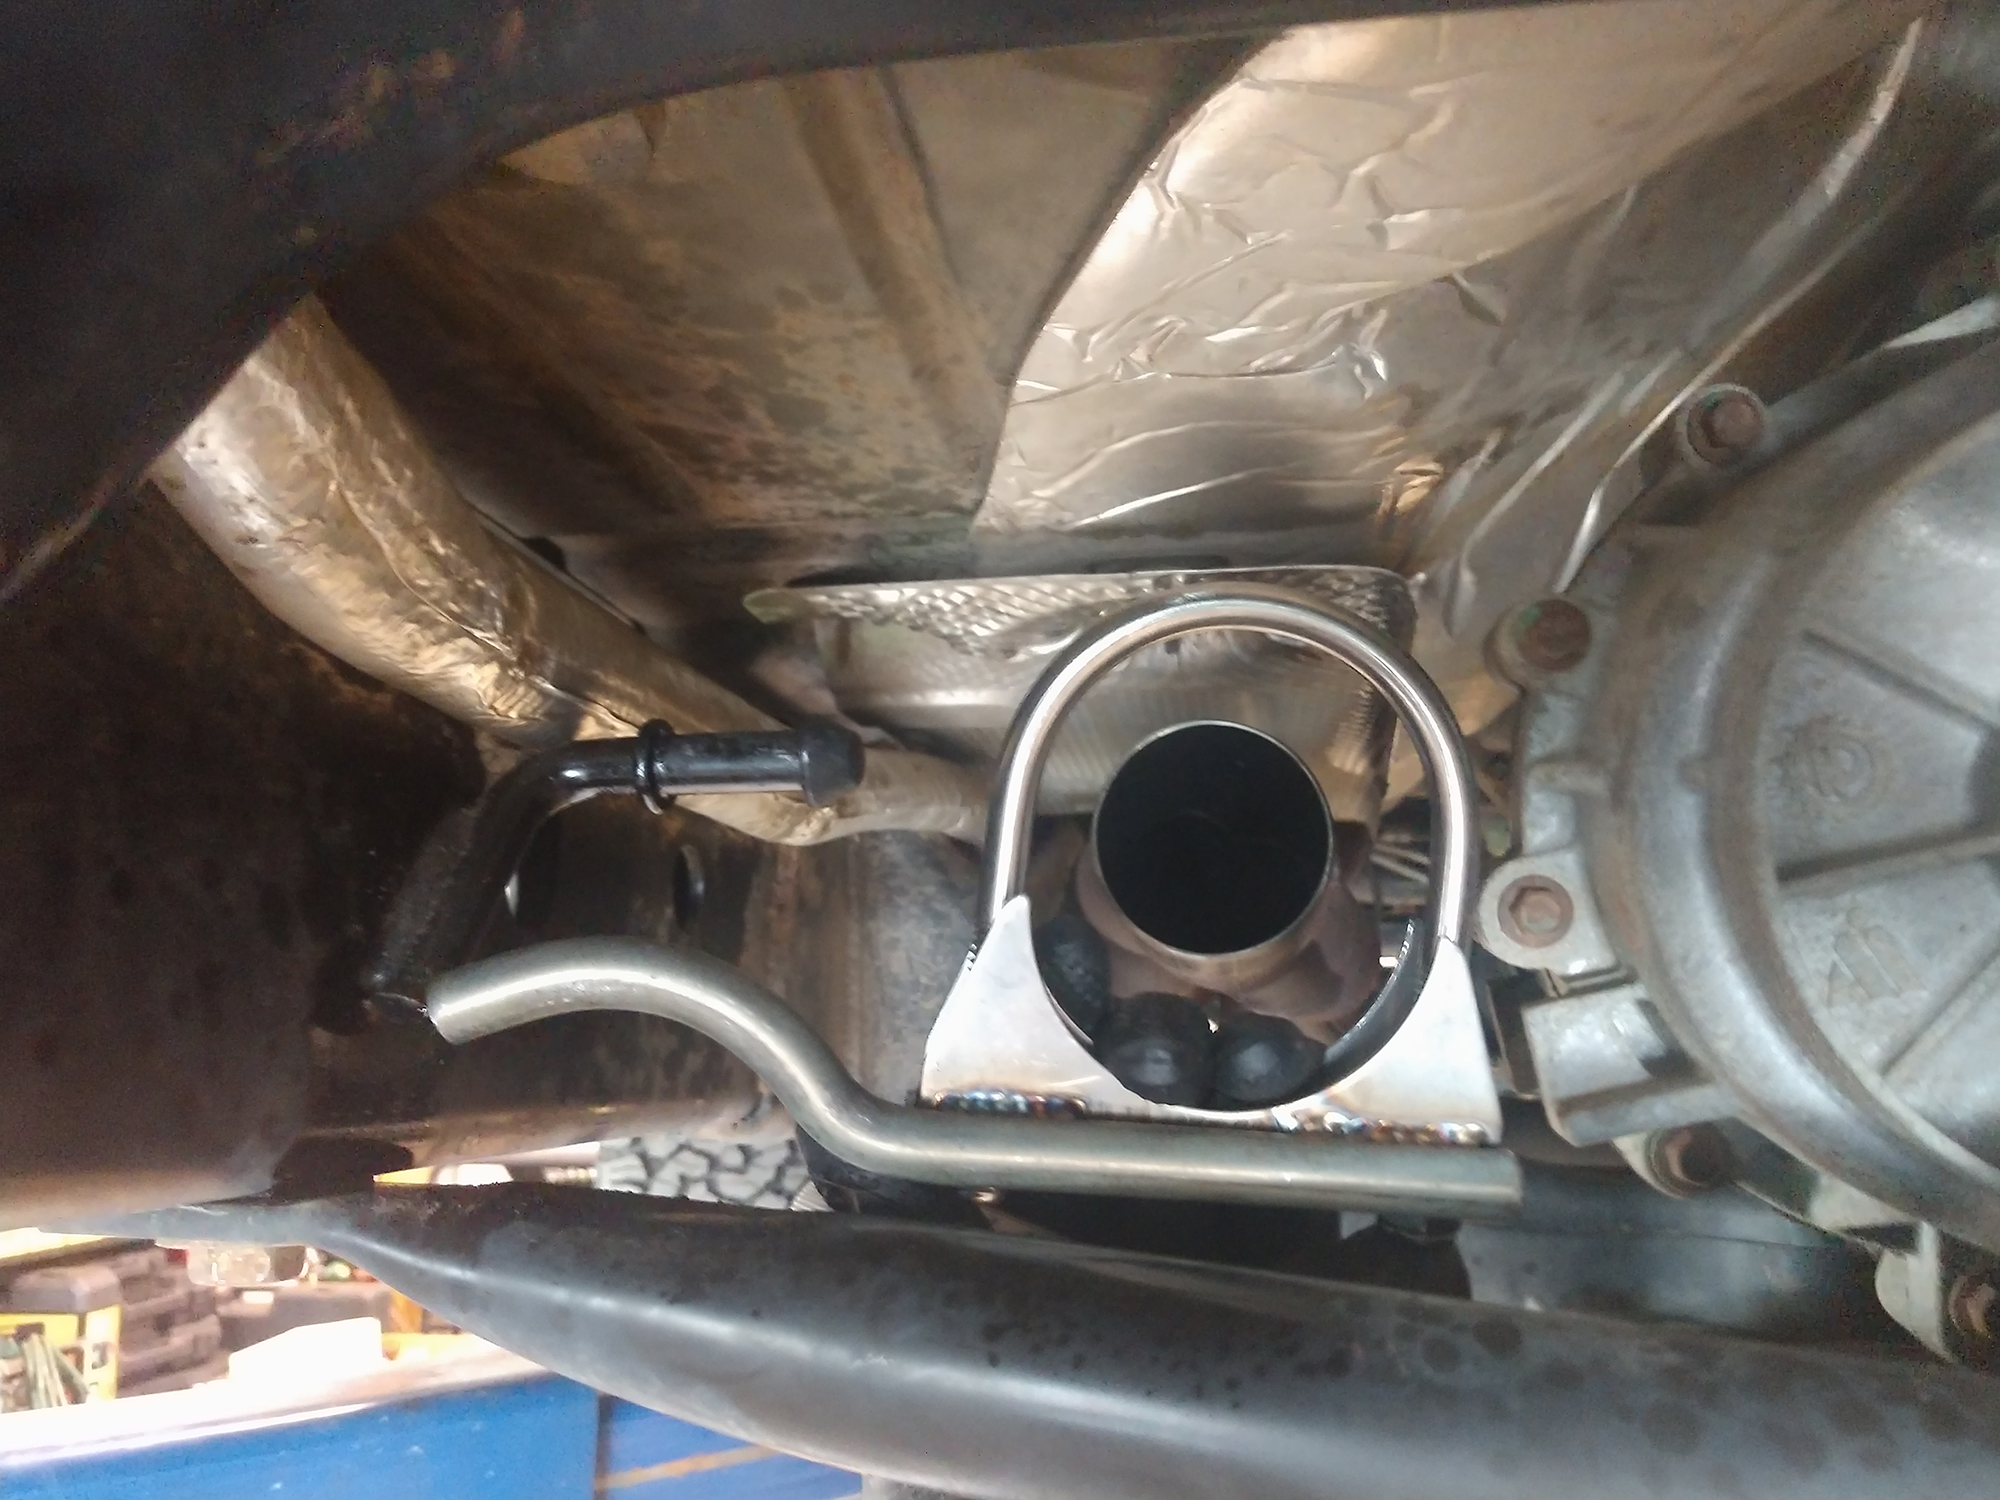
Also, since this Pypes exhaust is so much lighter than factory, the extra mount isn’t 100% necessary—it does sit slightly close to the transfer case, and I opted to leave it off. Because of its U-bolt design, it could easily be added later.
The Pypes system includes two straight pipes for the JKU, a muffler and an over the axle tail pipe. One straight pipe goes in front of the muffler, one behind it. The notch in the muffler is oriented towards the rear of the vehicle, and towards the center.
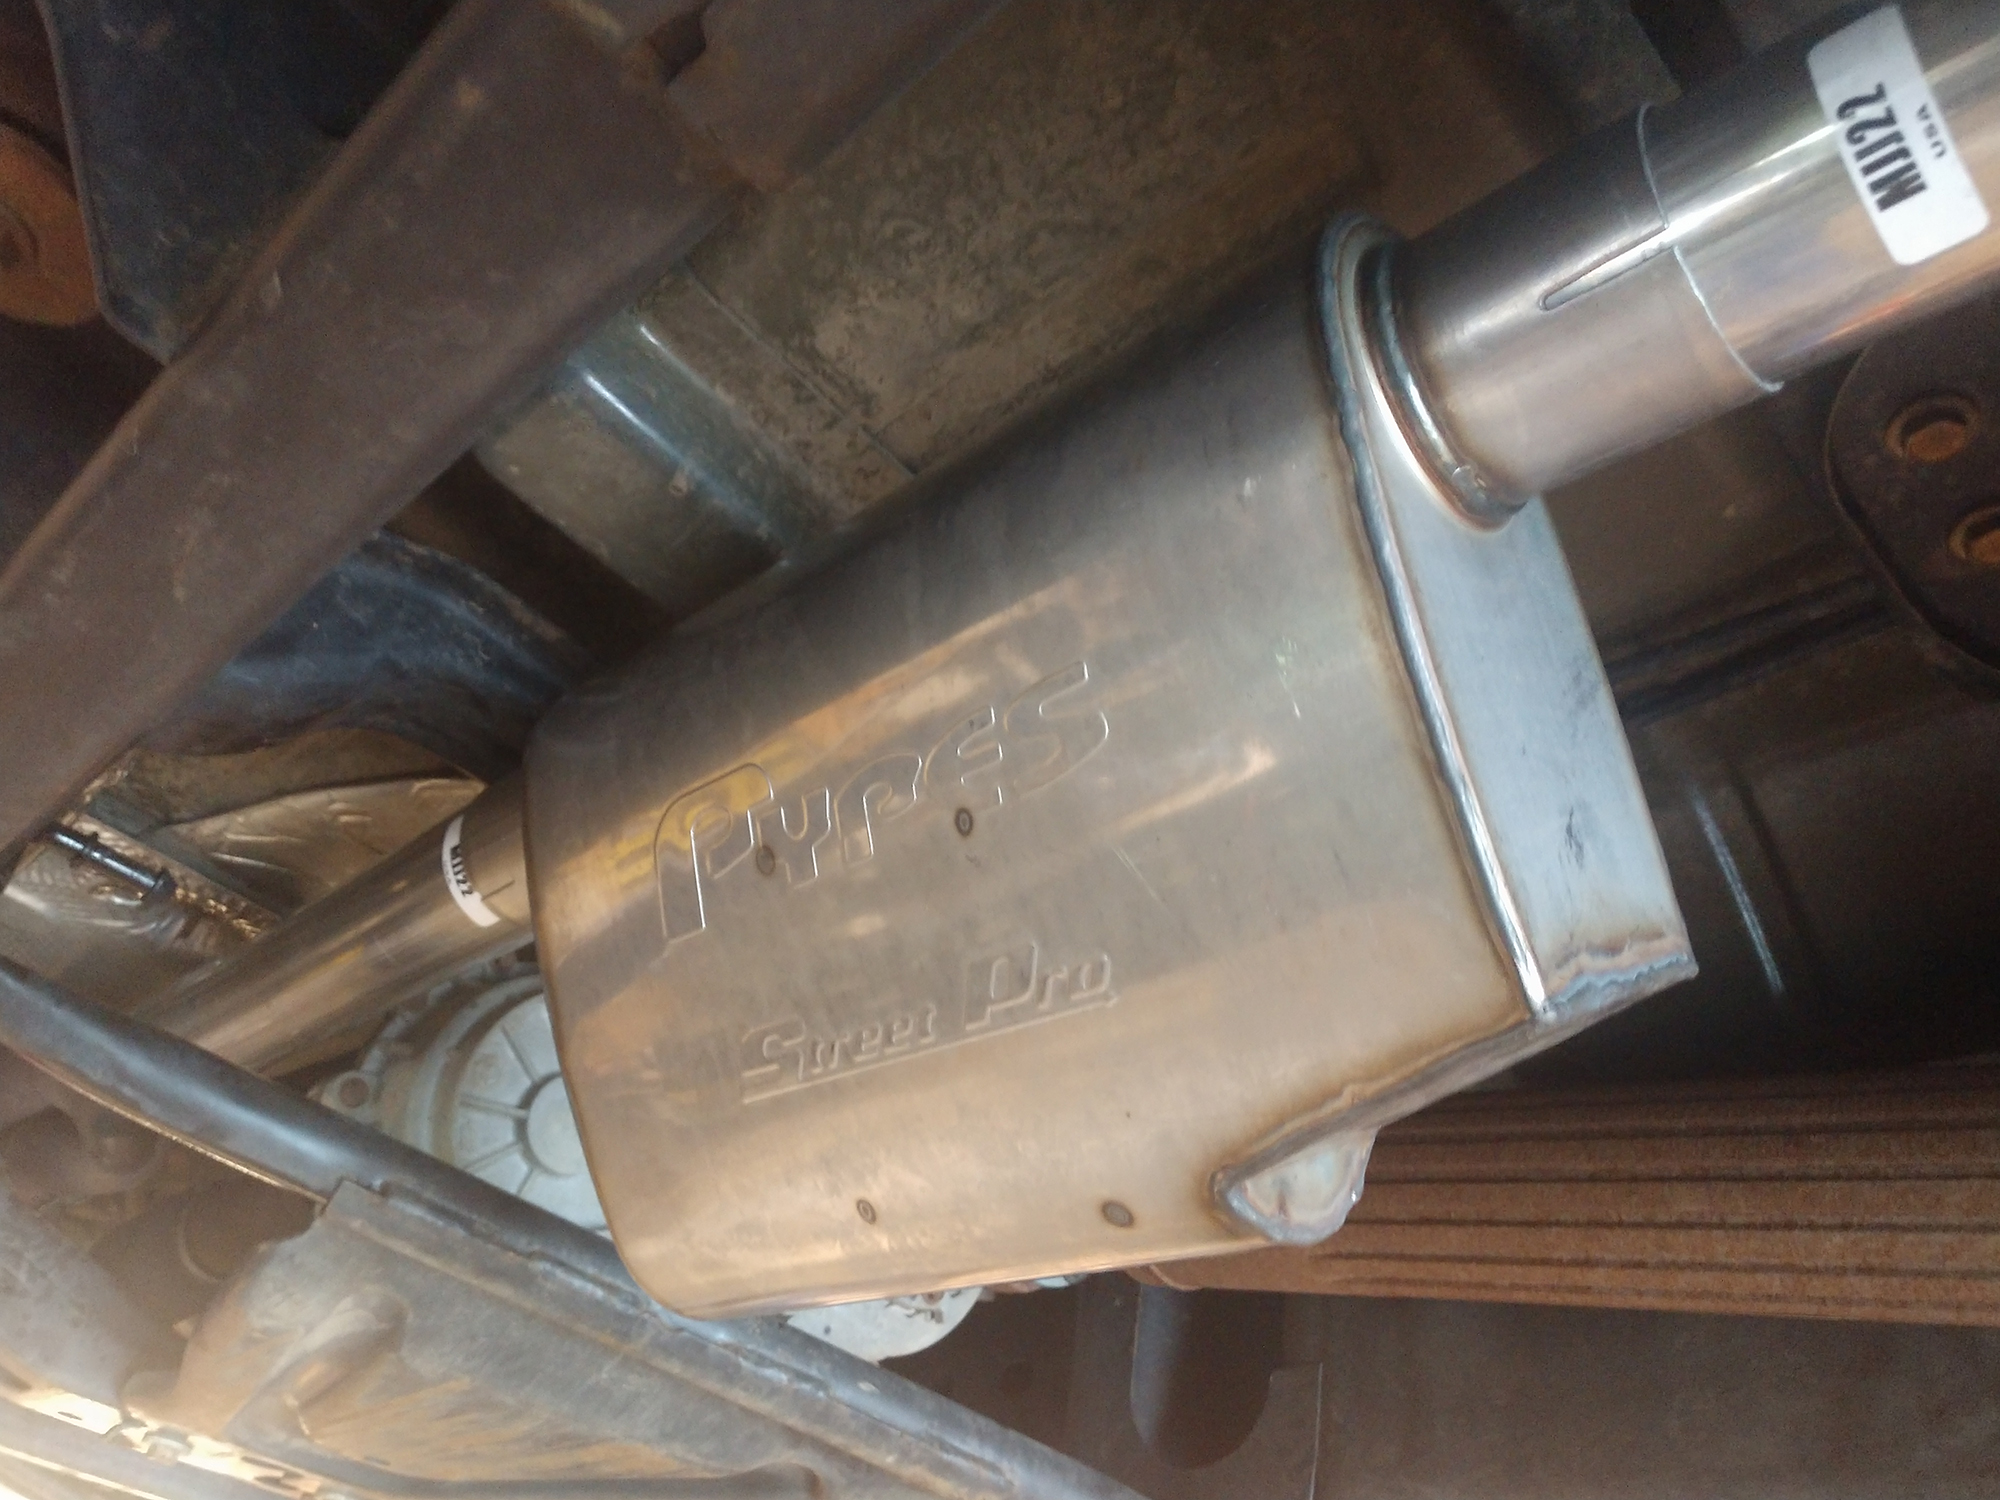
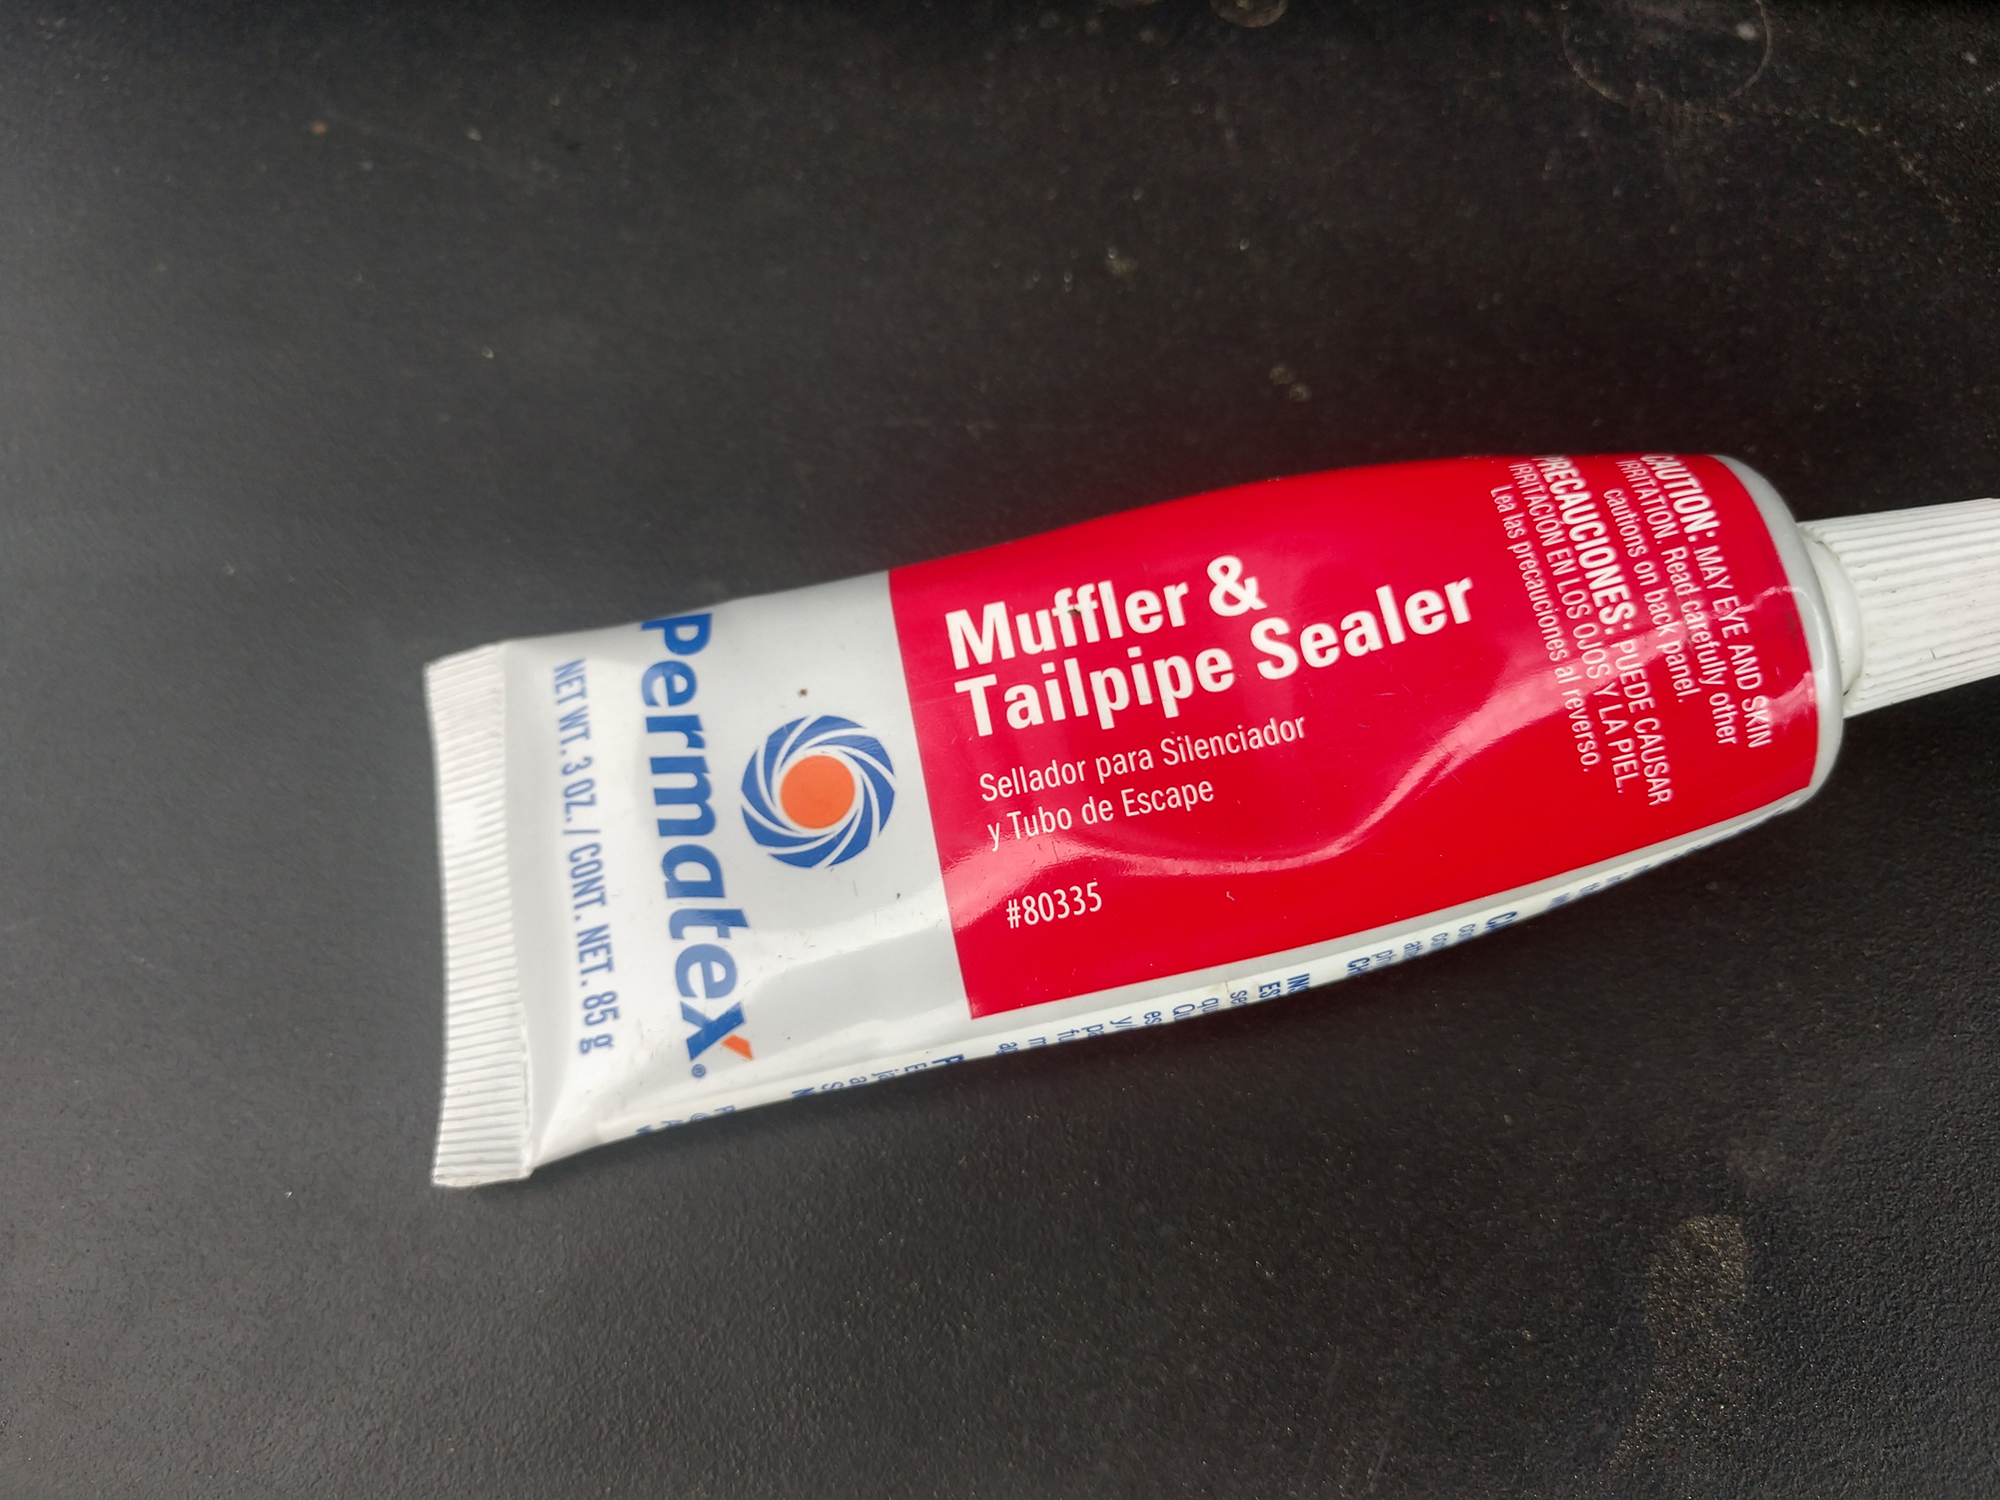
For the test fit, I assembled the system without clamps to check clearances. Since everything lined up just fine, I went through with final assembly, using a small amount of muffler and tailpipe sealant at each connection to ensure leak free performance. Remember to slide the clamps over the pipes at each junction prior to assembly.
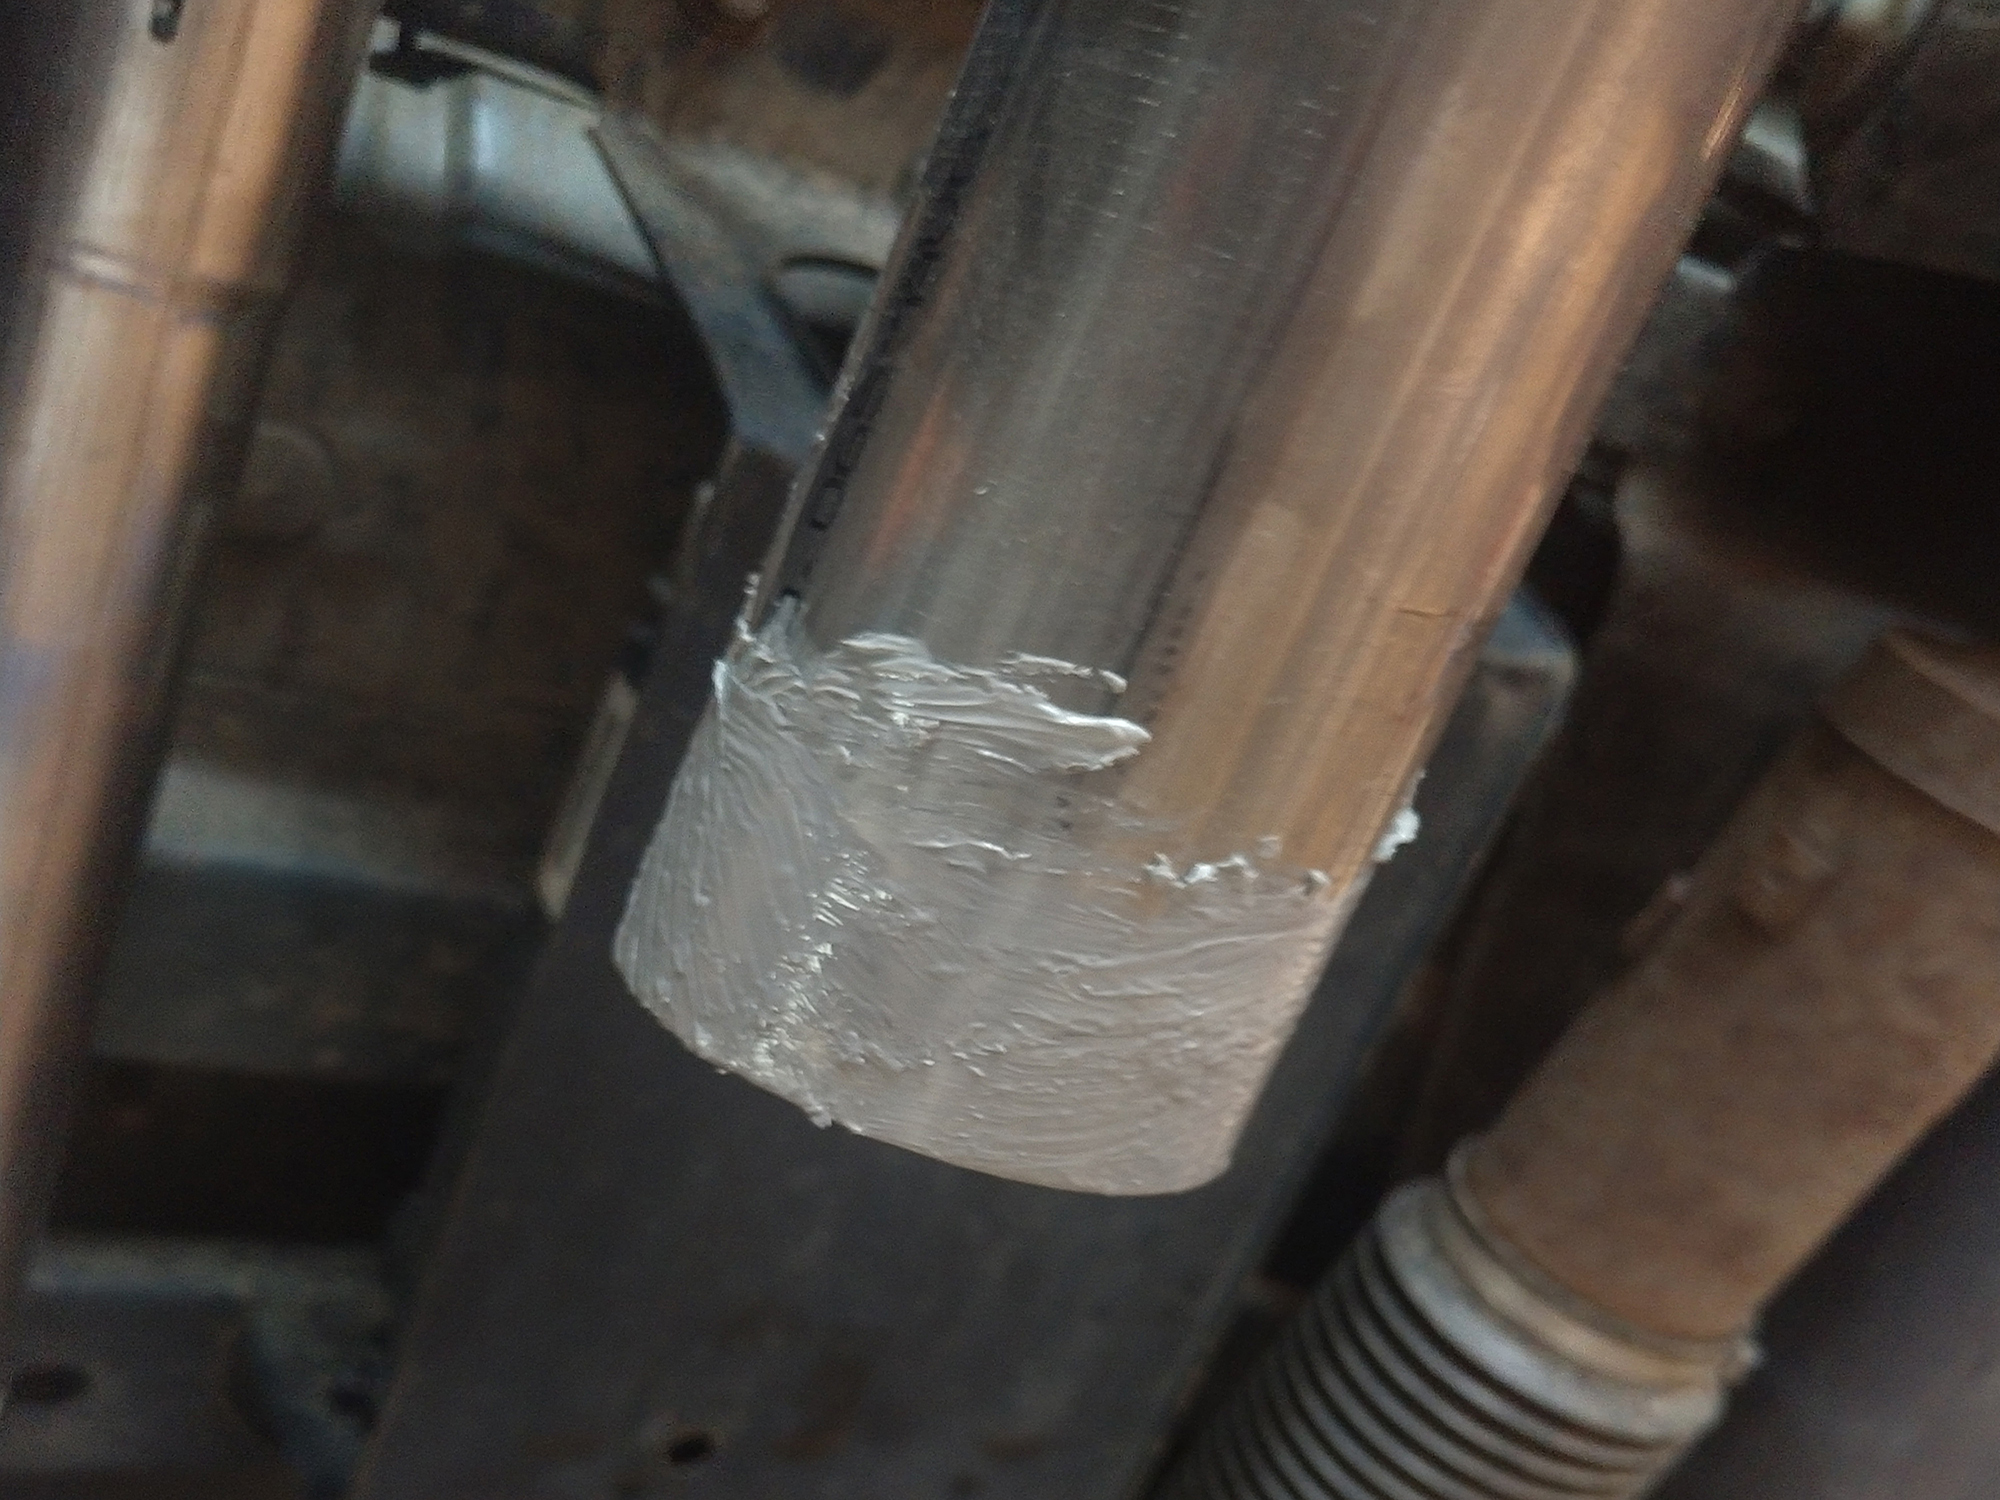
One note: I wasn’t totally happy with the orientation of the clamps once I had everything assembled, but since I used muffler and tailpipe sealant, I didn’t take them apart again to flip the clamps.
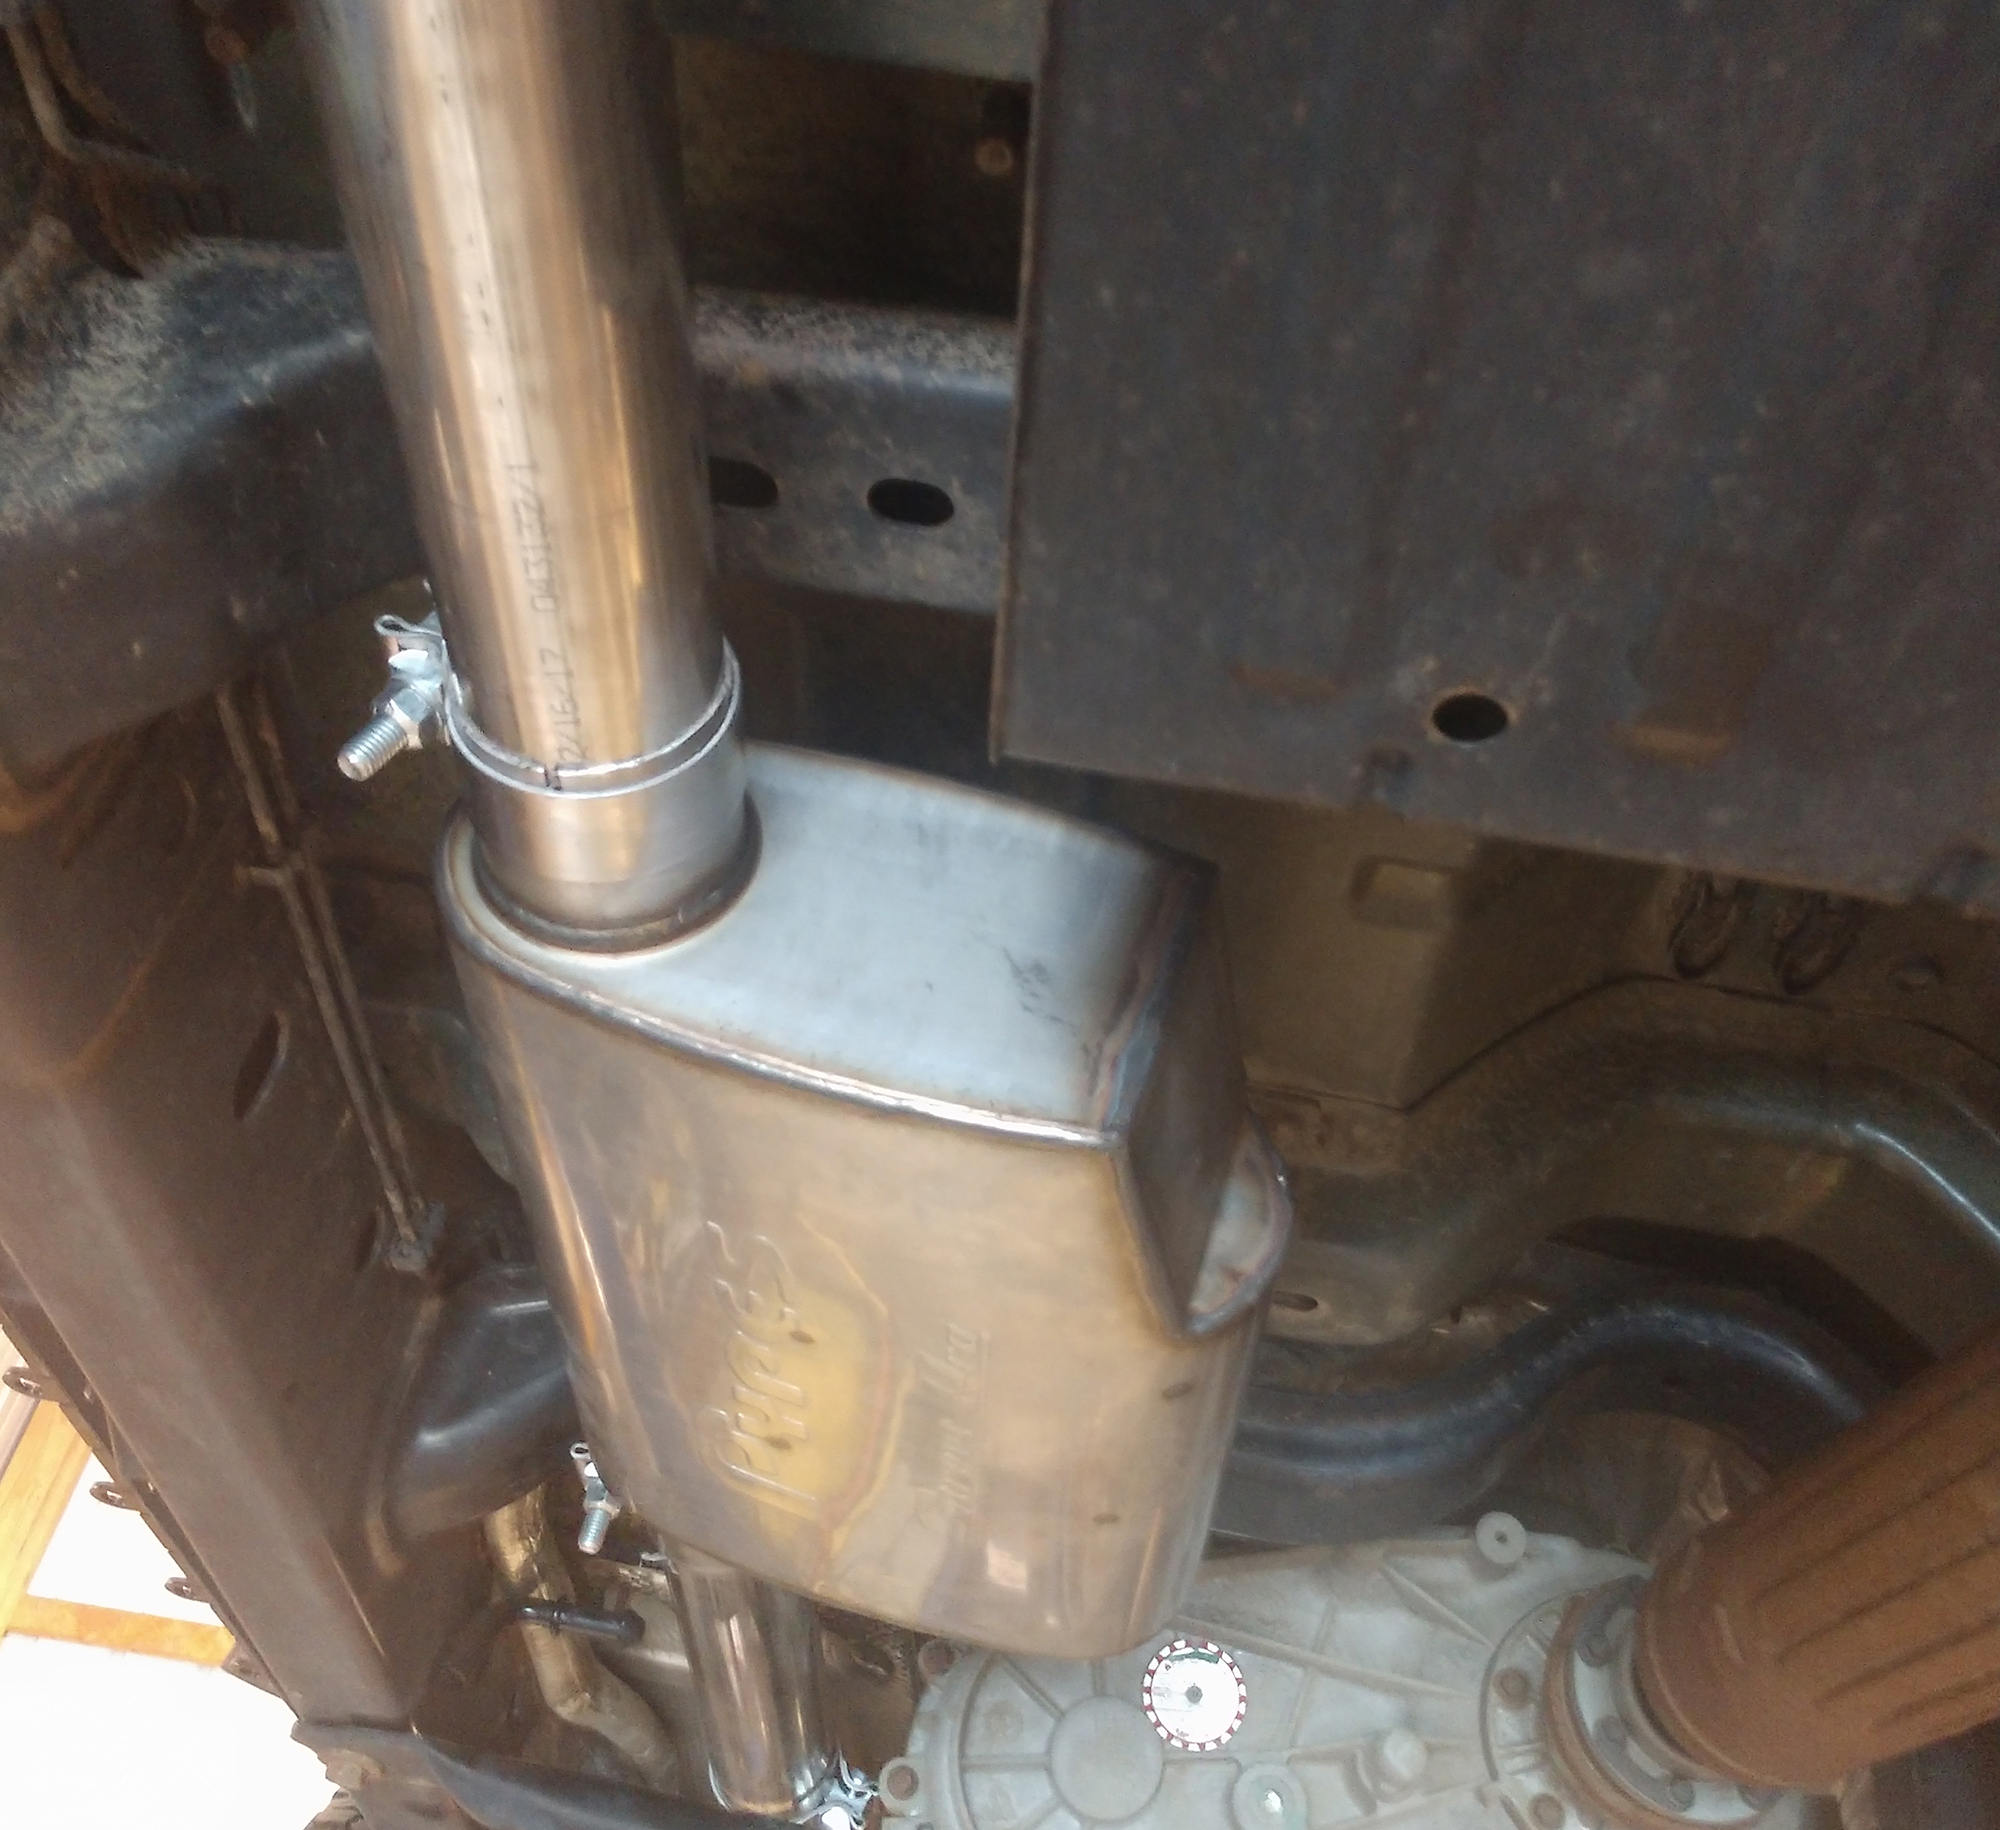
Nothing gets close enough to the body to cause an issue, but if you want the maximum overall ground clearance with the clamps pointed in an intelligent direction, try this—position all clamps with the nuts facing downward, with only the front-most clamp (up by the downpipe) oriented towards the Jeep’s drivers side. The other three clamps would make more sense pointed inward, so exactly the opposite of how it appears in the above picture.
In the end, I am definitely very pleased with the way this system works and sounds. It has a low, throaty tone at low RPMs, and if driven conservatively, it isn’t loud enough to make your neighbors hate you. However, if you are a fan of the louder, more aggressive note, then you can get this same high clearance kit with the M80 muffler. There is no right or wrong here, just preference.
I have an AFe cold air intake on the Jeep as well, and the sound at full throttle is very aggressive. It sounds like a much bigger engine, not like an obnoxious low displacement import exhaust.
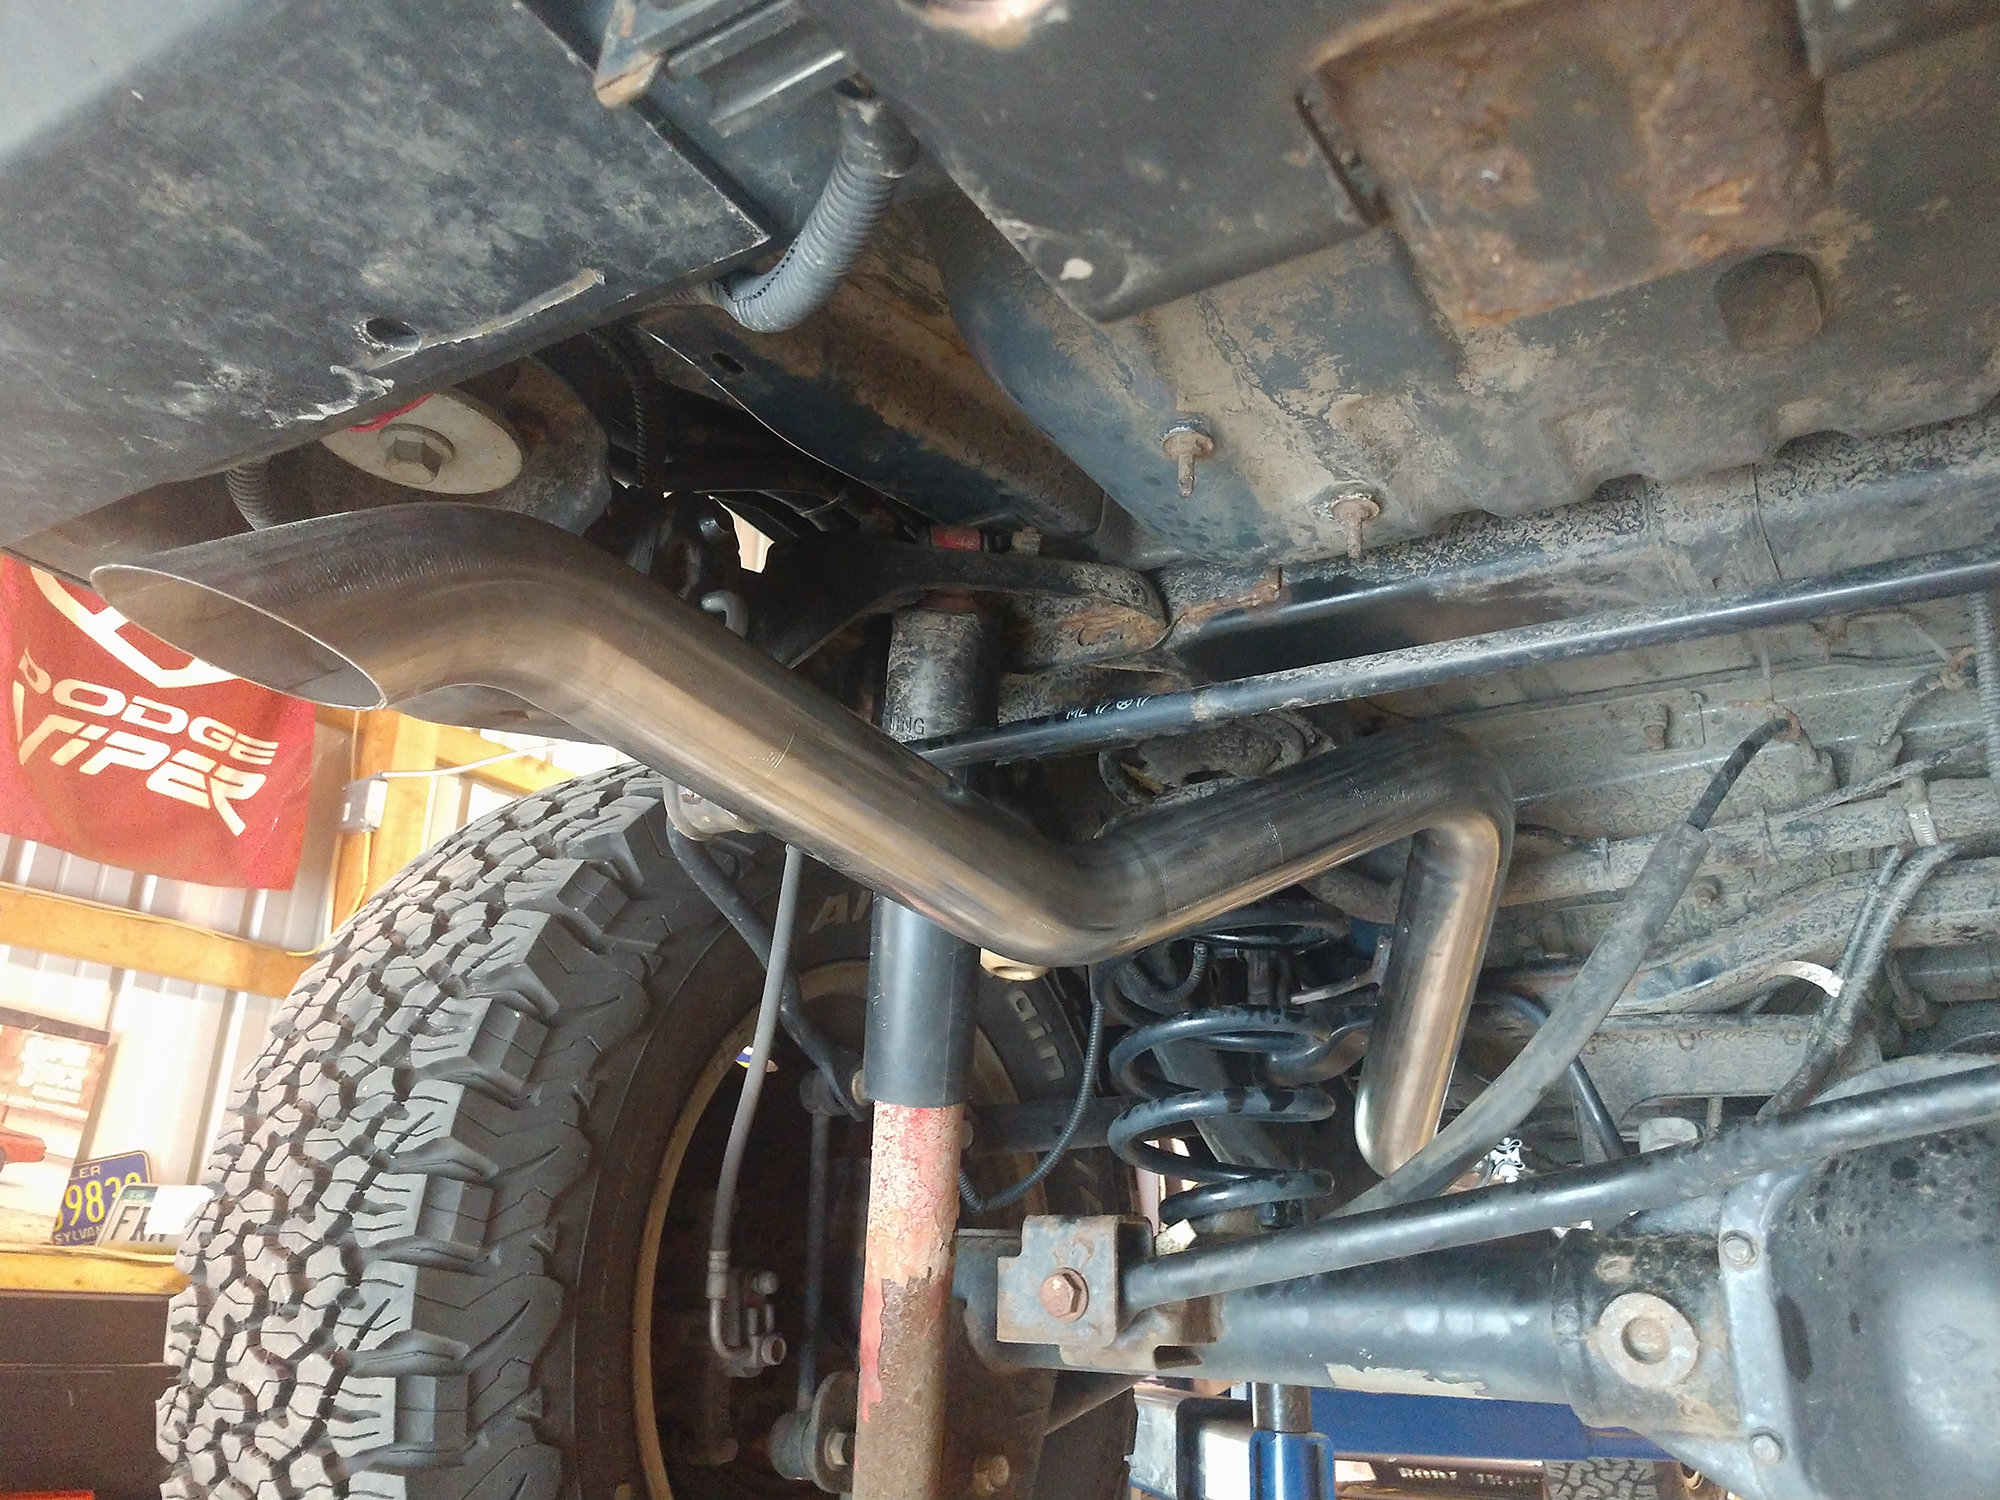
I’m looking forward to trying this kit out on the trails soon, and from the look of things I am confident it will be every bit as durable as my last Pypes Performance exhaust.


