Installing a SYE or Slip Yoke Eliminator Kit may be intimidating to some, but it is actually super easy and can be done with basic hand tools.
What You Will Need
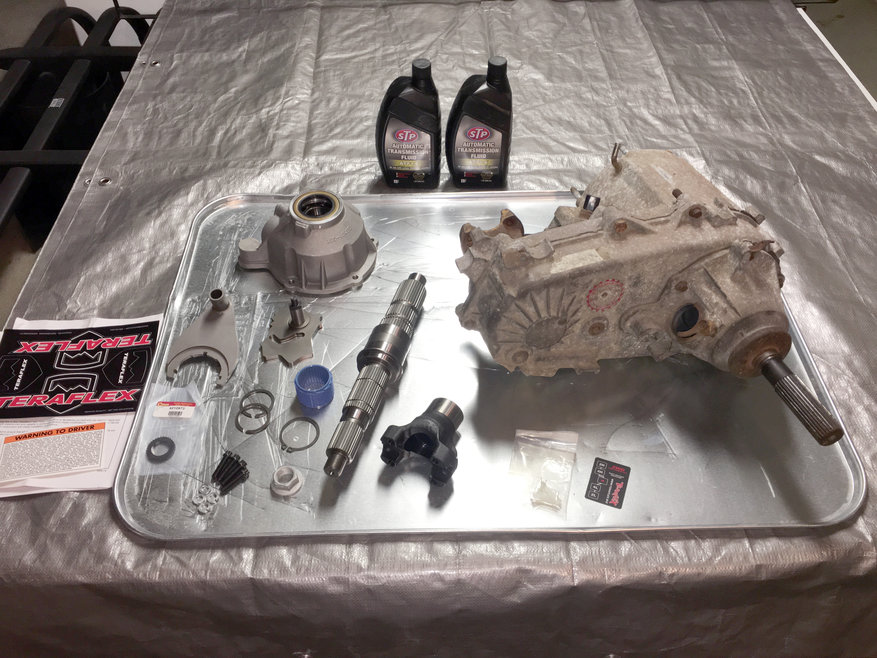
- 2 quarts of ATF+4 Automatic Transmission Fluid. - Mopar 68218057AA ATF+4 Automatic Transmission Fluid
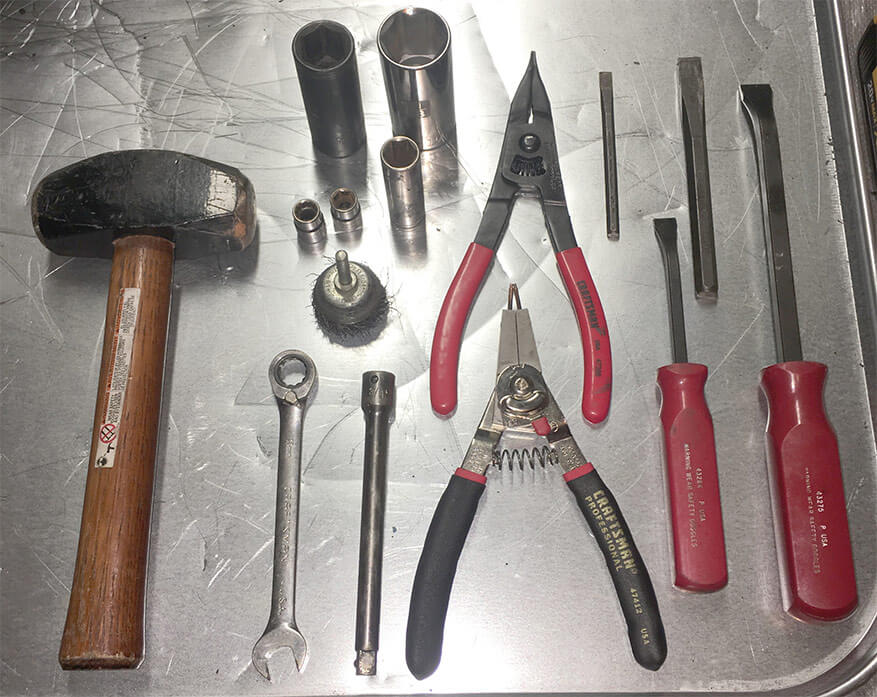
- Small & large chisels
- Small & large pry bars
- Hammer
- Snap ring pliers
- Circle clip pliers
- Wire brush
- Brake Cleaner or De-greaser / Solvent
- 10mm 12 & 6 point socket
- Extension
- 7/8" socket
- 1-1/8" socket
- 15mm socket
- 13mm wrench
Instructions
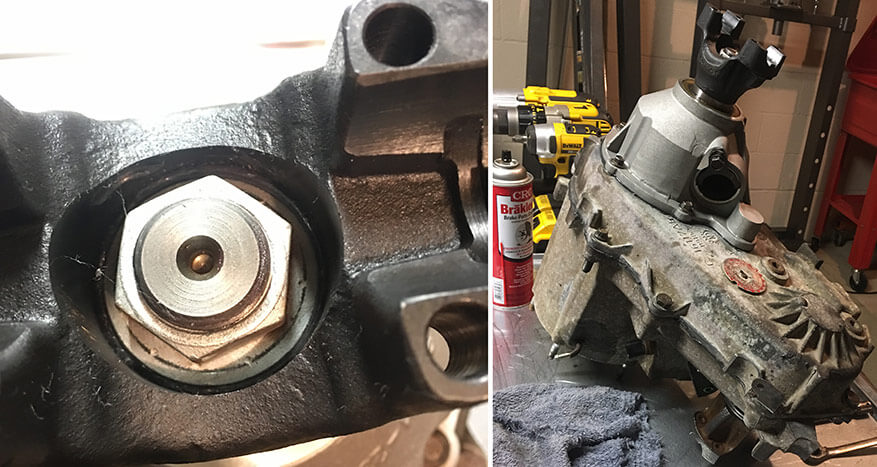
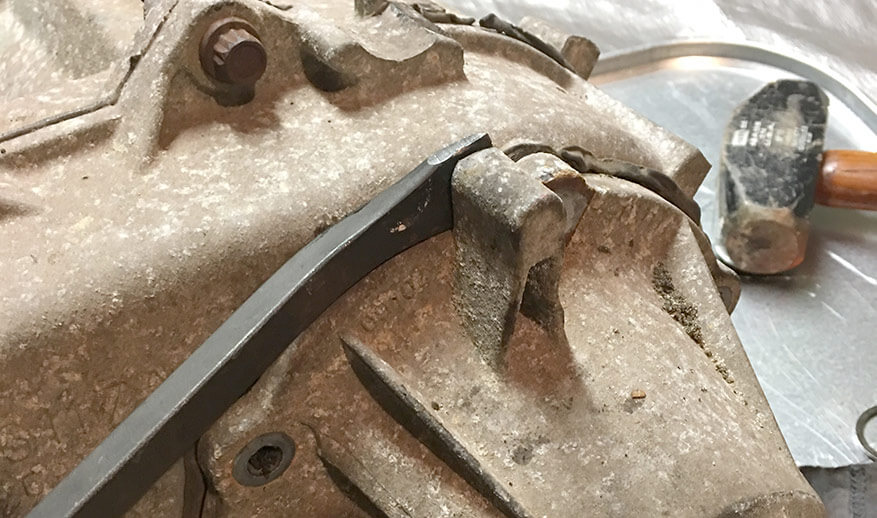
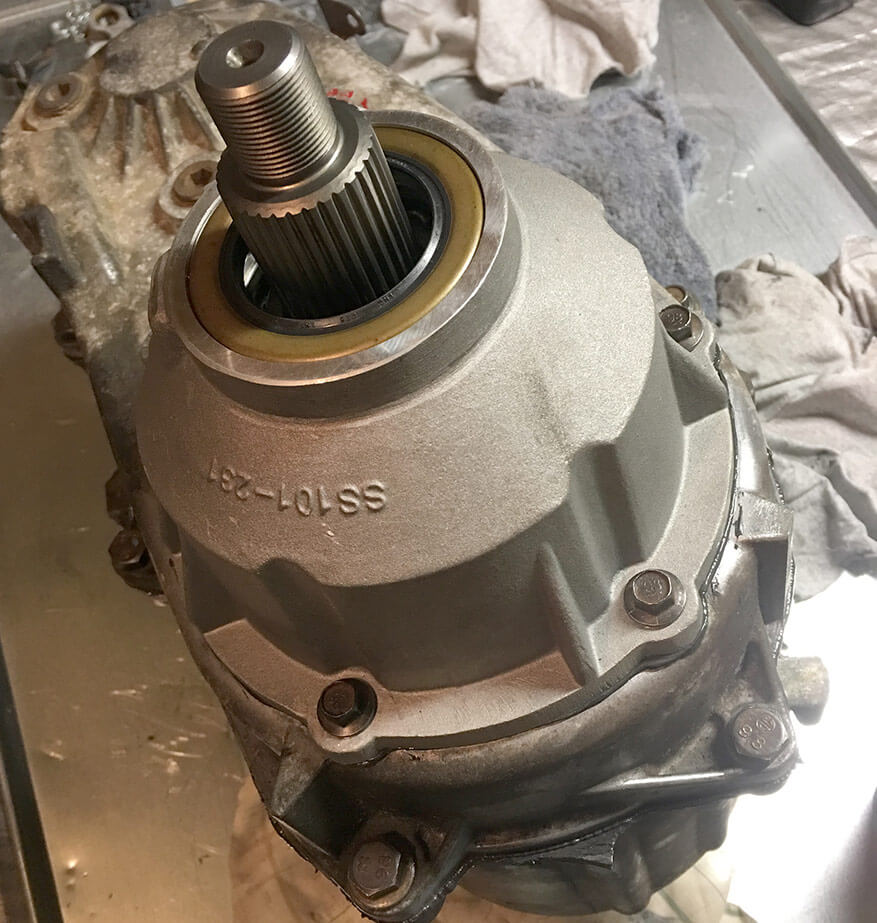
1. Remove the rear output shaft seal guard using a hammer and chisel. This will not be reused so no care is needed here.
2. Slide off and remove the seal guard spacer to access the constant circle clip.

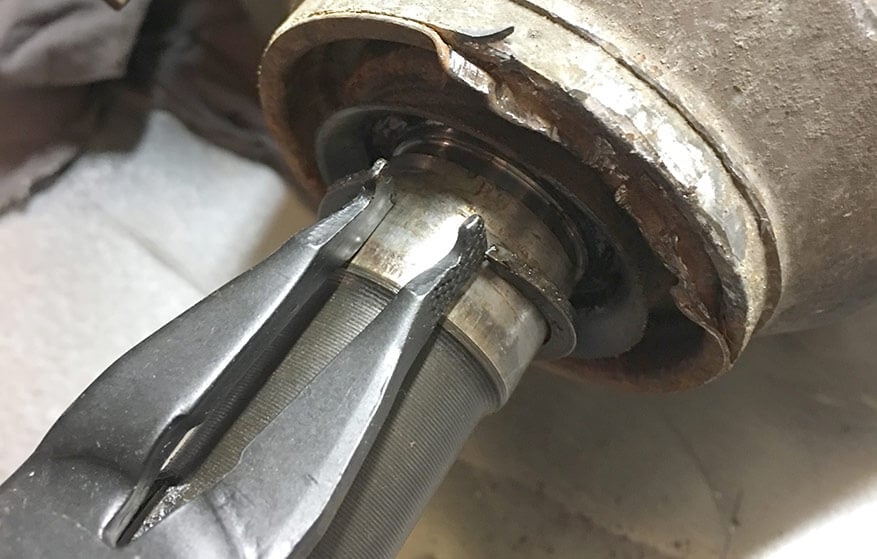
3. Remove the circle clip with flat blade style circle clip pliers.
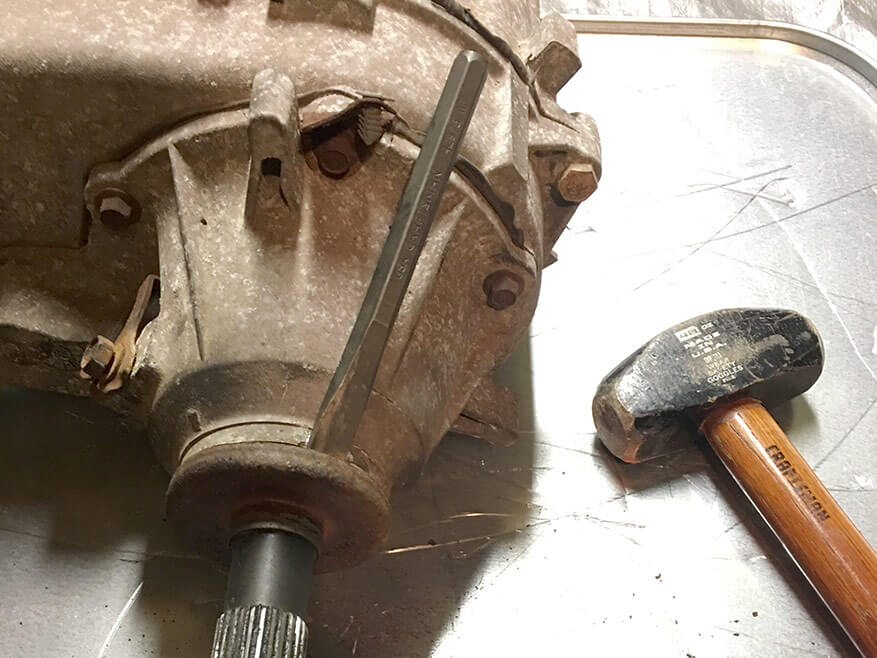
4. Using a hammer and chisel, remove the rear output shaft seal.
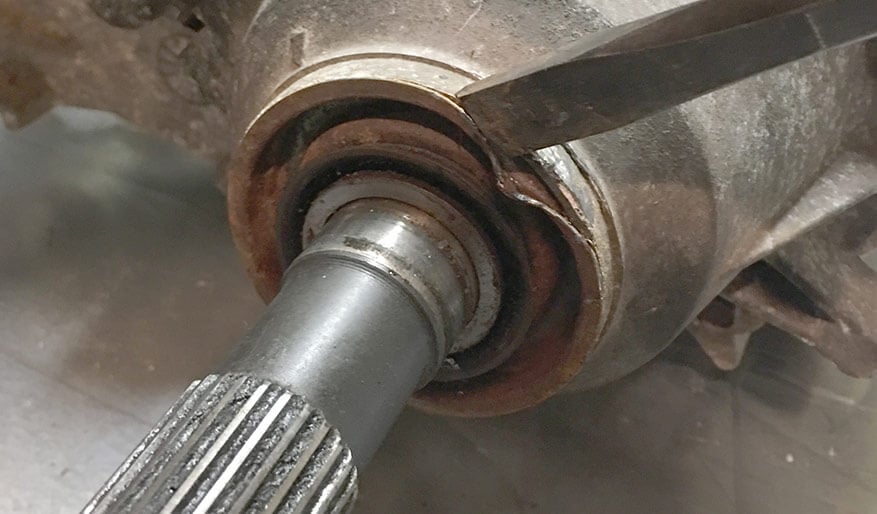
5. Remove the inner circle clip with flat blade style circle clip pliers.
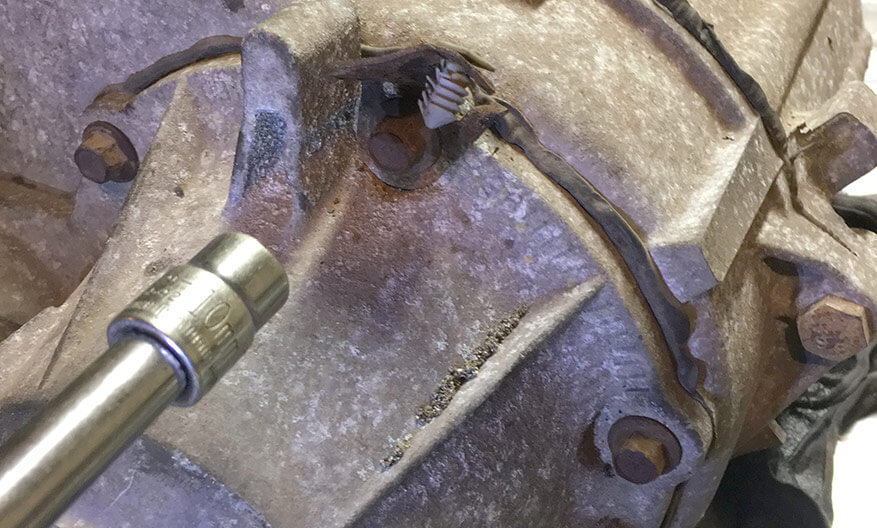
6. Using a 10mm 6-point socket, remove the five output housing bolts and set aside. They will be re-used later.
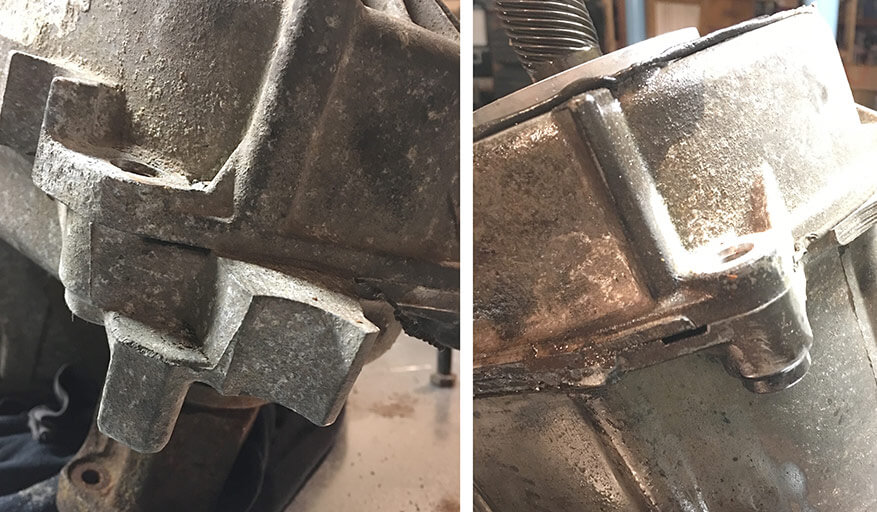
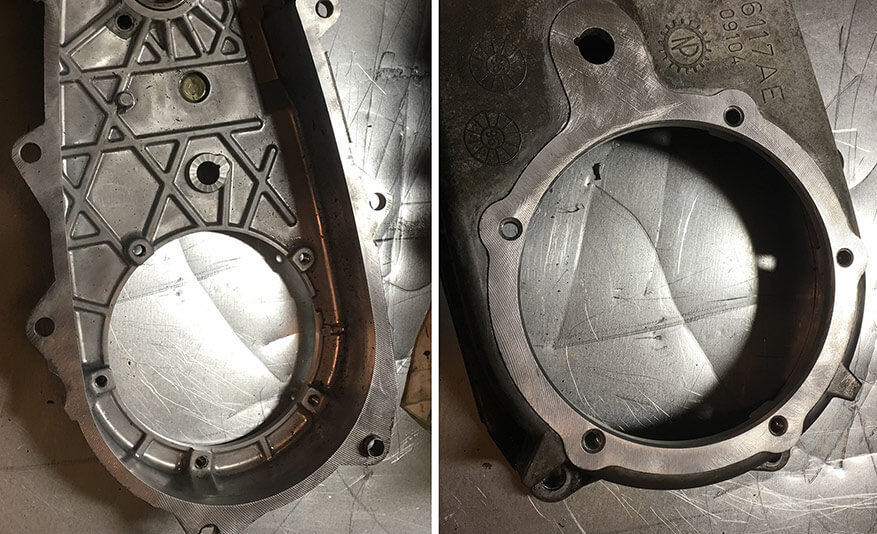
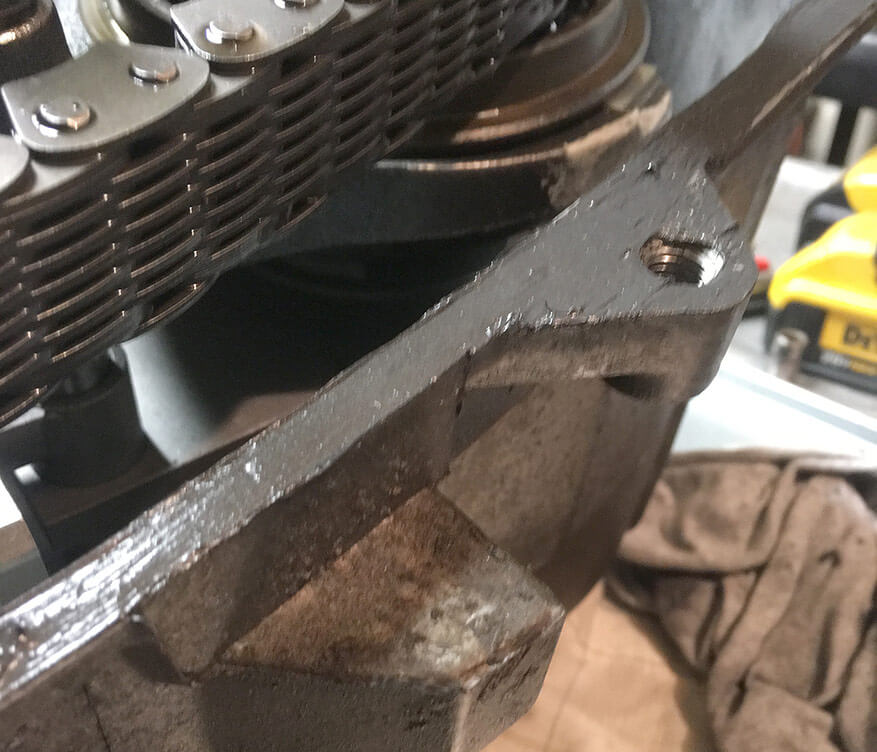
7. Gently pry housing at the large tabs shown and remove. It will be tight because of the original sealant. Discard housing.
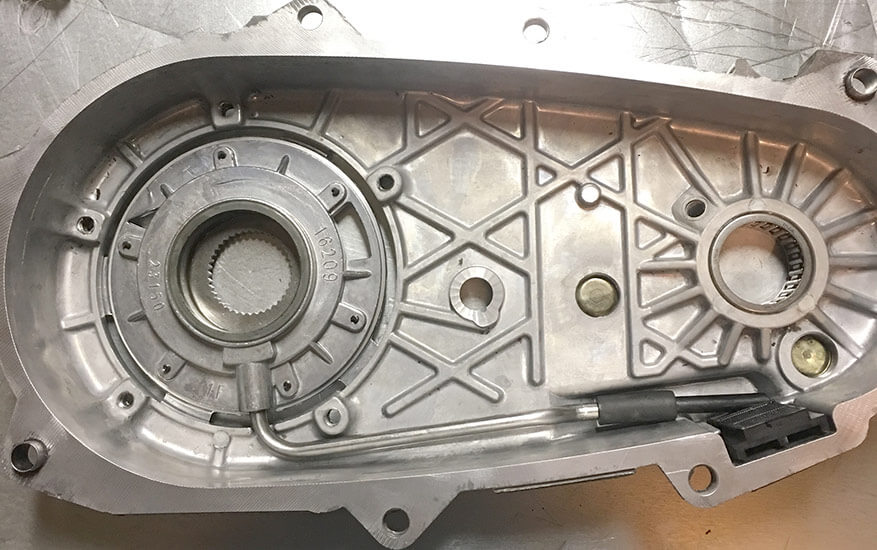
8. Here you will see the oil pump. Take caution and notice orientation.
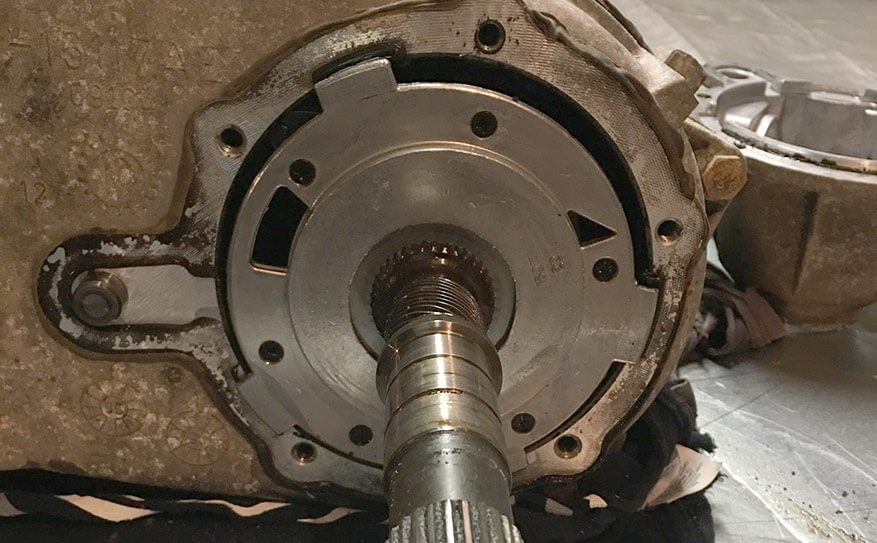
9. Carefully remove oil pump from output shaft by sliding outward and disconnecting filter tube at the six 'o-clock position.

10. Using 10mm 12 point and 15mm 6 point sockets, remove all housing half bolts and set aside. They will also be re-used later.

11. Locate the two pry marks at either corner of the case halves. Using a flat blade screwdriver, separate the housings at these locations.
12. Remove rear case half and set aside.
13. Using a 1-1/8" socket, remove the front output shaft nut and yoke, then set aside. They will also be re-used later.

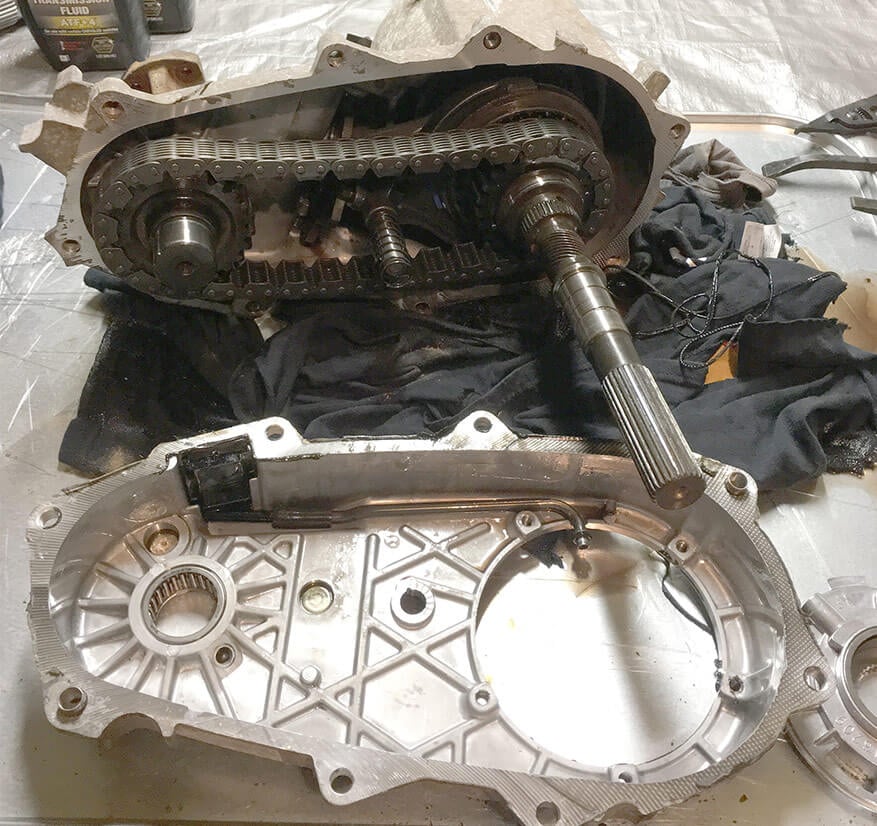
14. Carefully remove rear output shaft, chain and front output shaft from case as an assembly.

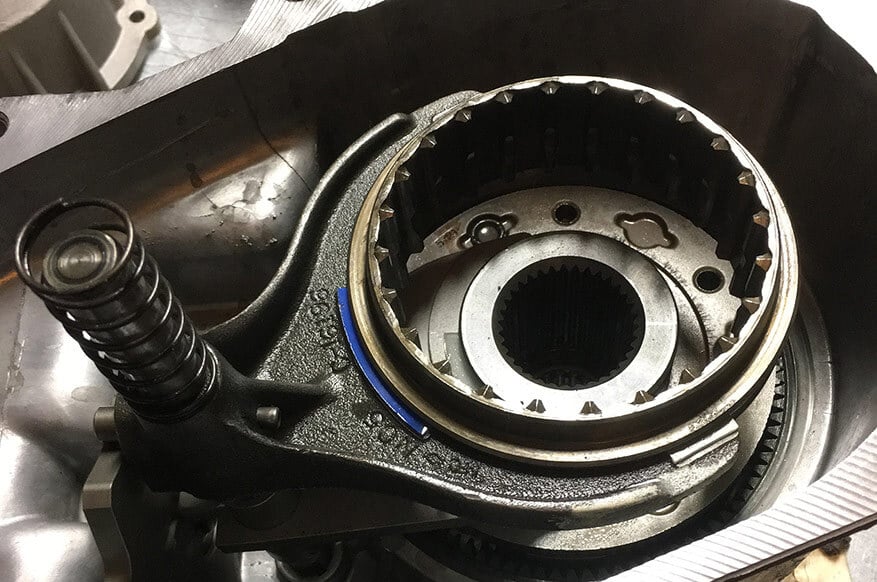
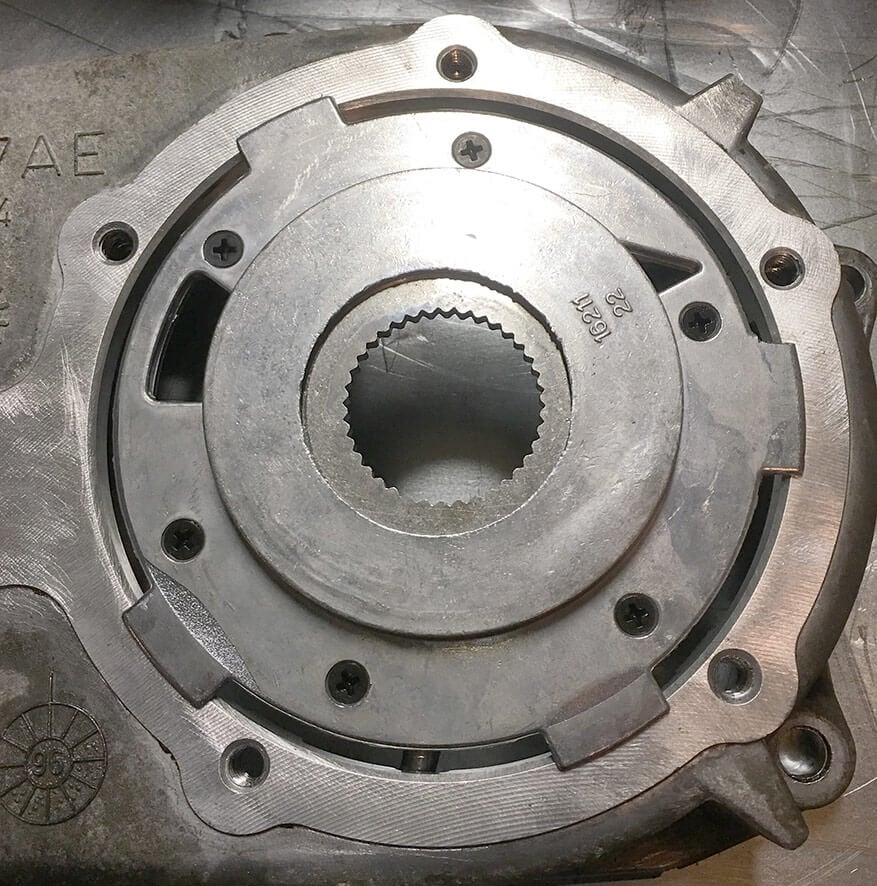
15. Separate the rear output shaft from the chain and locate the circle clip that retains the four wheel drive main gear.
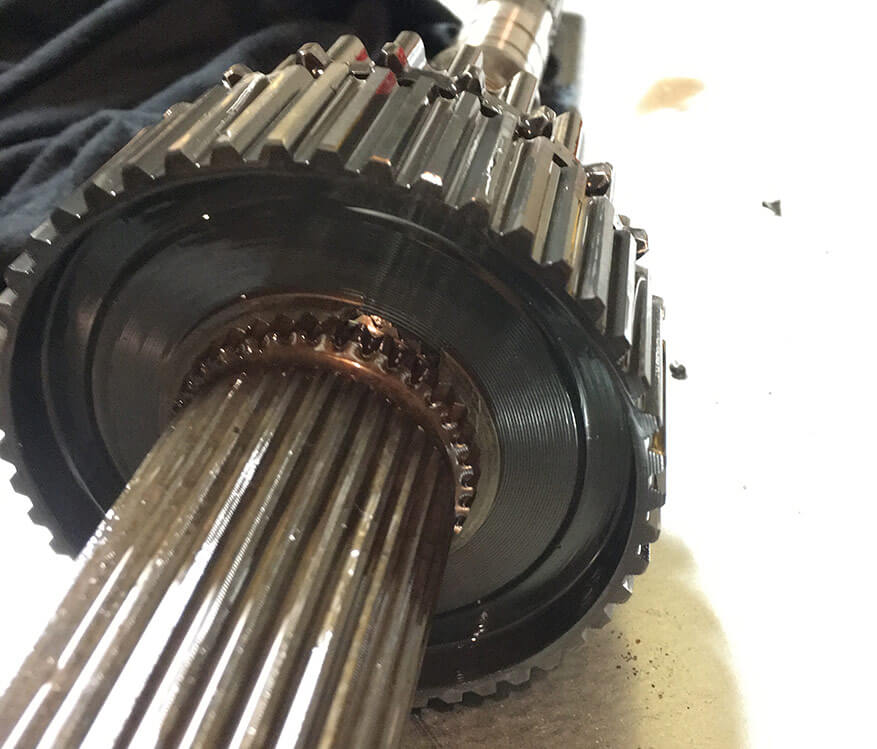
16. Slide off the 4wd drive gear from the main shaft - taking notice to orientation.
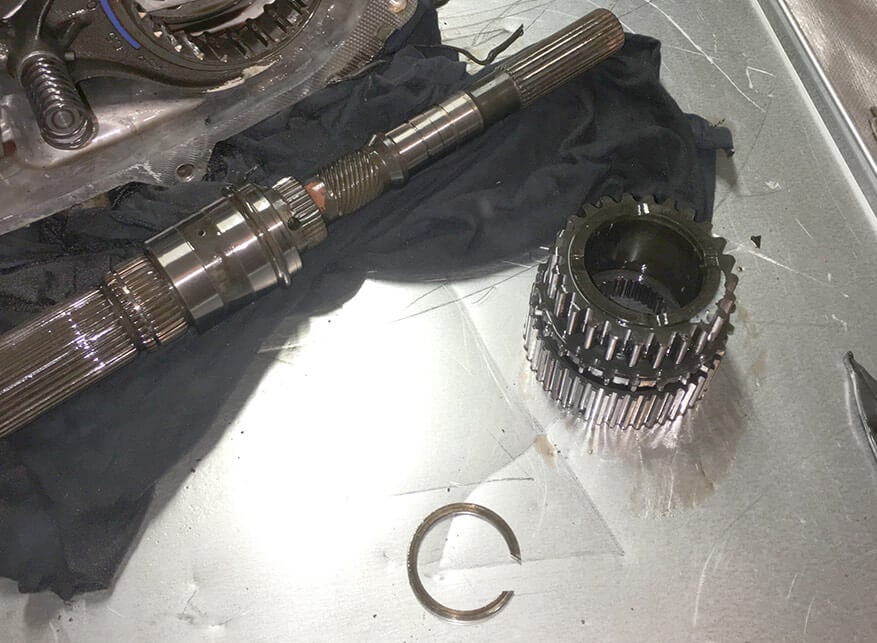
17. Install the 4WD gear onto the TeraFlex main shaft in the correction orientation, using the large snap ring and snap ring pliers as shown. Carefully set aside for later.
18. Remove the 4 wheel drive ring and fork as an assembly. Note ring orientation.
19. Remove the Low Range drive gear and selector fork. Note gear orientation.

20. Using a 13mm socket, remove the shifter linkage from side of transfer case. Save and set aside.
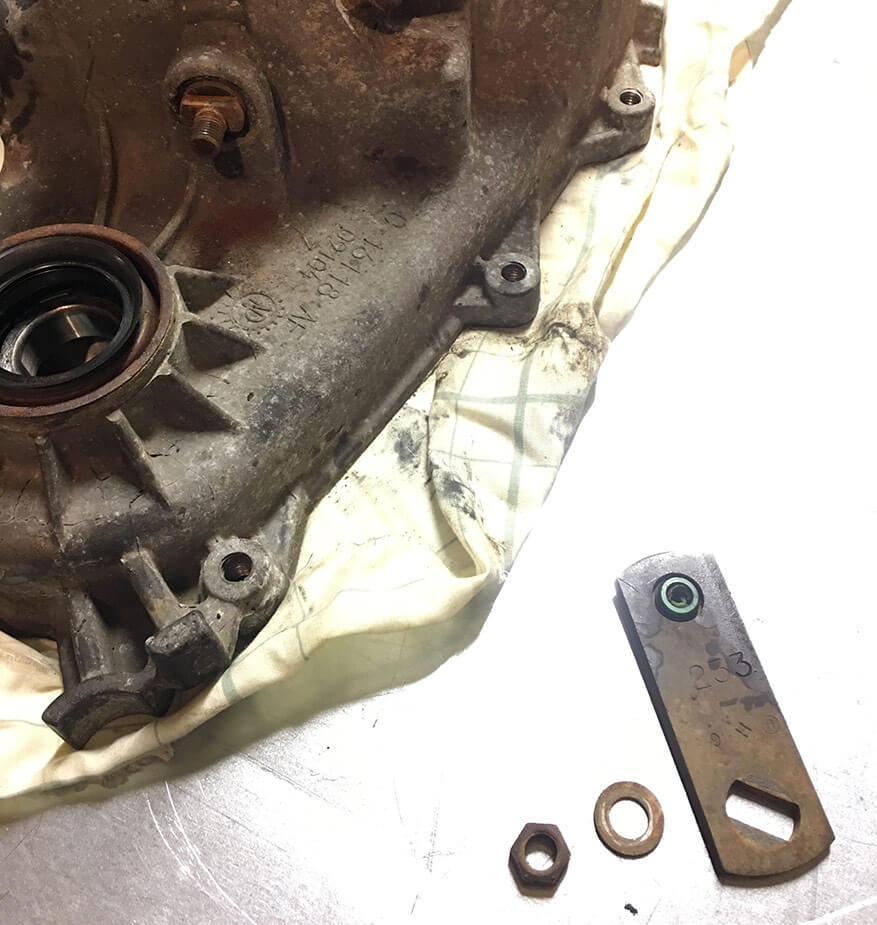
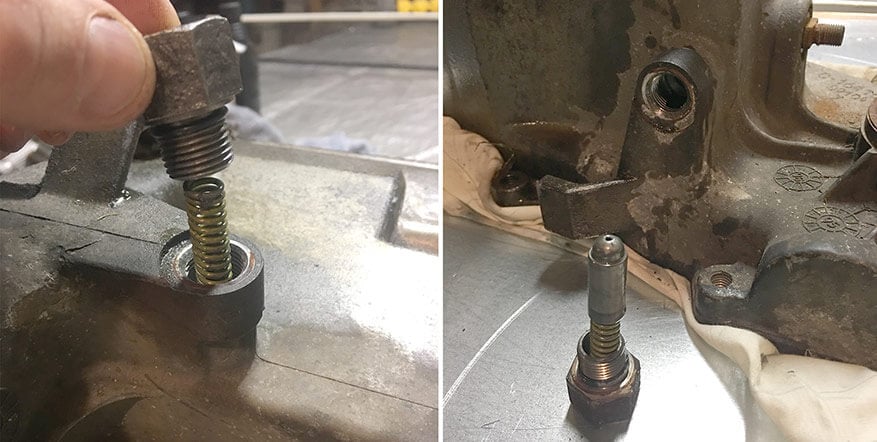
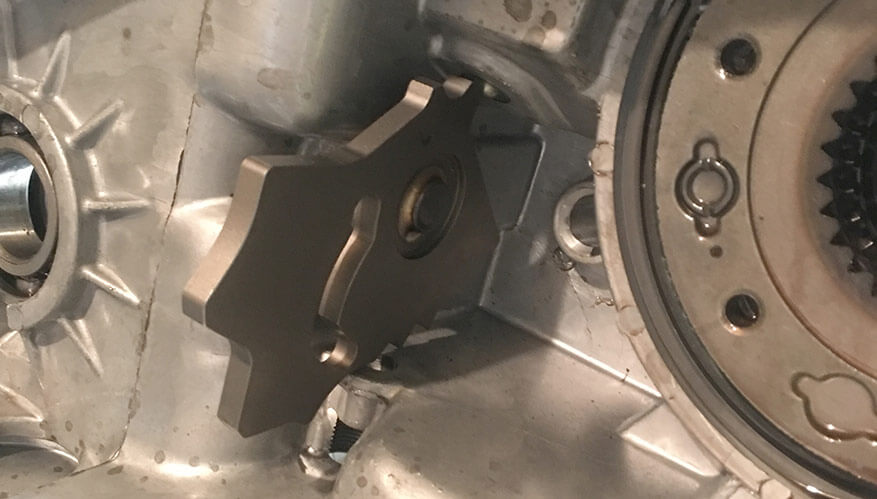
21. Locate and remove the mode selector ball detent and spring using a 7/8" socket. Save and set aside.
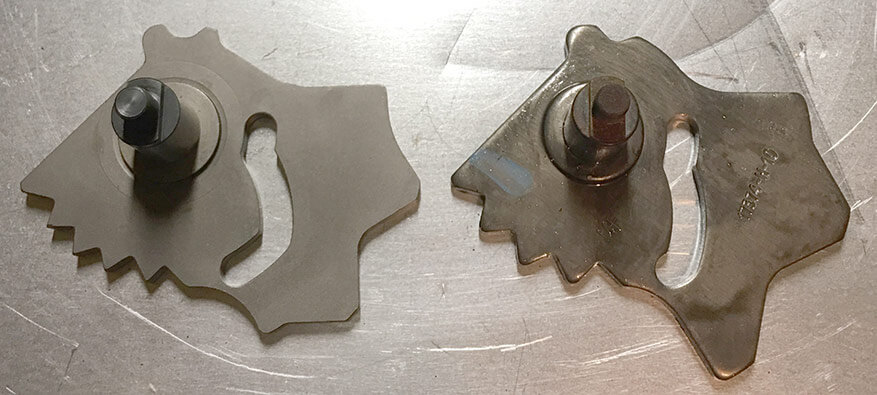
22. Here you can see a comparison shot of the original (right) and TeraFlex (left) mode selector. The TeraFlex unit has a larger slot and one more detent to accommodate the 2WD Low Range position.
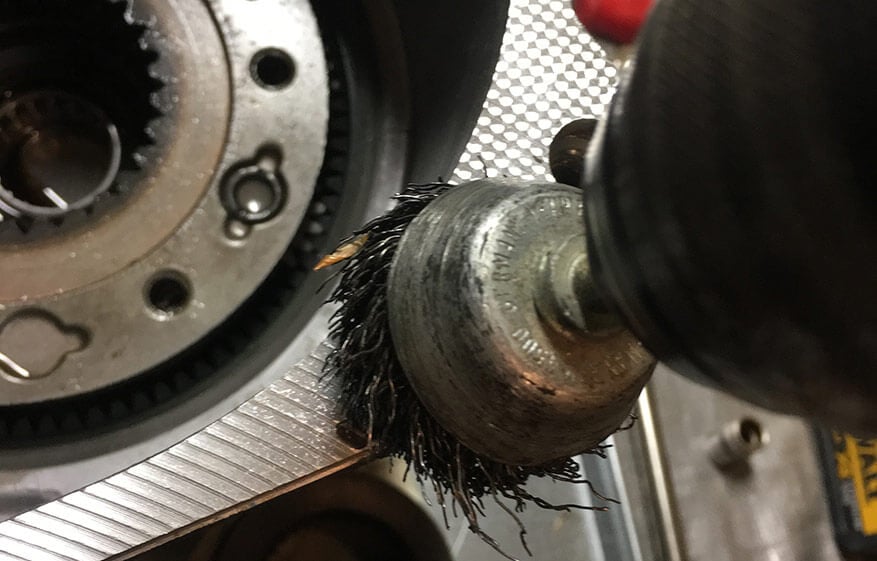
23. Since the cases are empty, now is a good time to thoroughly clean the mating surfaces with a wire brush to remove all old sealant. Also clean with a degreaser so the new sealant will stick. Now would also be a good time to remove the oil pump pickup tube and filter, clean thoroughly as well.
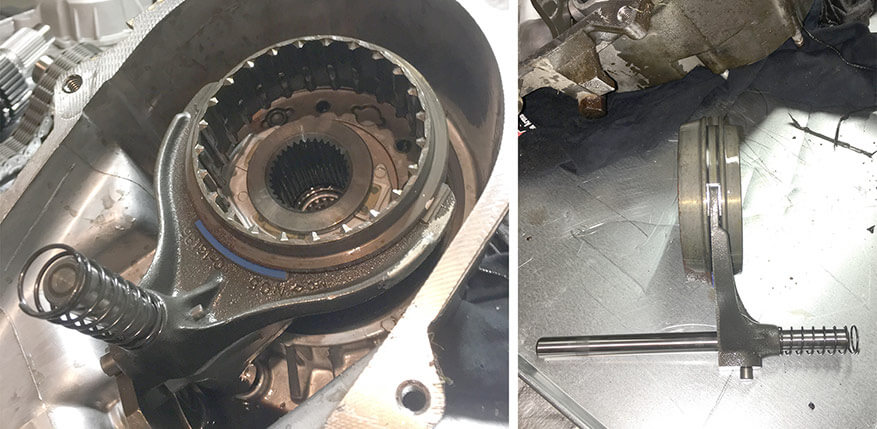
24. Slide the new TeraFlex mode selector into the housing. Secure using the original linkage, washer and nut.
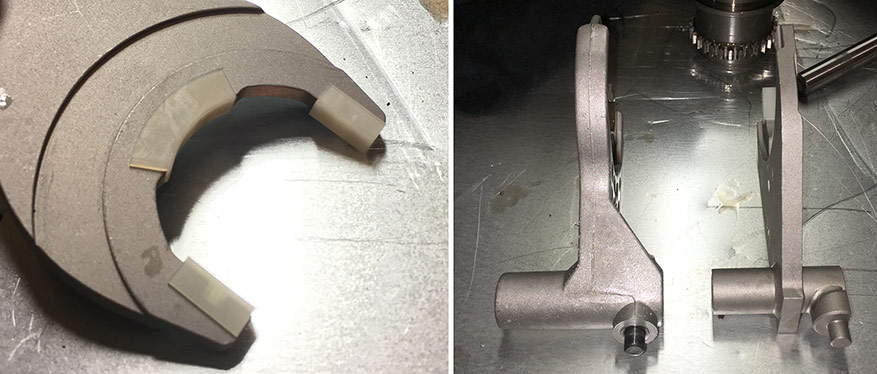
25. Assemble the new TeraFlex 4WD Fork using the provided slides as pictured (left). Next you can also see the original (left) vs the TeraFlex (right) low range fork. It has been shortened and clearances made to allow for the new 2WD Low position.
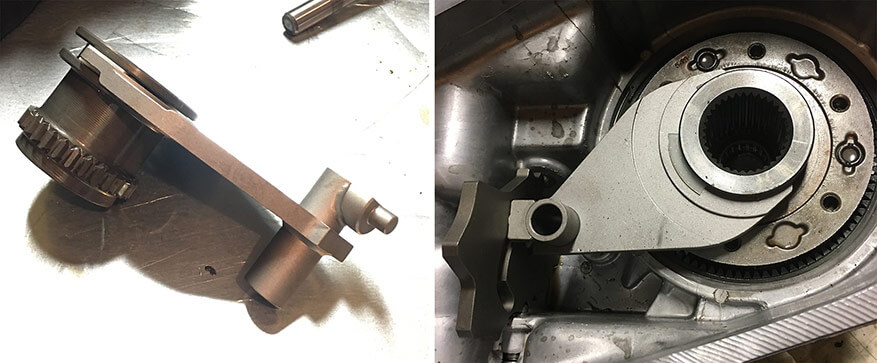
26. Install the original low range gear onto the new TeraFlex fork as shown (left). Install the assembly into the low range gear planetary and the slot in the new TeraFlex mode selector (right).
27. Install the original 4WD shifter fork and slide into the Teralfex low range fork and then down into the original housings shaft hole as pictured.
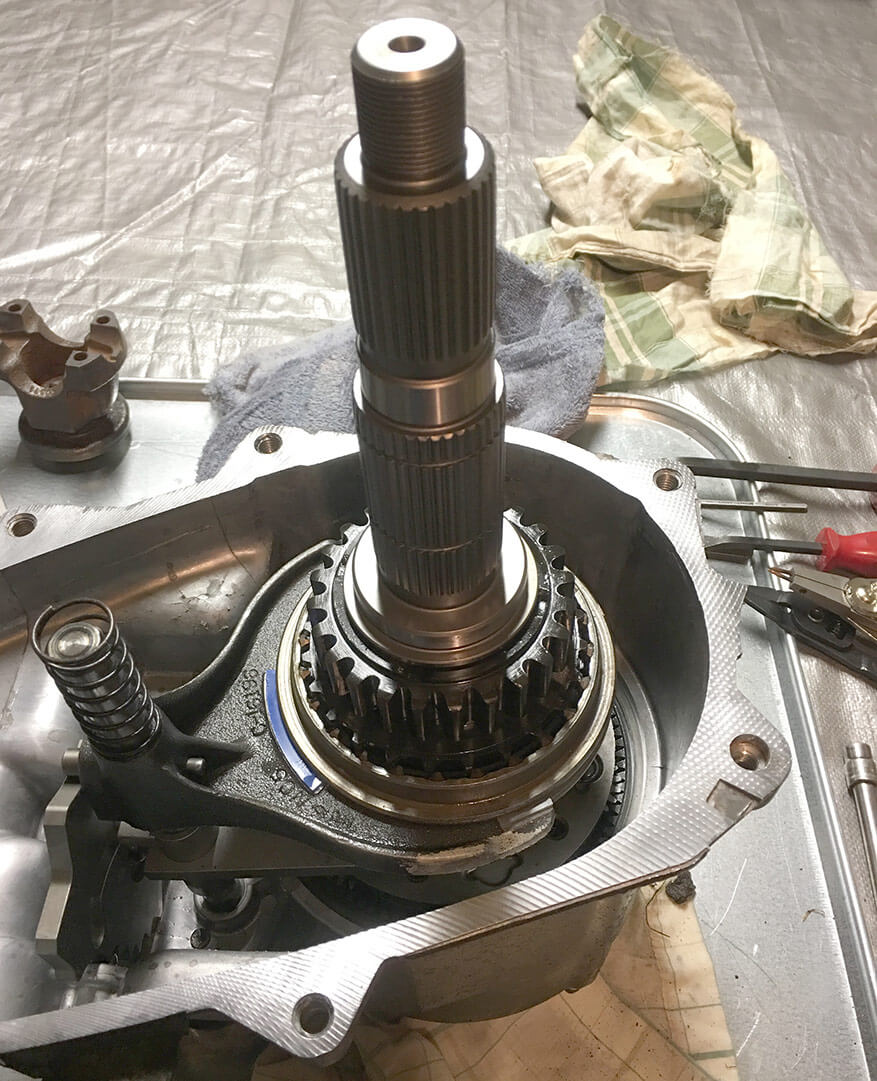
28. Slide the new assembled TeraFlex output shaft into the transfer case as shown. Be sure that it seats all the way into the low range planetary.
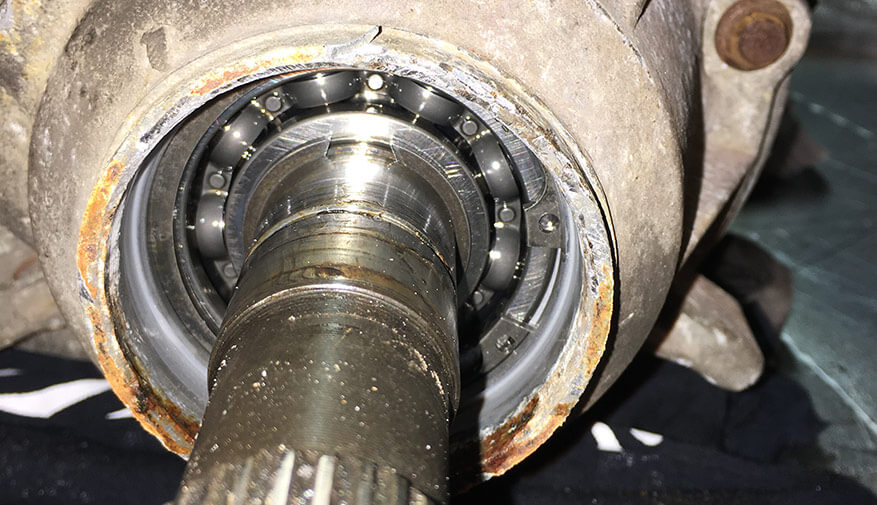
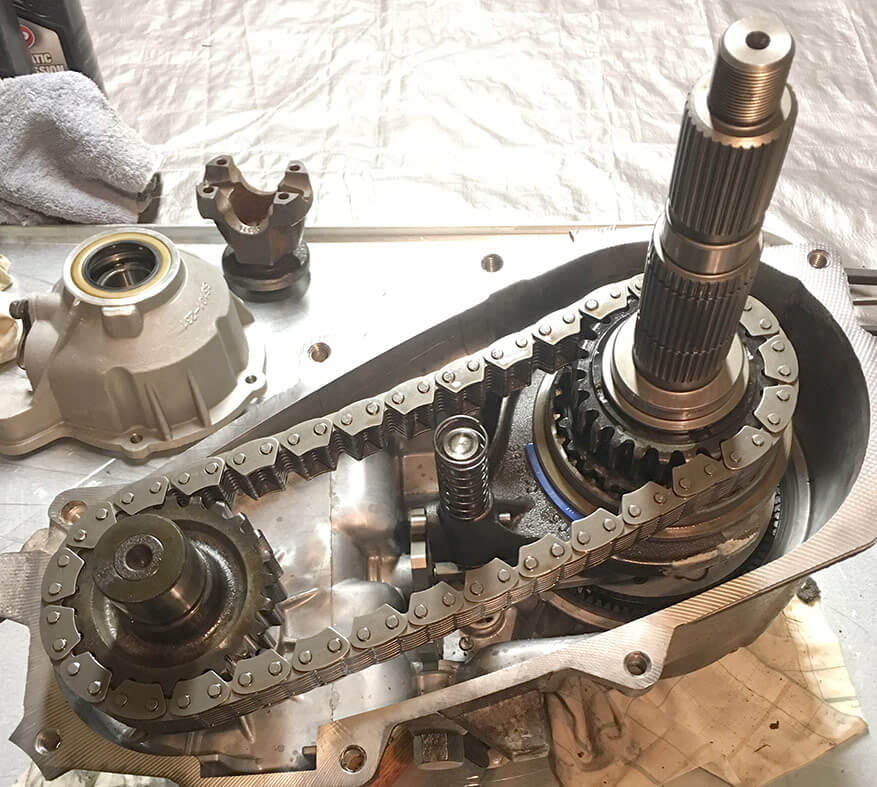
29. Install the drive chain and front output shaft into the transfer case as shown. Be sure front output shaft is all the way in the output bearing.
30. Thoroughly clean and re-install the magnet as shown.
31. Thoroughly clean out and install the oil pump pickup into the oil pump. Install assembly into the rear case half as shown.
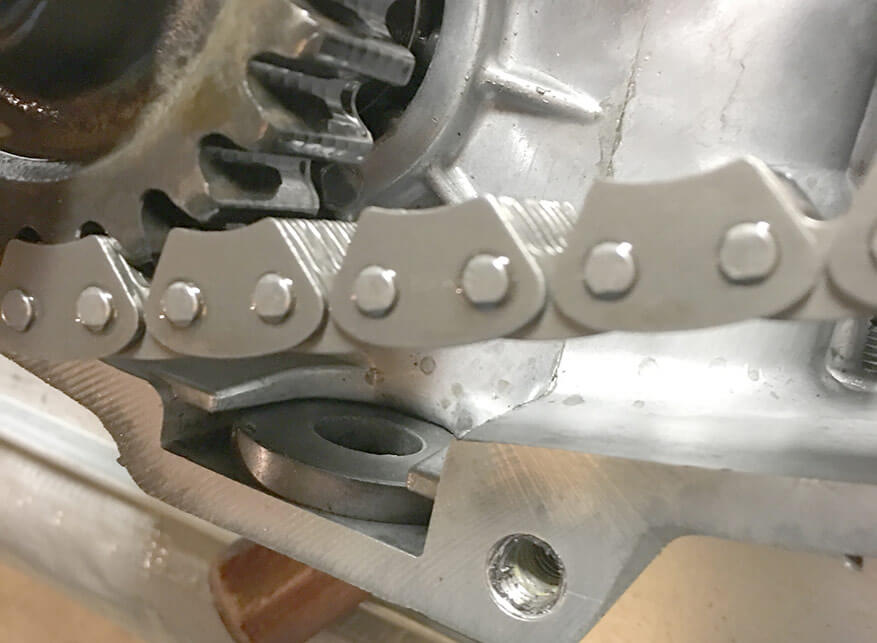
32. Oil pump tabs should be on the outside of case as shown below.
33. Now this is personal preference but i like to take and install the new output housing dry, just to hold the pump in place during assembly of the case.
34. Being sure your case halves are totally oil and grease free and then apply a thin layer of black gasket RTV to the front half of case. I prefer to use Permatex® "The Right Stuff®" available at any auto parts store.
35. Now take the entire rear assembly and install over output shaft and seat to front case half. Start with the two over most bolts that have washers where the alignment dowels are, and finish by starting the rest of the bolts in original locations by hand. I like to snug them up tight with a 3/8" impact gun and squish out the sealant. You may want to let the sealant set for a bit, but I have had good luck with no leakage just letting the entire case dry overnight, instead of filling it up with fluid right away.
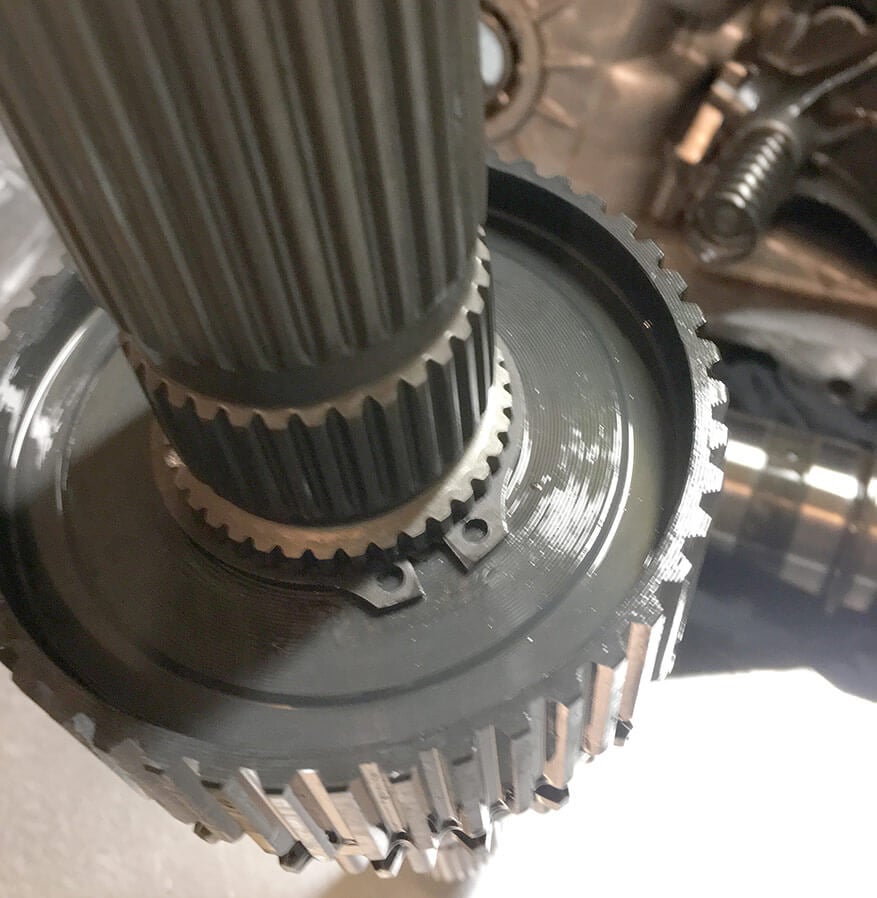
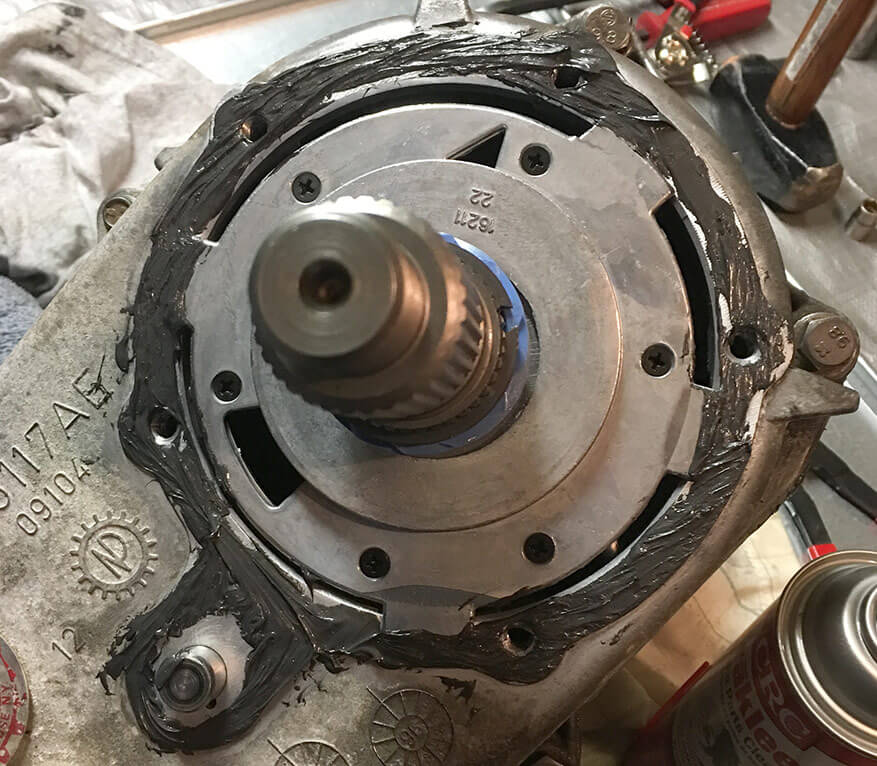
36. Remove the rear case bolts and housing to access the shaft. Install the two circle clips and speedometer drive gear as shown.
37. Apply more sealant to the rear case half as shown. Be sure the oil pump is still in the proper location.
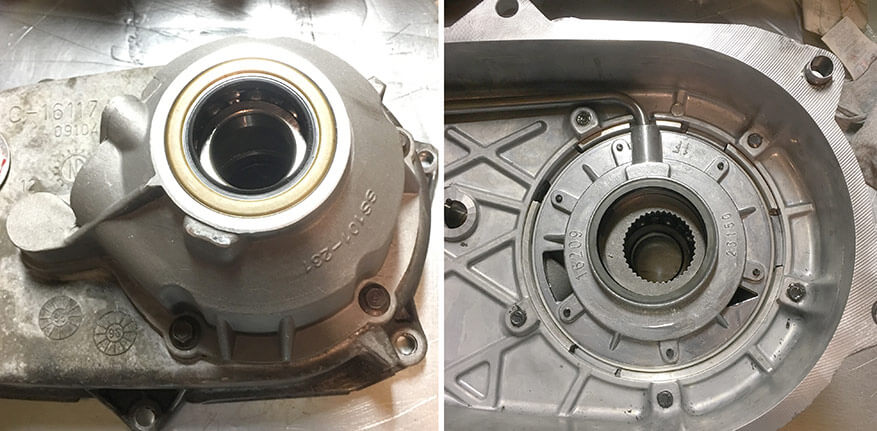
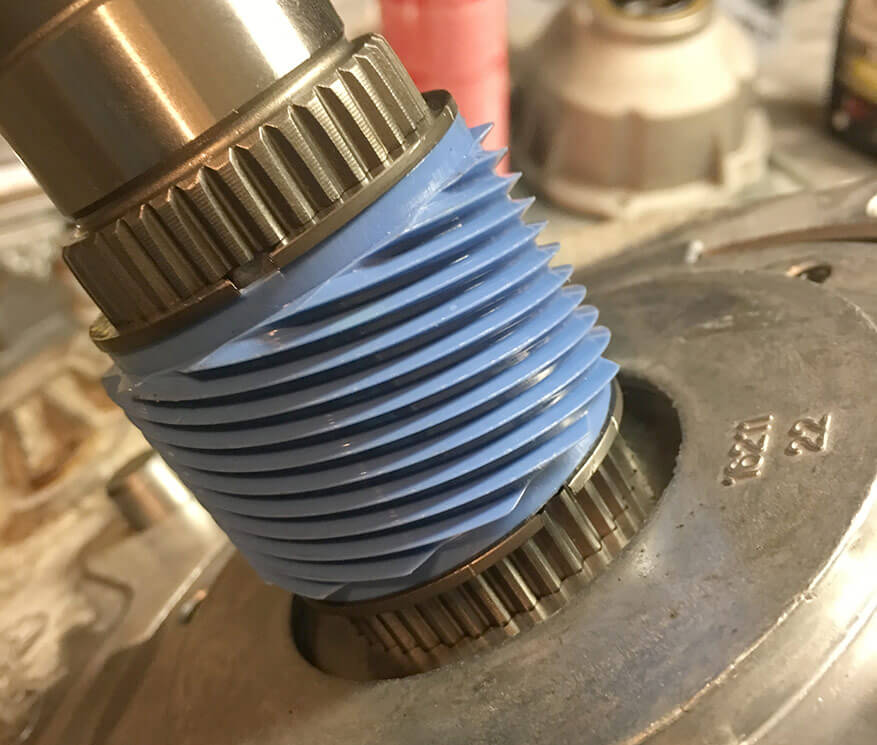
38. Slide the new TeraFlex output housing over the output shaft and on to rear case half. Be sure the output seal is as shown (right). Using a 10mm socket, install the five output housing bolts and tighten. Apply RTV on output shaft threads as shown (left).

39. Install and start by hand the output shaft nut and tighten using a 1-1/8" socket (left). Be very careful though as the threads are very fine. I like to use a electric 1/2" impact gun for this until it stops. Finally, let the assembly (right) dry overnight with speedo gear out so air can get in and fully dry the sealant.