by Sean McComsey
Quadratec Channel Correspondent
Recently I started noticing a new (keyword new) squeaking sound coming from the front of my 1997 Wrangler. It started in the morning as I first got in the Jeep to go to work. Once I drove a few miles and reached higher speeds the squeaking would go away. Then a couple days later I started feeling a vibration while making slow turns, similar as to if I was in 4WD. I did some investigating and noticed my Drivers Side Dana 30 U Joint had some play in it and was a little tore up.
Knowing the U- Joint needed replacing that was a logical place to start. First, I bought a front axle U-Joint then got to work. I started by loosening the lugs then jacked up the jeep from the pumpkin of the front Axle. Once the wheel was off I removed the two 13mm bolts holding on the Brake Caliper.
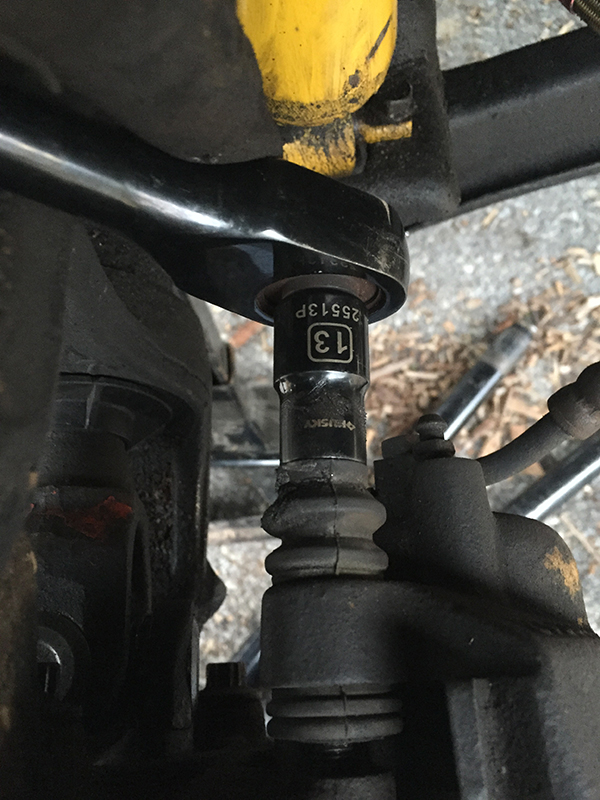
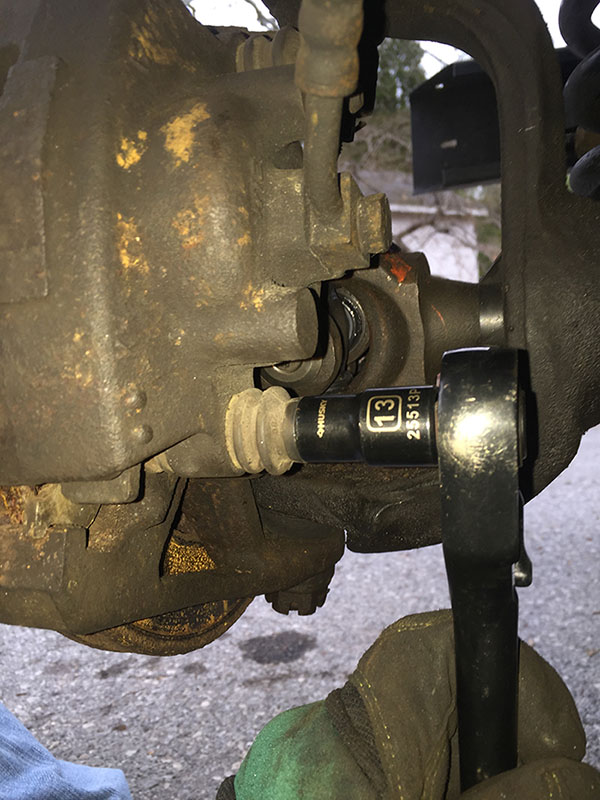
Once they were out I took the caliper off and placed it out of the way. Do not let the caliper hang from the brake line, this can cause damage to the line. The rotor will now come off the studs, just pull outwards.
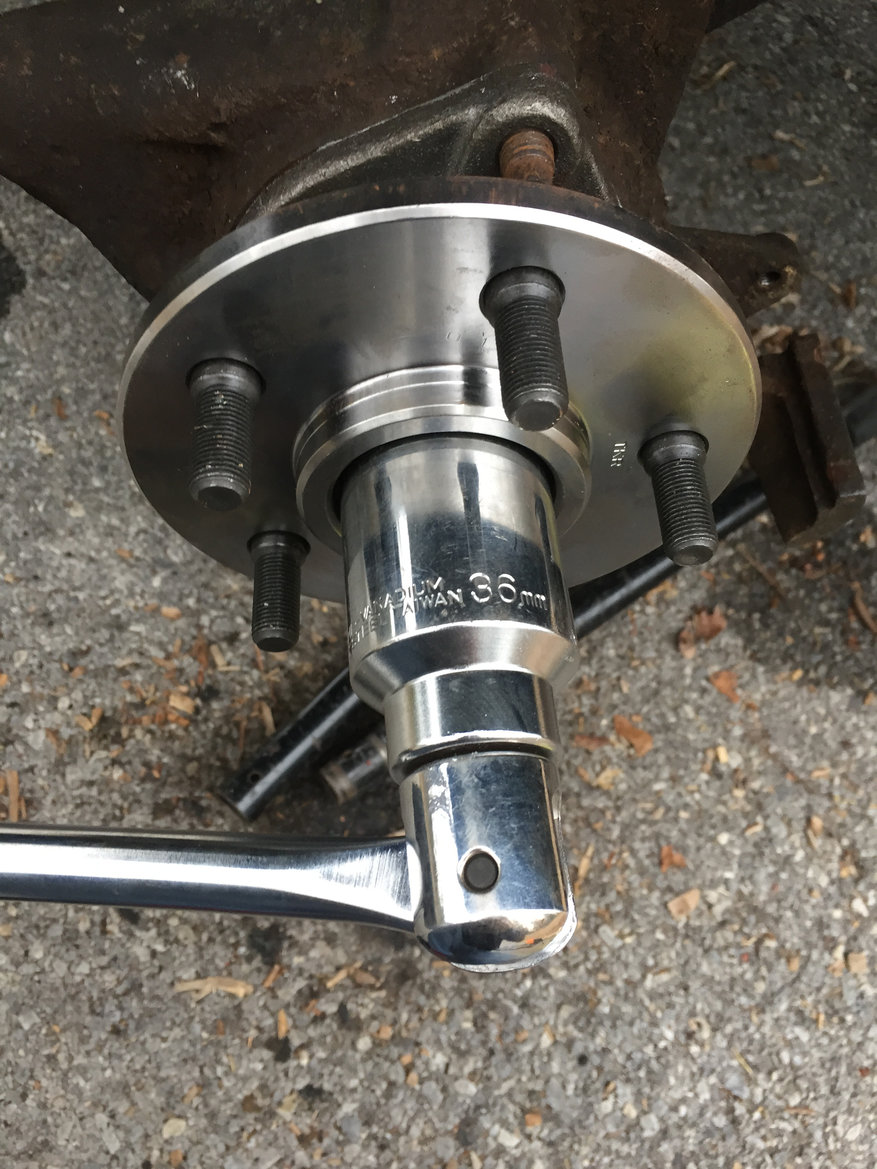
Next was the tricky part, getting the axle nut off. In order to get the axle nut off you have to stop the axle and hub from rotating. Some people have said they had a friend hop in the Jeep and hold the brakes to keep everything from spinning. However, I was doing this job alone so that was not an option. My solution was to wedge a flat piece of steel in between the studs of the wheel and against the ground to keep everything from rotating. The axle nut requires a 36mm socket and very large breaker bar to get the nut loose.
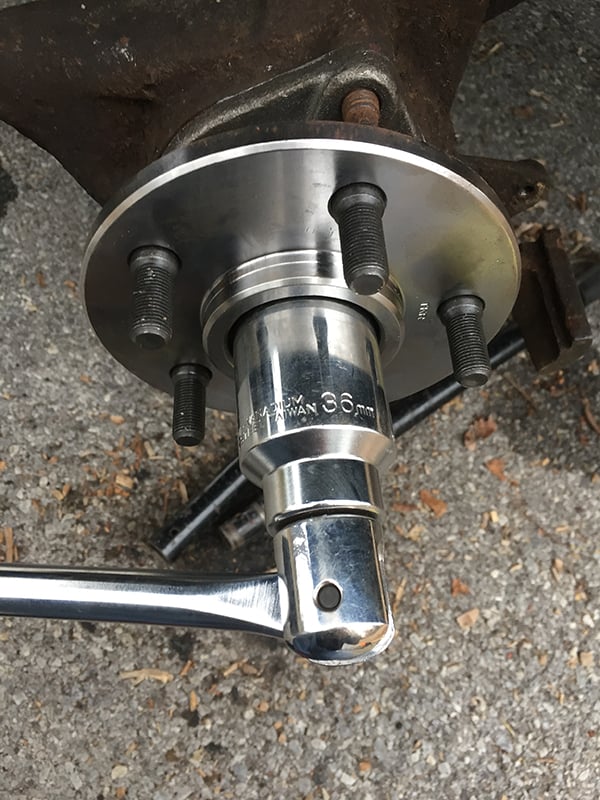
Once the nut was loose I moved to the back of the hub to remove the three 13mm 12 point bolts.
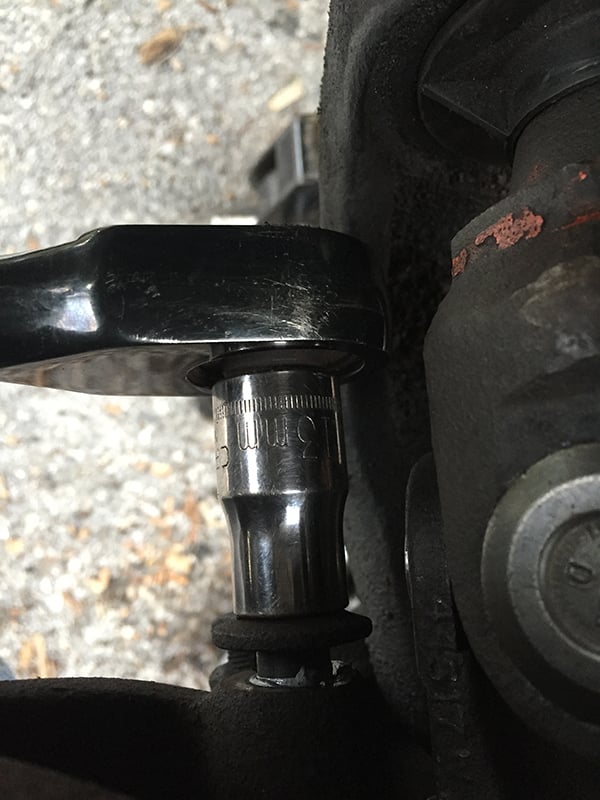
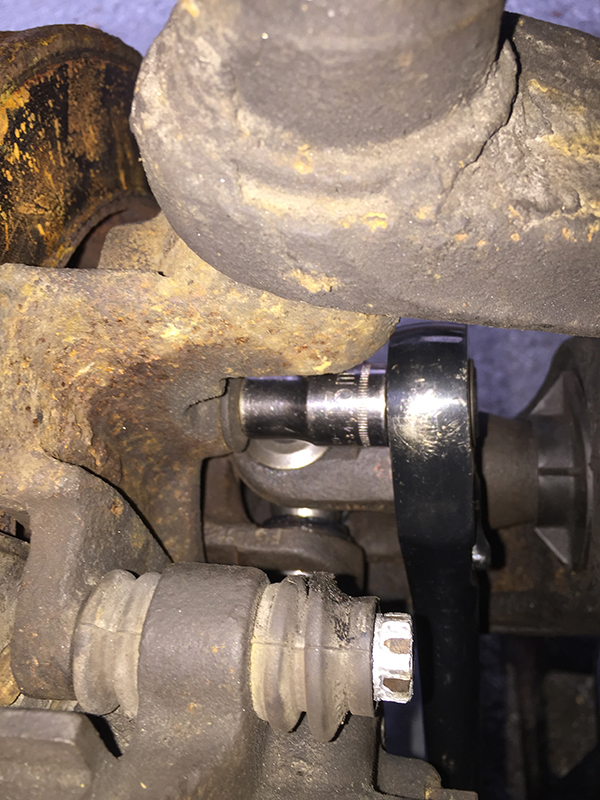
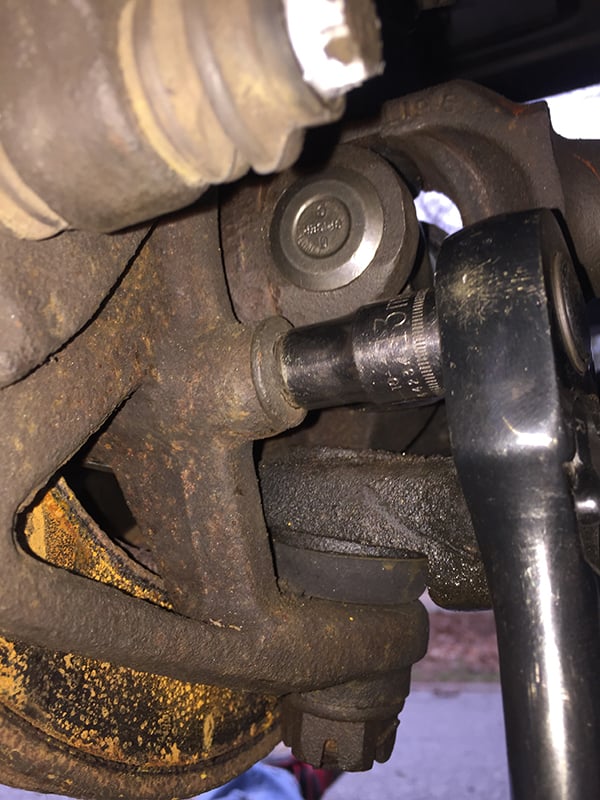
After they were out I finished taking off the 36mm axle nut. Now you can remove the whole hub, just give it a couple taps from behind with a hammer and it comes right off.
With the Hub off you can now pull out the axle shaft in order to change the U Joint. The shaft just slides out.
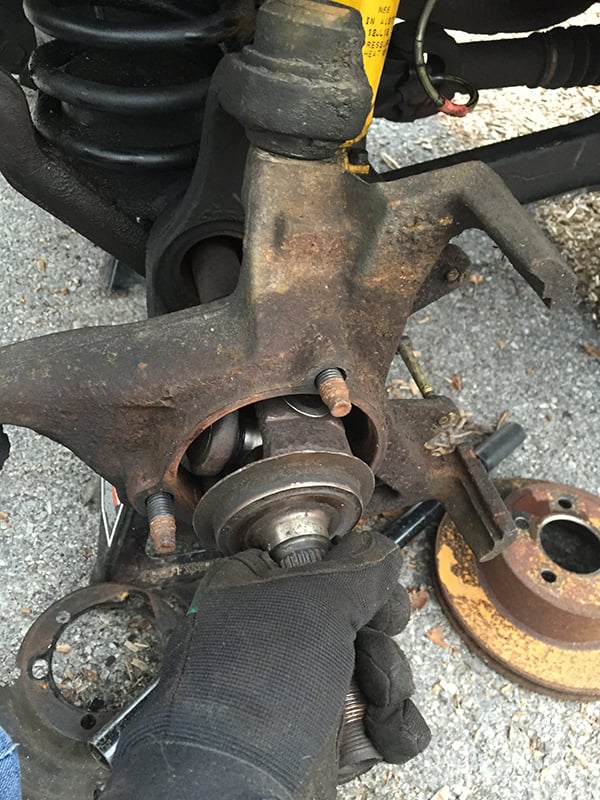
Be careful when getting the U joint out to not damage the splines on the shafts. There are clips on each ear of the U Joint that hold the Joint in place. Carefully push them out.
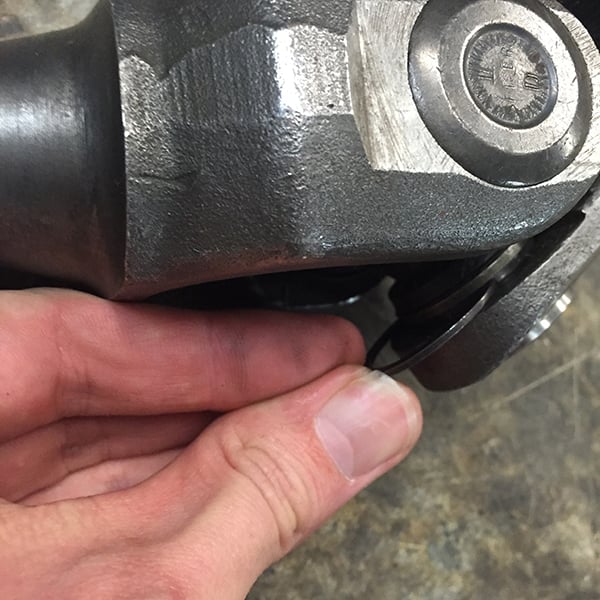
Now you can remove the U Joint. The easiest way to do that is with a press. If a press isn't available there are plenty of trail tricks and other methods to get the joint out but we recommend a press, as it is the safest and least damaging to other parts. With the U Joint out you can now put the new U joint in. Remove the caps very carefully as to not move any needles inside the cap. I put a small amount of grease in the axle ear holes to help get the caps back on. Finagle the joint in between the Axle ears, then carefully put the caps back on, again make sure none of the needles moved. Finally put back in the clips to hold the U Joint in place.
The next step is to reinstall the Axle Shaft. When putting the shaft back in the axle tube try to keep the shaft centered so it slides back into its place inside the pumpkin. With the shaft back in place I went to put the hub back on but noticed this...
That is not good and proves that the U Joint wasn't the only thing that needed replaced. After getting a new Hub, I proceeded to put it all back together. Installation is the same as removal just reversed. I always anti seize everything I can. Make sure to torque all bolts to appropriate torque specs.
Side Note: One thing I learned, if you replace one side, get ready to do the other side shortly after.


