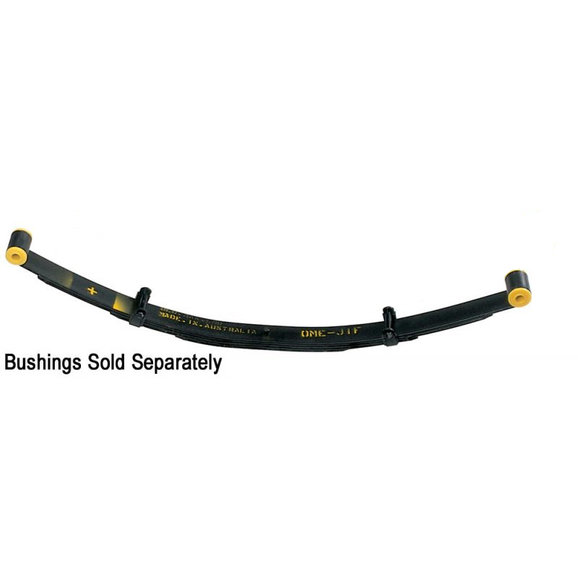
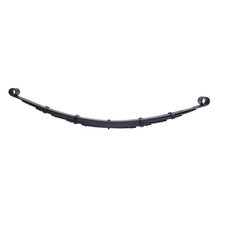
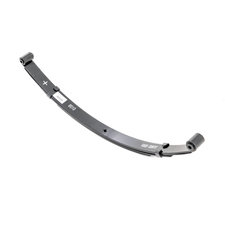
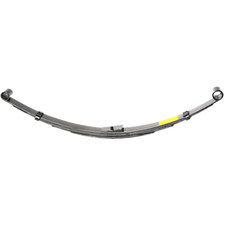
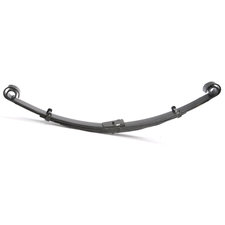
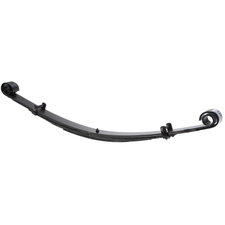
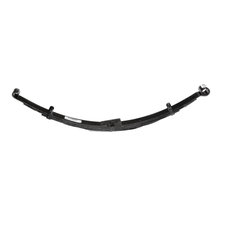
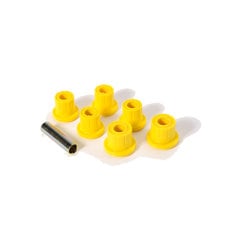
Bushings Sold Separately
- Features: None
- Shocks Included: Without Shocks
- Max Tire Size: 31
- Lift Height Range: 0 - 2.5 inch
- Included Parts: Leaf Springs
- Shipping Weight: 31lb
- Shipping Dimensions: 45in x 4in x 3in (L x W x H)
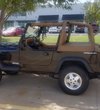
Jeep Wrangler (YJ)
- 1995 Jeep Wrangler (YJ)
- 1994 Jeep Wrangler (YJ)
- 1993 Jeep Wrangler (YJ)
- 1992 Jeep Wrangler (YJ)
- 1991 Jeep Wrangler (YJ)
- 1990 Jeep Wrangler (YJ)
- 1989 Jeep Wrangler (YJ)
- 1988 Jeep Wrangler (YJ)
- 1987 Jeep Wrangler (YJ)
- Shared By Others
- Share a Photo
- Ask a Question
- Write a Review
Old Man Emu 2.5" Rear Light Load Leaf Spring Reviews
I combined OME CS037R rear springs and OME CS014F front springs with OME SB57 Leaf Spring Bushing Kit to replace my original equipment springs and bushings in my 95 Jeep YJ at 200,000 miles. Weight wise, I have the 4 liter engine and a soft top.
I have had them on for 5 months and couldn’t be happier. Time will tell how they hold up, but so far, so great. The springs gave a lift of right at 2.5”. I replaced my 235/75R15 tires with 30x9.5R15s which are an inch taller, raising the body another 0.5” for a total of 3” of lift. This may be very pedestrian for off-road Jeep people, but my Wrangler spends most of its time on the road and the look is exactly what I wanted.
The ride went from absolutely awful – bone jarring – to very comfortable. I should have done this years ago.
Quadratec had them at the lowest price and got 3 of the 4 springs to me in 6 days. However, the 4th was out of stock and took 3 weeks. I loved the free shipping.
This was my first time of installing leaf springs and the biggest downside of getting the Old Man Emu springs was there are no instructions included and Quadratec help line wasn’t able to help me with the details. If OME had included a few key instructions, installation would have gone much faster. Here are some of the things that would have been helpful to know in advance
Arrow: Each spring is marked with an arrow which points to the front of the vehicle.
Orientation: The larger diameter spring eye is the main eye and attaches at the frame while the smaller eye attaches to the shackle.
Driver’s Side/ Passenger Side: Each spring will have one of 3 marks: + / o / - ,- + is slightly taller (1/8"), o is nominal, - is slightly shorter. Put taller one on drivers side.
Shim: The rear springs have a 2.5 degree shim which rotates the axle up to reduce the angle at the rear U-joint
Lift: These gave right at 2.5” lift from my 25 year old, 200,000 mile OE springs.
Did not need to replace (lengthen) brake lines*
Did not need to lower the transaxle*
Did not need to install a Slip Yoke Eliminator (SYE) – angle seems ok and no noise*
Did not need to install new/longer shocks.*
* All of this is just my experience and I haven’t put that many miles on it yet.
Did not remove the rear stabilizer bar. I drive mostly on-road.
The one sleeve in each bushing kit is for the main (frame side) bushing.
Reuse the old sleeves or buy new sleeves for the shackle bushings
Crown 52002553 or OMIX-ADA 18272.01 –from Quadratec. Note 2 sleeves per shackle so 8 total if you are doing all 4 wheels.
Installation challenges:
I have a class 3 hitch mounted to the frame that I had to remove and then reinstall which added to the installation time for the rear springs.
The bolts for the top bushing of the rear shackles were factory installed with the bolt head on the gas tank side. There isn’t enough room to slip these bolts out past the gas tank. My solution was to drop the gas tank. I wanted to make the gas tank modification to increase the capacity from 15 to 20 gallons anyway (wish I had done that years ago) so I I was already planning to remove the tank. Good luck getting the bolts out without removing the tank. I installed the bolts in the opposite direction in case there is a next time.
Another installation challenge was getting the spring center pin to slip into the hole in the perch and getting the ends of the springs to line up to install the bolts in the main bushing and shackle bushings. This was especially challenging for the front springs. Definitely have both wheels off the ground and loosen the spring plate U-bolts for the opposite wheel. I loosened and/or removed other components and fiddled with jacks and pry bars until I got it all lined up. Be careful – compressed springs have a lot of energy.


