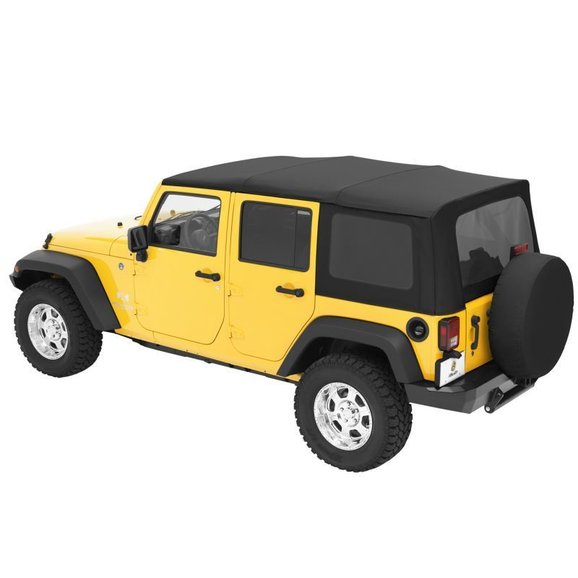
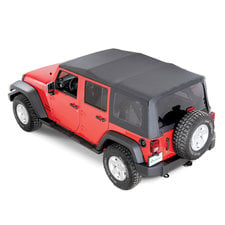
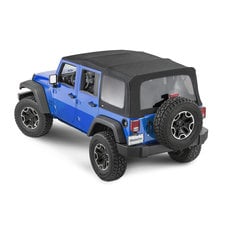
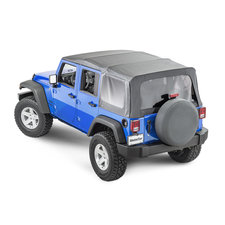
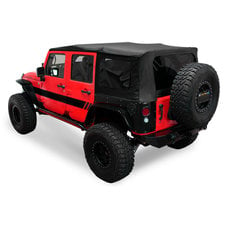
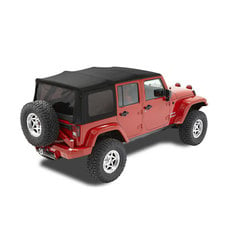
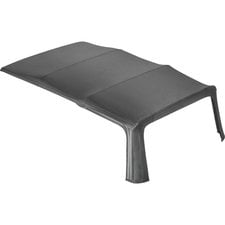
Bestop 7914735 Sailcloth Replace-a-top Soft Top with Tinted Windows for 10-18 Jeep Wrangler Unlimited JK 4 Door
- The tough, premium fabric dramatically reduces outside noise and enhances insulation.
- Heat-sealed vinyl windows meet U.S. and Europe regulations.
- Built to factory original quality specifications to ensure a proper fit.
- Optional tinted window feature for a customized look.
- Two-year limited warranty on select applications.
To keep your Bestop® Sailcloth Replace-a-top™ clean and protected, we suggest using Bestop® Fabric Care for unsurpassed appearance and long life.
Uses Factory Hardware and Bow Assembly.
Tools Needed:
Phillips Screwdriver
Masking Tape
Safety Glasses
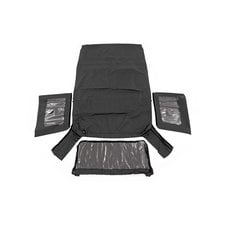
Top Fabric
Right Quarter Window
Left Quarter Window
Rear Window
- Features: Pressed Polished Windows, Flip Back Sunroof, Tinted Windows
- Color: Black Diamond
- Hardware Type: Factory OEM Hardware
- Door Configuration: Without Doors
- Fabric: Sailcloth (28-30oz)
- Shipping Weight: 22lb
- Shipping Dimensions: 32in x 15in x 13in (L x W x H)
Jeep Wrangler Unlimited 4-Door (JK)
- 2018 Jeep Wrangler Unlimited 4-Door (JK)
- 2017 Jeep Wrangler Unlimited 4-Door (JK)
- 2016 Jeep Wrangler Unlimited 4-Door (JK)
- 2015 Jeep Wrangler Unlimited 4-Door (JK)
- 2014 Jeep Wrangler Unlimited 4-Door (JK)
- 2013 Jeep Wrangler Unlimited 4-Door (JK)
- 2012 Jeep Wrangler Unlimited 4-Door (JK)
- 2011 Jeep Wrangler Unlimited 4-Door (JK)
- 2010 Jeep Wrangler Unlimited 4-Door (JK)
- Shared By Others
- Share a Photo
- Ask a Question
- Write a Review
Bestop Sailcloth Replace-a-top Soft Top with Tinted Windows Reviews
Bestop is the best option for replacing the warn out factory top. I had a issue with the first top they sent. One phone call I had a replacement 2 days later.
I've had the top for two months now and so far, so good. It has taken temps in the 100s to the upper 30s thus far and I am very pleased with it.
The most notable thing about this top is that it does indeed fit more loose than the factory soft top. I see this as a good thing as the factory top could often be a pain to close up after a day of going topless. I think Bestop had to sacrifice a little "tightness" to make this top easier to secure and I would *much* rather have it be easier to close and zip up - and if you have a factory soft-top, one of the first things to go is the zippers from the strain...and the second are the places where it rubs the headers and frame from being so tight.
Pros:
- Easy to close up - both warm *and* cold weather. No more hurrying to get the top back on before the sun goes down. It closes up with ease and speed.
- Excellent weather-proofing...better than the factory top - I live in Houston and we get massive rain from time to time and this top kept it out without problems. The extra seals they have added work great
- Quiet. It's easily as quiet as the factory top. My old top was rather loud by comparison. In fact, because the factory top is so tight, it would "pull up" the corners on the header over time which created horrendous wind noise.
- Windows easy to install - they're easier to install than my factory top's windows even when it was new.
- Installation was relatively simple.
Cons:
- Like the other reviewer said, there is some flapping. But mine isn't exaggerated and makes hardly any noise at all (going 80mph down the freeway). My guess (again) is that this is from them making the top a little looser fit than the factory top. And YMMV on this one, of course.
- And, again, like the other reviewer said, there is a little pooling of water on either side near the header - I will gladly deal with this over a soft top I have to strain to get closed.
- Instructions need a little more detail.
What helped me with installation (use/perform at own risk):
If you have an existing soft top, the best thing to do is lay it out upside down and unscrew everything. Lay this new top nearby in the same position. This will help with just about everything but the header.
For the header, have everything flipped over like it says. Be meticulous about centering the fabric. I attached the metal plate to the header but did not tighten any screws. The best way, IMO, is to run the screws down just enough so that they will hold the fabric bead/bump in the channel/groove in the header. Then use a big flat head screwdriver (the more blunt the tip the better) and shove the bead into the header channel/groove. If the header plate is screwed down just enough, it should hold the bead/bump in place and you can then tighten the screws in the header plate. It's almost impossible to set that bead in the channel *then* screw the header plate down and have everything stay even if you tape it. Doing what I describe here is very easy. The only other hard part is getting the fabric "pockets" on the sides of the header but if you kept it centered, this shouldn't be a problem.
Top is good quality and looks great. Please read all the directions completely through. Took about three hours install. I completed install by myself but I could see where an extra set of hands would be helpful.


