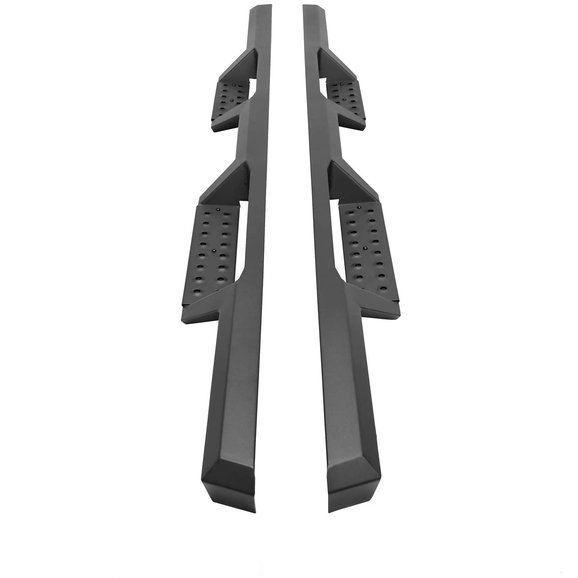
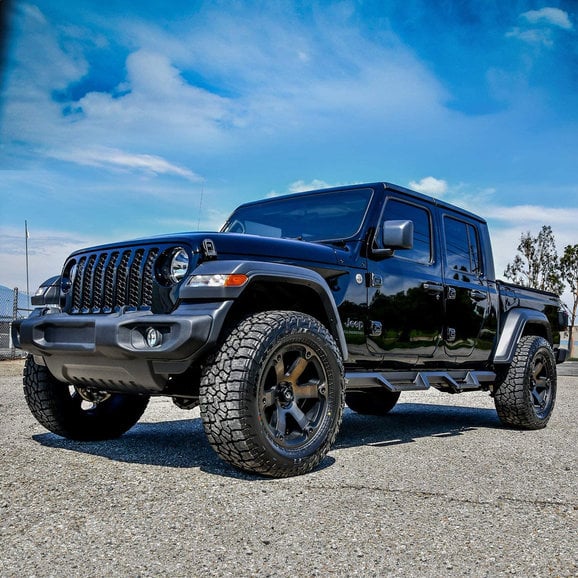
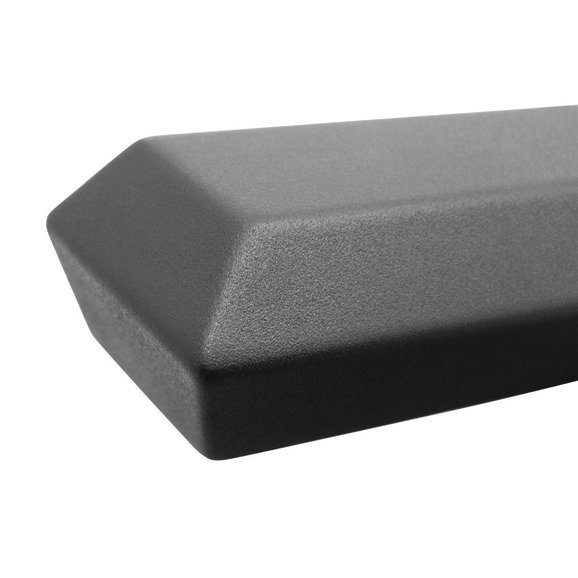
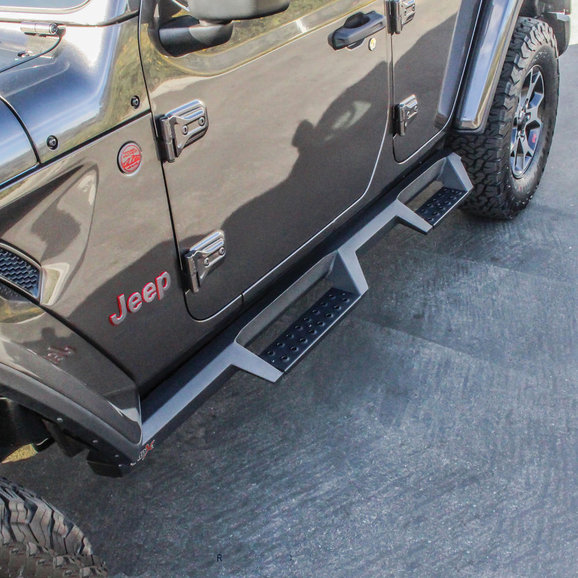
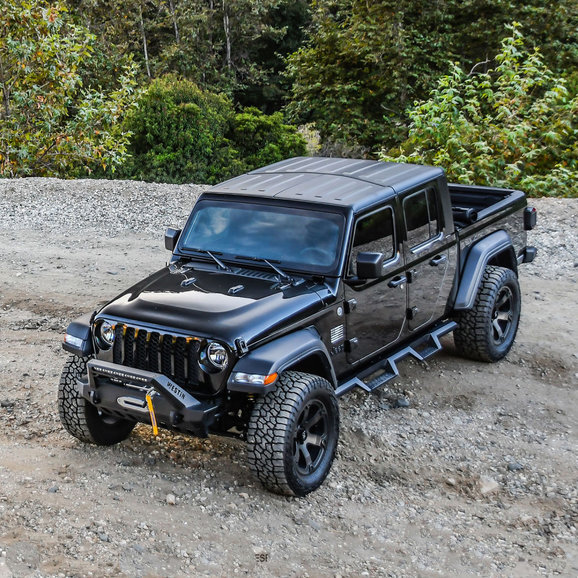
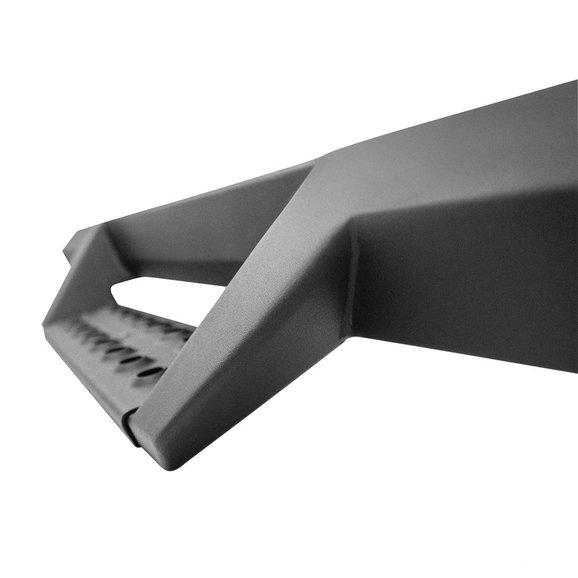
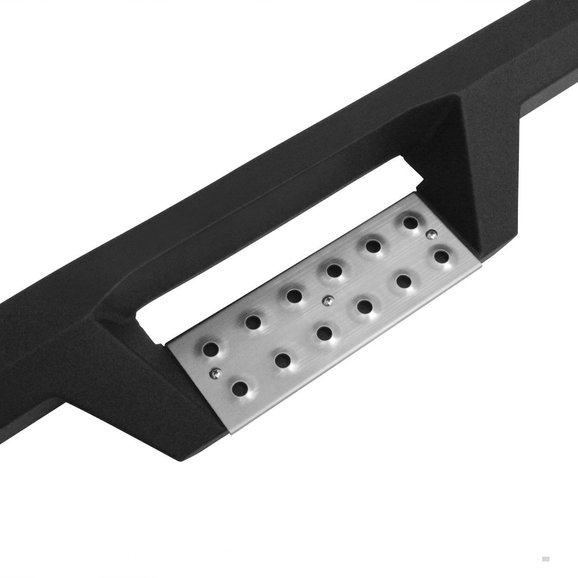
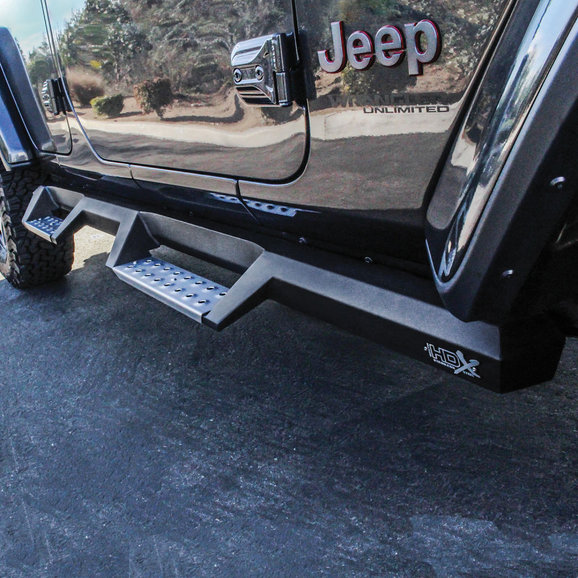
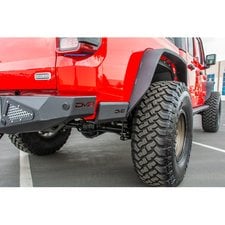
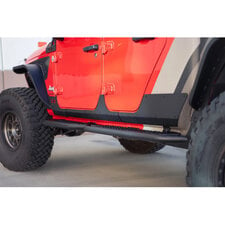
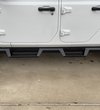
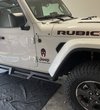
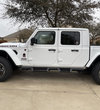
1-Piece Construction: Attaches directly onto your Gladiator JT's rocker panel this step gives you more then 2" of toe to heel step area. Coated with a textured black or textured black with stainless steel drop step finish to resist corrosion & to keep your steps protected from outdoor debris for years to come.
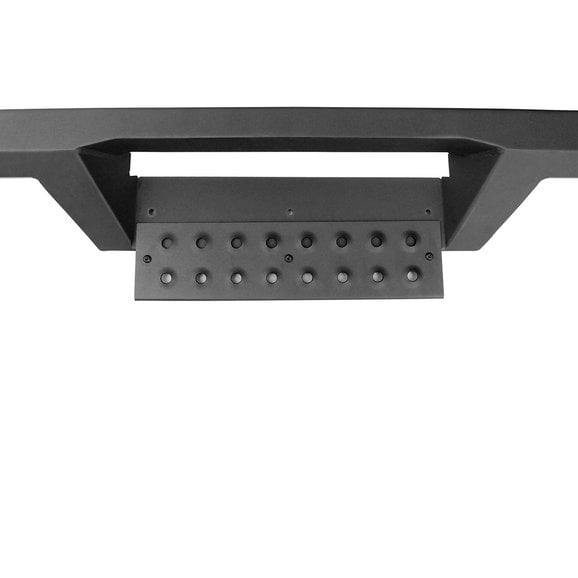
HD Step Plate: These notch bar designed steps have quality rust resistant step plates that are die-stamped to give you ultimate traction so when you are out on the trails and have muddy shoes you will not slip getting in and out.
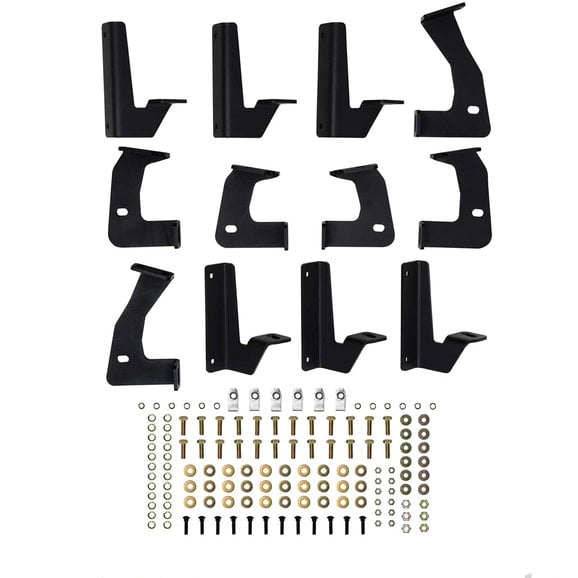
Easy Installation: These side steps bolt directly onto your Gladiator without any drilling giving you a snug fit along your rocker panel with the included mount kit.
- Color: Black
- Armor Type: Side Step
Jeep Gladiator (JT)
- 2025 Jeep Gladiator (JT)
- 2024 Jeep Gladiator (JT)
- 2023 Jeep Gladiator (JT)
- 2022 Jeep Gladiator (JT)
- 2021 Jeep Gladiator (JT)
- 2020 Jeep Gladiator (JT)
Westin HDX Drop Nerf Steps in Textured Black Options
| Part Number | Catalog # | Textured Black or Textured Black with Stainlesss Drop Step | Price | ||||||
|---|---|---|---|---|---|---|---|---|---|
| 56-14165 | 12223-1422 | Textured Black with Black Drop Step | $569.99 | ||||||
| 56-141652 | 12223-1423 | Textured Black with Stainless Drop Step | $774.99 |
- Shared By Others
- Share a Photo
- Ask a Question
- Write a Review
Westin HDX Drop Nerf Steps in Textured Black Reviews
Looks and function
These steps are great. They are well built and look awesome. I got them installed in about 3 hours including taking the OEM rock rails off. The front bolts are a pain. The instructions are really terrible for as high quality of a product as this is. There are good YouTube videos of this exact set being installed that help a lot. Pay attention to the stamping on the brackets. They are labeled so you know where to put them. Overall I recommend these great steps
I am super happy with these Westin rails. I searched for a long time and was worried about shipping (lots of brands out there with bad packaging and rails arriving damaged), rusting (lots of brands out there also rusting within days of installation), and the installation itself (I did not want rails that required removing the body bolts, which can break if you are not careful). I also wanted something that would cover the pinch well area (I just did not want it exposed).
These ones came packaged super nicely, there wasn’t a single scratch on them. You can tell right away that they are very good quality. The installation was not bad at all (and I am not an expert, to make it clear). They cover the pinch well entirely and yes, they do not follow the curvature of the body on the JT entirely but to be honest you can only barely tell at the extremes and the spacing is very minimal. I also really like that the steps have a plate on them with a grated surface that makes them entirely non-slippery.
Regarding installation, this is where I would ding them half a star because their printed manual is not great. I decided to look on YouTube instead and that helped. My tips:
- First install all the body brackets on both sides (after you first remove the Rubicon rails if you have them). On a JT the brackets go at positions 1,2 and 4 (from front to rear). Position 3 is not used. Do not tighten the bolts all the way!
- Now attach the front rail bracket *to the rails on both sides first*. This step is critical. If you don’t do this first it becomes almost impossible to install the front rail bracket once the rails are in place.
- Now install the center and rear rail brackets *to the body brackets* (at positions 2 and 4).
- Now install the upper bolt/washers *to upper bolt rail tap nuts* at positions center and rear.
- Now mount the rails. The body brackets at positions 2 and 4 have a slide-in bolt aperture on the top position, this is where you will need a second pair of hands to help you slide the rails in place.
- Once both rails are in place, install the rest of the bolts/washers and then at the very end tighten everything.
The only minor issue I had, and it happened to be on literally the last bolt I was installing, is that the rail tap-nut where it went was stripped and it messed the bolt. I have purchased a tap kit to retap it but haven’t had time yet to fix that. Otherwise everything went smooth. It took me about 3 hours to do both (including removing the Rubicon rails), but that was because I was learning along the way. If you follow my instructions you can easily do this in 90-120 minutes imho.


