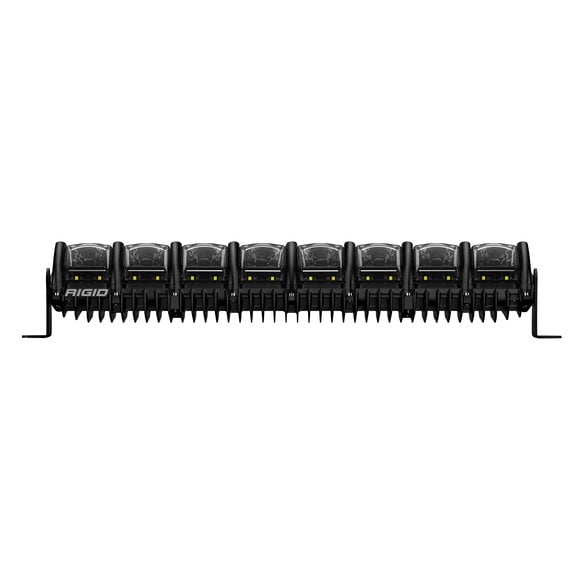
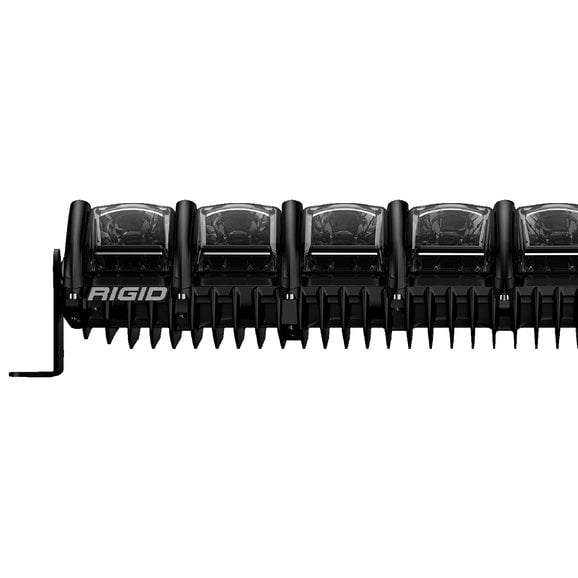
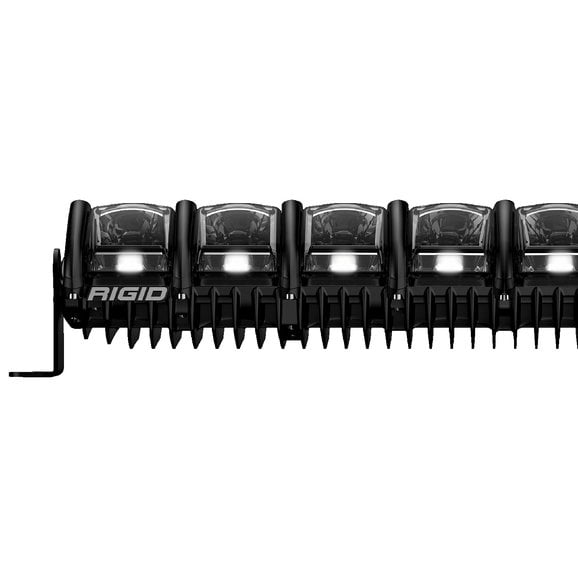
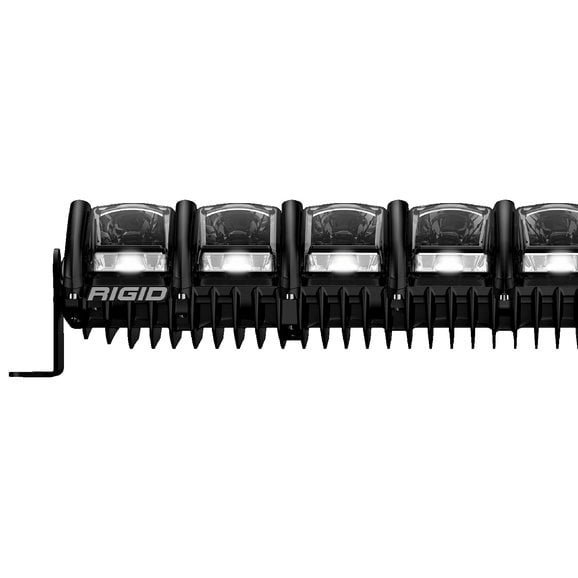
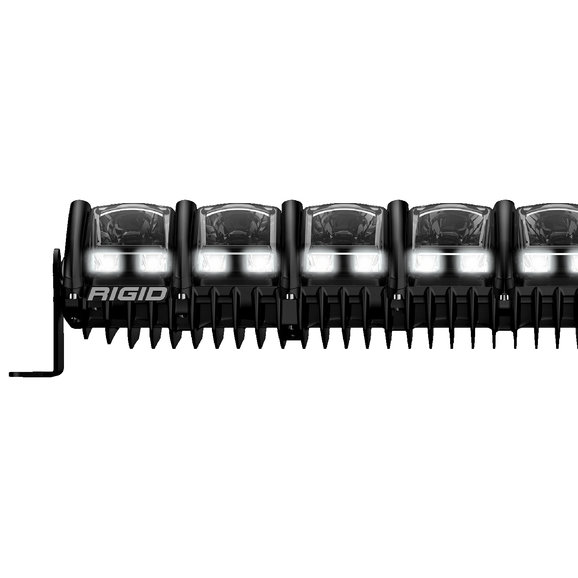
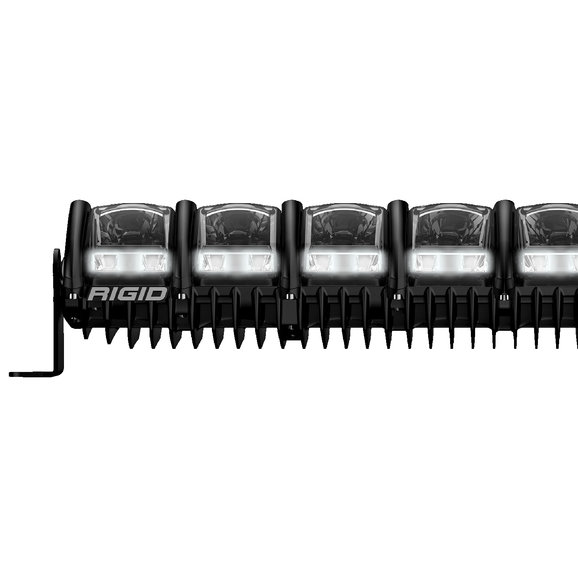
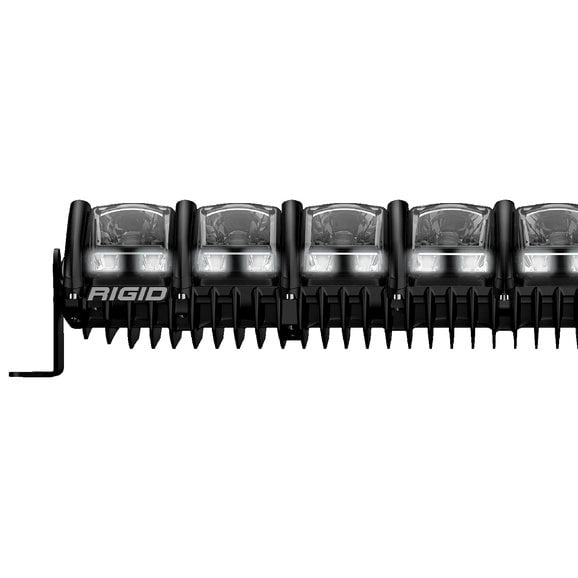
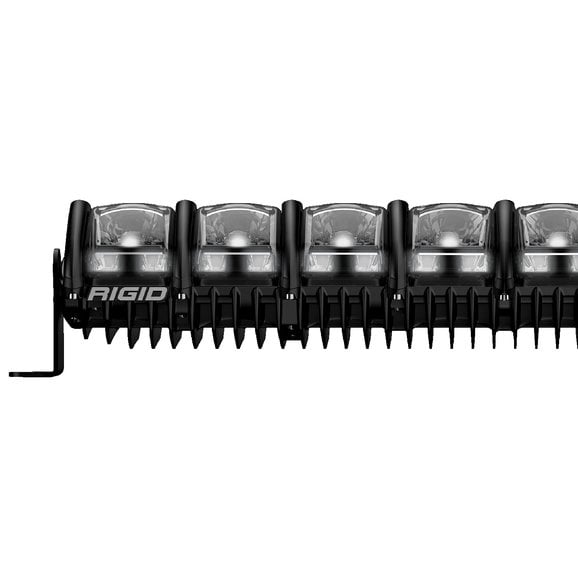
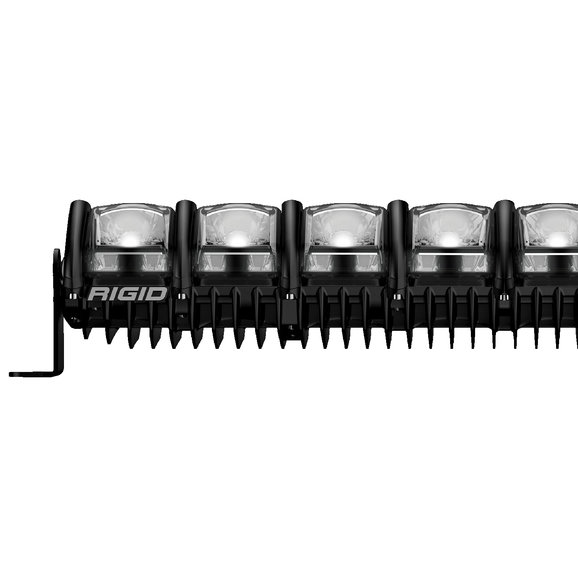
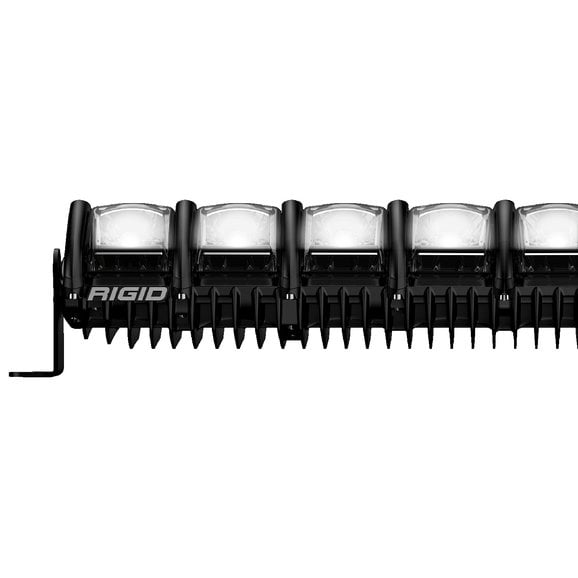
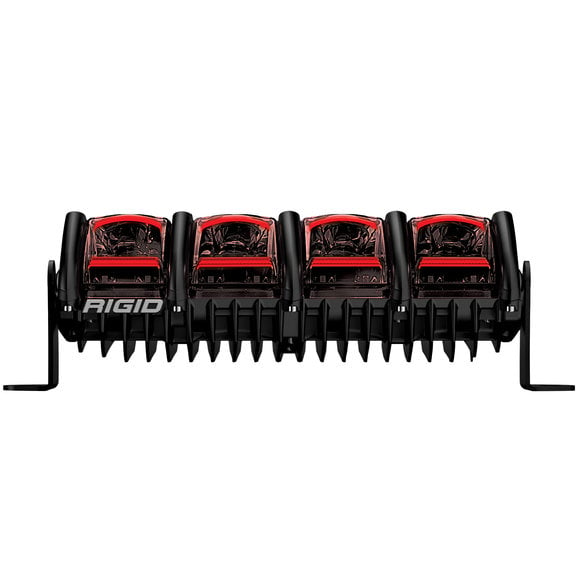
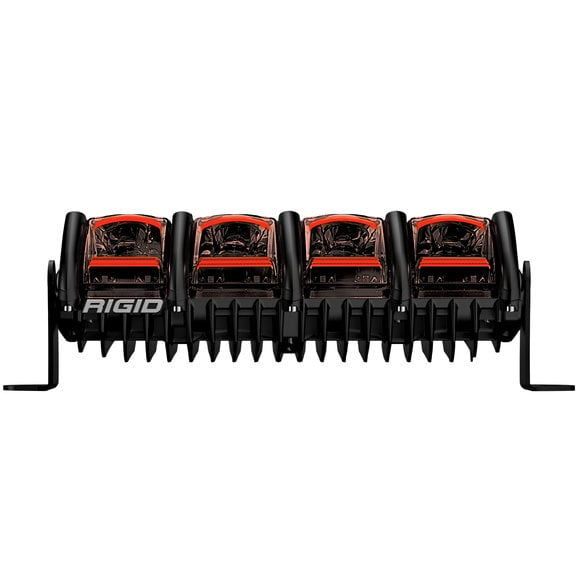
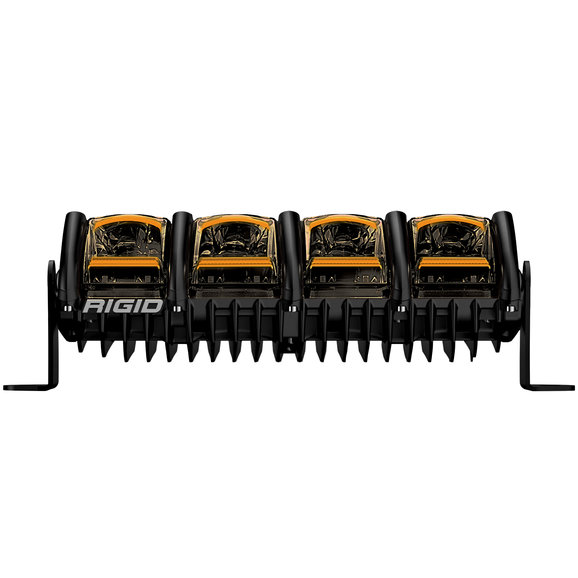
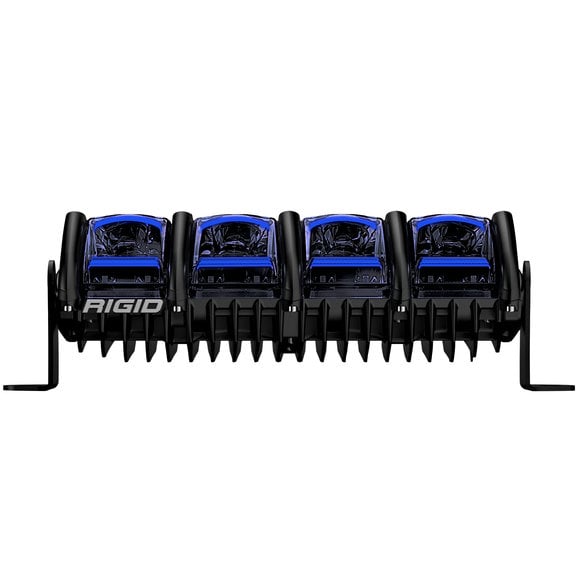
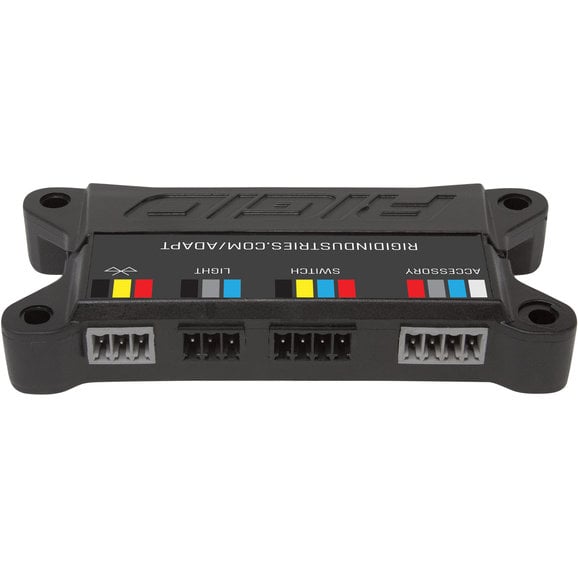
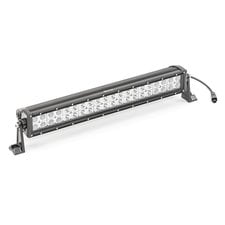
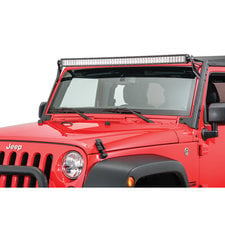
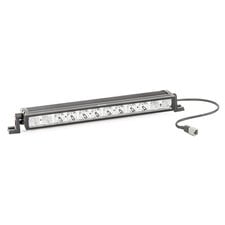
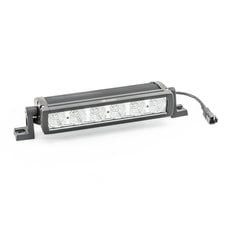
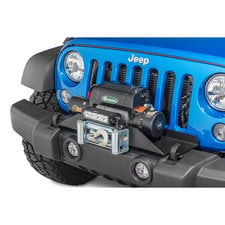
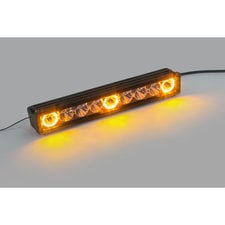
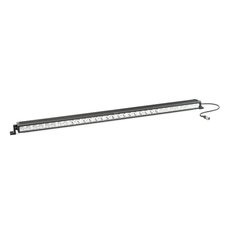
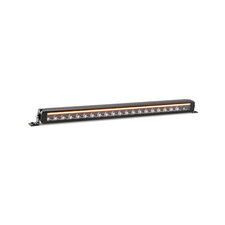
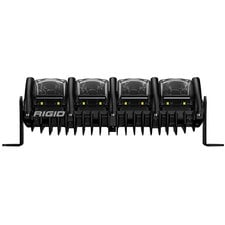
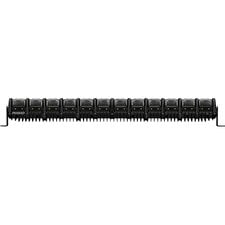
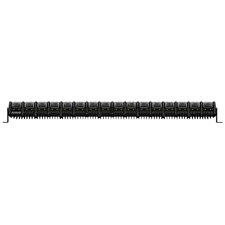
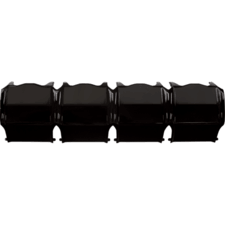
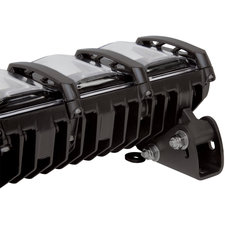
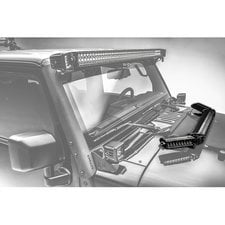
- Unique Design
- 8 Selectable Beam Patterns
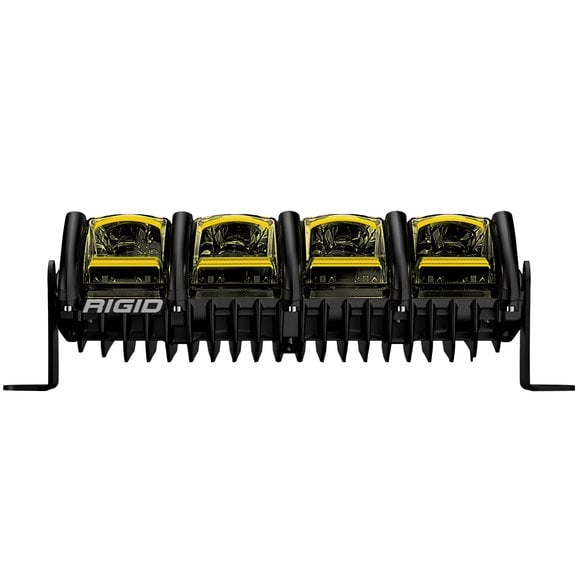
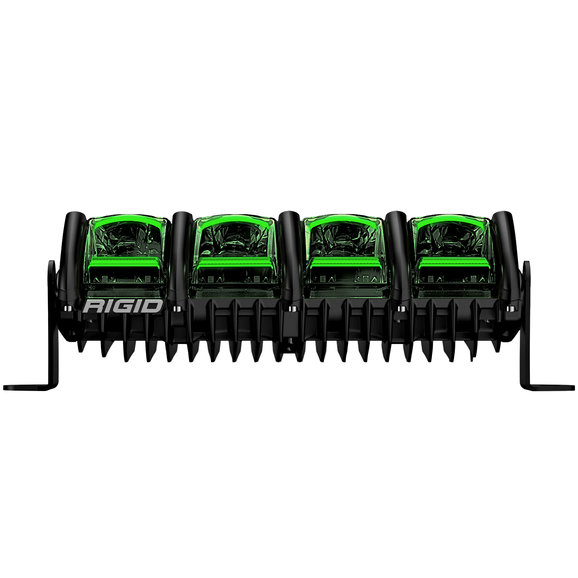
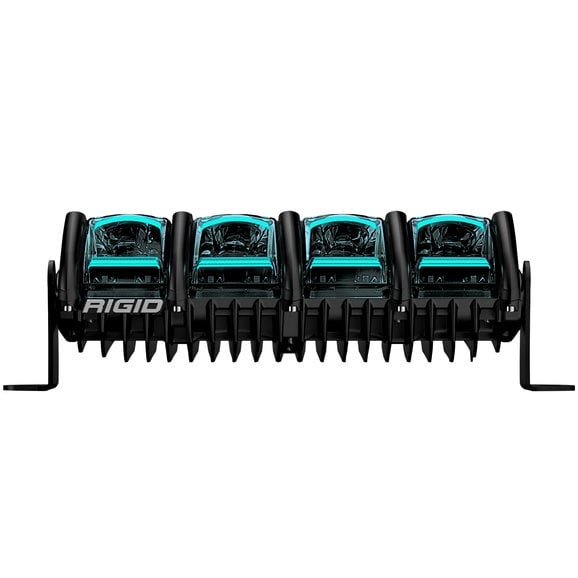
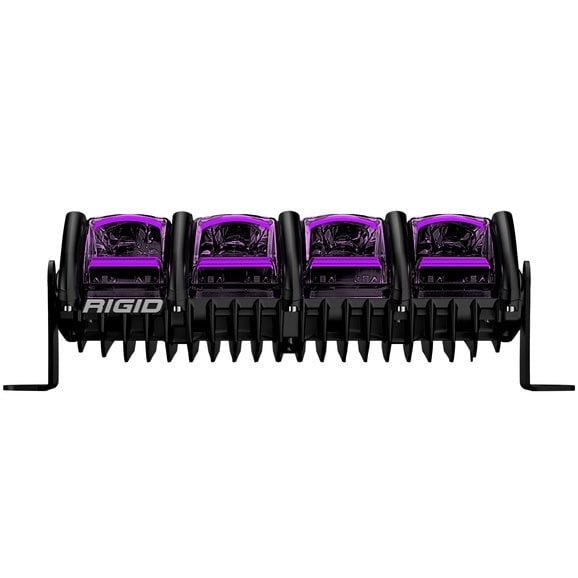
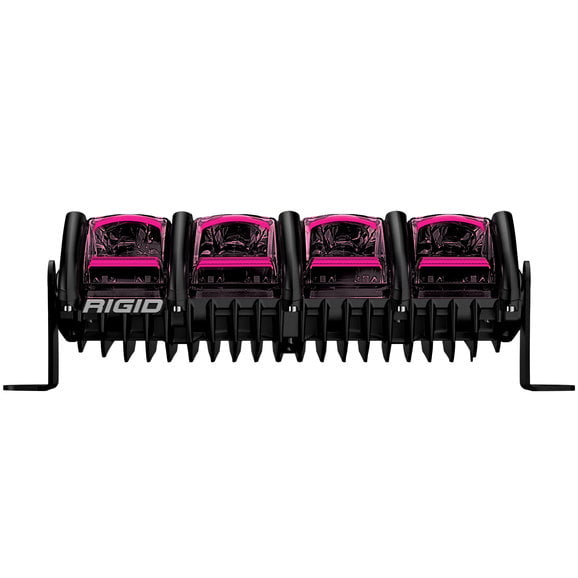
- Accent Lighting Can Be Adjusted to Any Color in the Spectrum
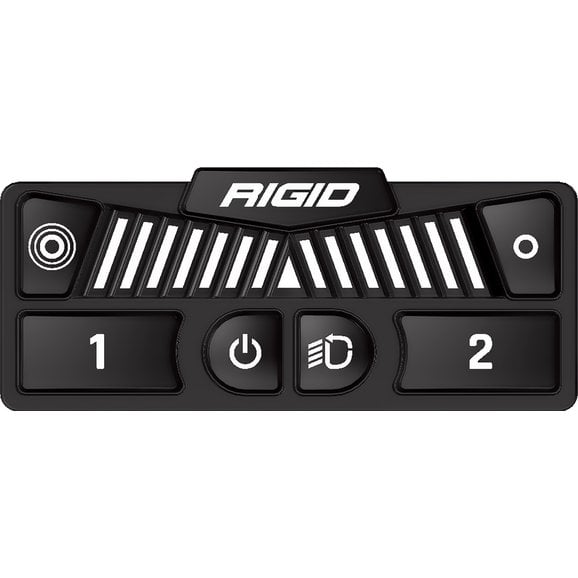
- All Modes are Adjustable with Included Backlit Dash Controller
- Dash Controller Offers Programmable Presets
- 15 to 90 Degree Beam Patterns
- Adaptive Mode Automatically Adjusts Beam Pattern to Fit Vehicle Speed
- Features: LED Light Bar
- Color: Black
- Size: 20 inch to 29 inch
- Light Pattern: Combo
- Shipping Weight: 15lb
- Shipping Dimensions: 24in x 7in x 6in (L x W x H)
- Shared By Others
- Share a Photo
- Ask a Question
- Write a Review
Rigid Industries 20 Inch Adapt Light Bar Reviews
The Adapt is well made, but lost a star for a mushy controller and the lack of a competent operators manual. Rigid is well known for quality lighting products. I just wish they'd take the same approach with their owners/installation manual for this unit.
Regardless of the mushy controller and lack of an adequate manual, quality, engineering and well thought out design are immediately evident. The finish is really nice and tough. It works well and throws a lot of light...more than the headlights do, anyway. Here are a few things I learned while installing a 20" on a Rubicon/Recon with the front steel bumper.
I drilled two holes in the front bumper and used rivet nuts to attach the unit, although typical nut-bolt would also work...if you don't drop them. If you don't like the "L" brackets that come with the unit, Rigid also makes a stealth mount that hides all the holes and mounting screws. Control wiring is routed under and along the bottom of the grill up through the engine bay. Power for the unit was routed along the firewall and zip-tied to the existing wiring loom. Pulling the engine cover off makes access and securing things much easier (just yank the cover off). The control wiring is routed through the clutch linkage hole in the upper left part of the drivers footwell. and routed toward the center console. I installed the control panel just below the 4x4 shifter and a couple inches above the little coin pocket under the parking brake. Yanking on the trim piece around the shifters pops it loose, but be careful snapping it back in. Make sure the tabs are not bent when reinstalling. It fits perfectly there and I was able to drill an access hole under the rubber coin pocket tray (another just yank and it comes loose) so that there are no visible holes should I decided to sell the Jeep and keep the light. The double sided tape put on by the factory did not hold well initially. Probably because I didn't clean the surface well enough. It is now rock solid.
Some people think that the light is ugly. While it's not a beauty queen, it's not that bad and I think it looks good on the front of my Rubicon.
The directions that came with the light are lacking. It reads more like a marketing guy wrote it instead of a mechanic, installer or engineer. But it's still manageable and Rigid Customer Service is pretty good. Note that to get the back lighting color to change mash the "Rigid" button and hold for a few seconds then release. The light will slowly begin to change colors. Mash the "Rigid" button again when the color you want is displayed on the control unit at the "Rigid" button.
The controller itself is not that great. It's mushy. There is little "feel" to indicate that you actuated the button/switch. But it works well so far.
The GPS unit is really a must have to get the most out of these lights and it comes at a premium.
The light is expensive and that expense is reflected in the quality, technology and warranty provided by Rigid Industries. It's not for everyone, and there are much less costly lighting options, but there's nothing quite like this on the market yet...at least that I was able to find. So far, so good and happy with my purchase.


