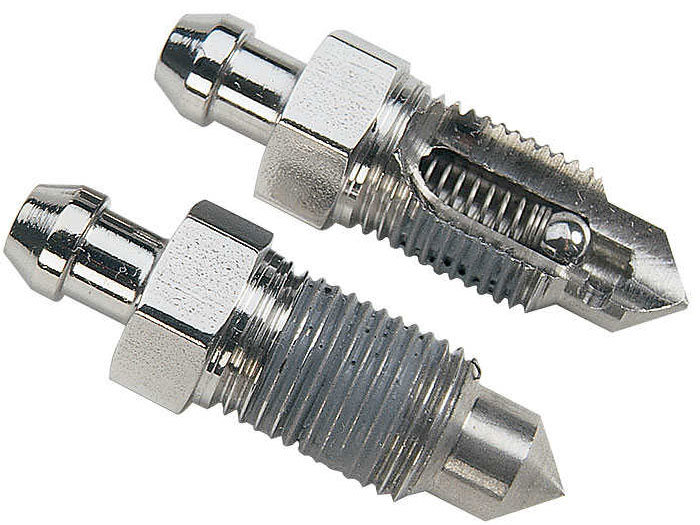
Once you get your Speed Bleeder®, it is very simple to install:
Clean the area around the old bleeder screw to prevent dirt and contaminants getting into the brake system.
Remove the old bleeder screw and discard.
Screw in the Speed Bleeder into the bleeder port until it seats.
Unscrew the Speed Bleeder 1/4 to 1/2 of a turn.
Slowly pump the brake pedal approximately 3-5 times. The bleeder screw does not need to be closed between pumps. A one way check valve lets the air and fluid out when the pedal is pressed and closes when the pedal is released. This prevents air from reentering the system.
After air free fluid come out of the Speed Bleeder, close the valve until it seats.
Proceed to the next wheel in line until all are bleed.
Speed Bleeders are made in 4 different hex pattern sizes
When the bleeders are first installed, slight resistance might be felt as the thread sealant section is reached. This is normal and is the sign that the thread sealant is conforming to the shape of the threads. The sealant is meant to provide a seal between the internal portion and external portion of the threads to prevent leaks. When the bleeder is bottomed out, it is closed. Do not over tighten the bleeder. If leakage still occurs, about 1/8 of a turn should help.
Clean the area around the old bleeder screw to prevent dirt and contaminants getting into the brake system.
Remove the old bleeder screw and discard.
Screw in the Speed Bleeder into the bleeder port until it seats.
Unscrew the Speed Bleeder 1/4 to 1/2 of a turn.
Slowly pump the brake pedal approximately 3-5 times. The bleeder screw does not need to be closed between pumps. A one way check valve lets the air and fluid out when the pedal is pressed and closes when the pedal is released. This prevents air from reentering the system.
After air free fluid come out of the Speed Bleeder, close the valve until it seats.
Proceed to the next wheel in line until all are bleed.
Speed Bleeders are made in 4 different hex pattern sizes
- 1/4 inch
- 5/16 inch
- 3/8 inch
- 7/16 inch
When the bleeders are first installed, slight resistance might be felt as the thread sealant section is reached. This is normal and is the sign that the thread sealant is conforming to the shape of the threads. The sealant is meant to provide a seal between the internal portion and external portion of the threads to prevent leaks. When the bleeder is bottomed out, it is closed. Do not over tighten the bleeder. If leakage still occurs, about 1/8 of a turn should help.


