Step 1
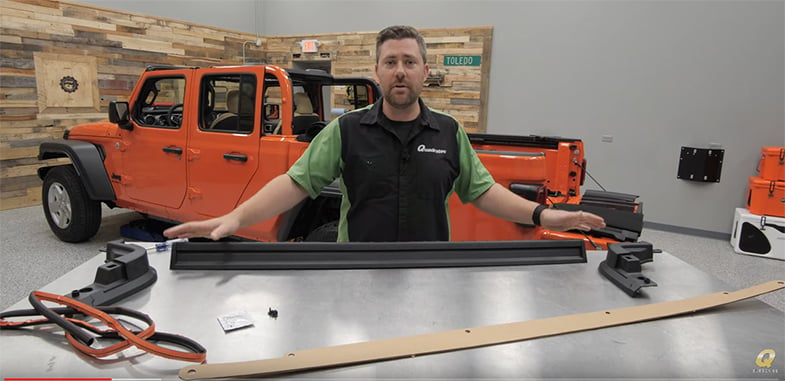
Assemble the rear belt rail. This consists of one long belt rail and two smaller corner sections, as well as hardware, 3M adhesion promoter and a cardboard fitment guide. Turn long belt rail upside down and attach each corner piece. They are labeled left and right.
Step 2
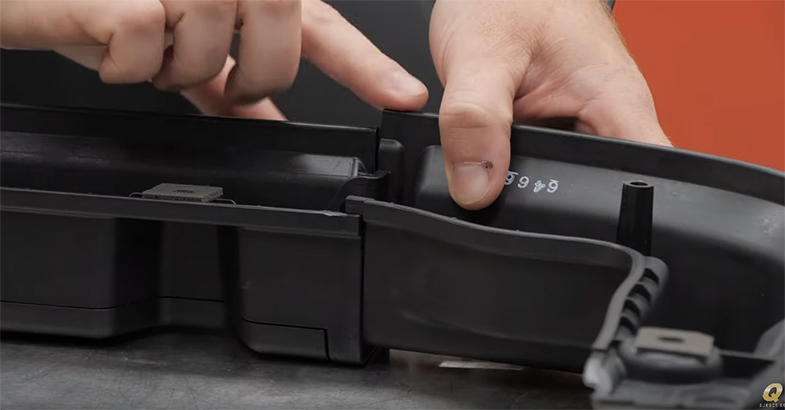
Once the corner pieces are snapped into place, secure them on each side with the provided four Phillips head screws (two per side). Only loosely tighten the screws at this point.
Step 3
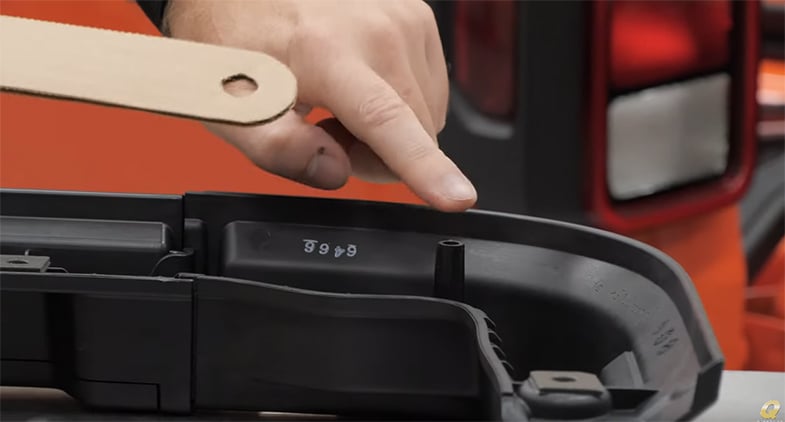
Attach the cardboard guide to posts that sit on each side of the belt rail. As you have only loosely tightened the screws on each corner section, you can slightly adjust each one until the holes on the guide align with those on the belt rail. Now you can hand-tighten all four Phillips screws to secure and remove the cardboard guide.
Step 4
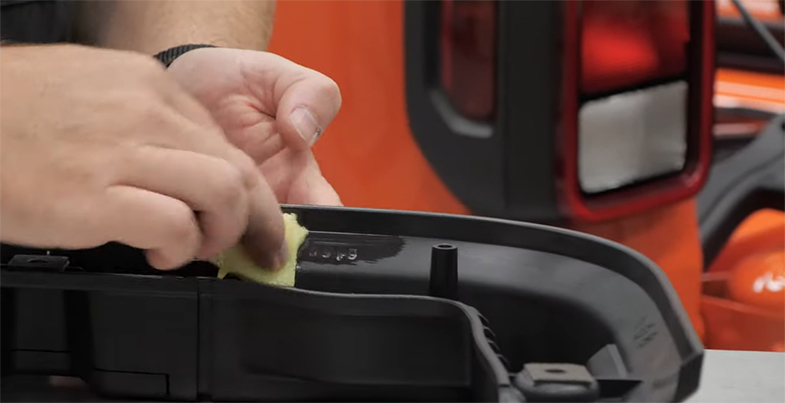
Open the 3M-adhesive promoter and wipe down the rail, and rail lip, from side to side.
Step 5
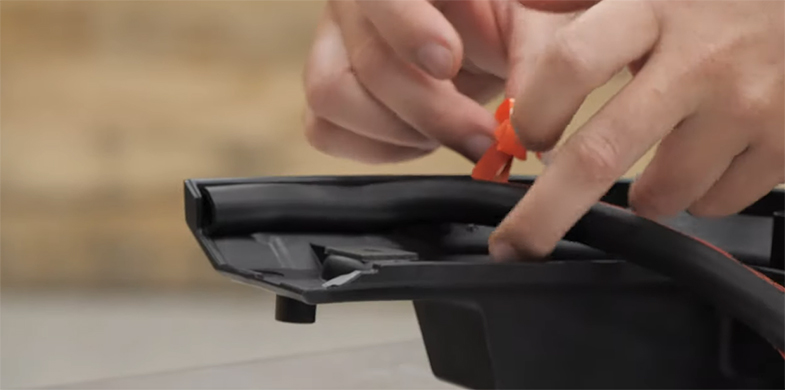
After waiting a few minutes, you can install the seal by peeling off a few inches of tape at a time. Note that the seal itself is broken up into two sections—one goes along the edge and one on the rail. Take your time here and make sure the seal lays down evenly. You can cut off any remaining seal once you reach the other edge.
Step 6
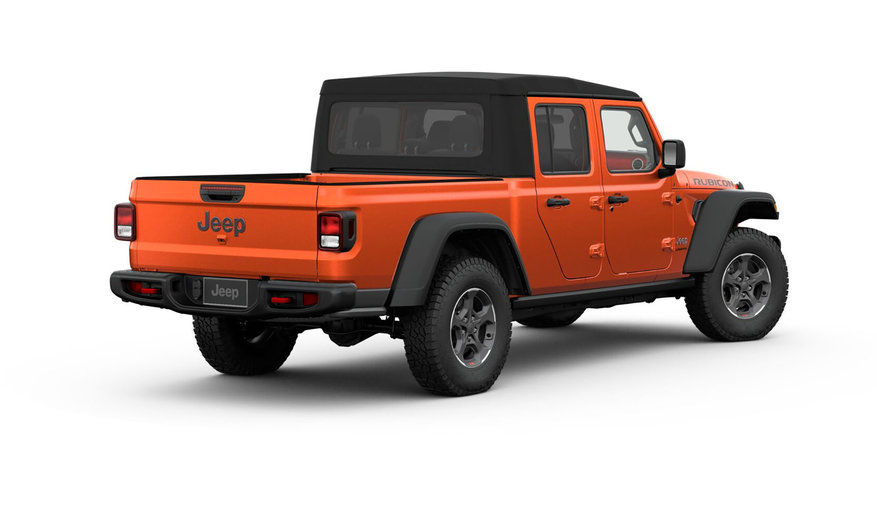
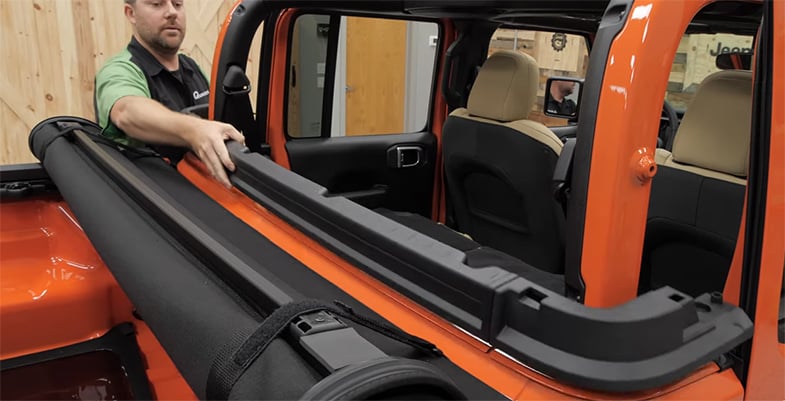
Now you are ready to install the rear belt rail to the Gladiator. Keep in mind that it should sit above the same six mounting holes as the hardtop and uses T-50 short torx bolts for attachment.
Step 7
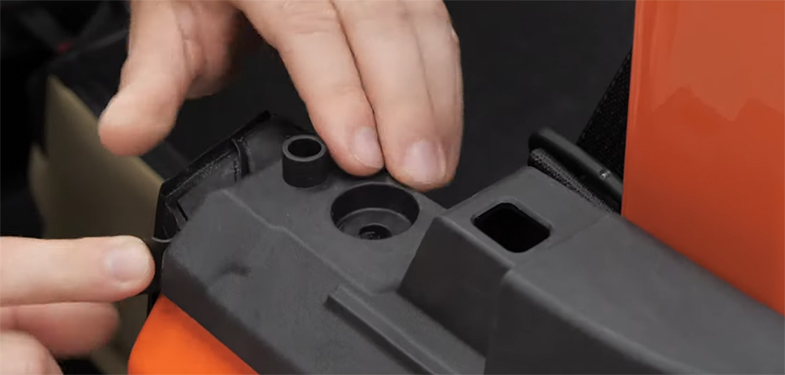
Before tightening that first torx bolt, make sure to pull the seal out from the belt rail assembly.
Step 8
Moving on to the front door surrounds. These are labeled FL and FR for front driver and front passenger sides and are placed on top of the sport bar. When doing so, verify that the two hinge pieces align with holes on the underside of the sports bar.
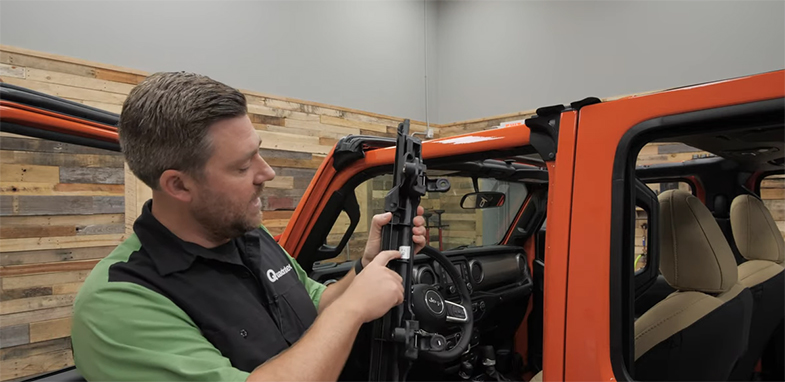
Step 9
The front door surround should sit down over the door seal between front and rear doors.
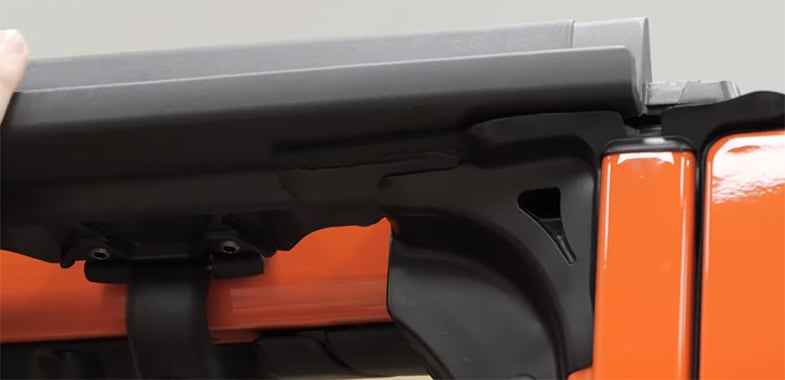
Step 10
It should also fit into the channel on the front header seal. This will ensure the fitment remains waterproof.
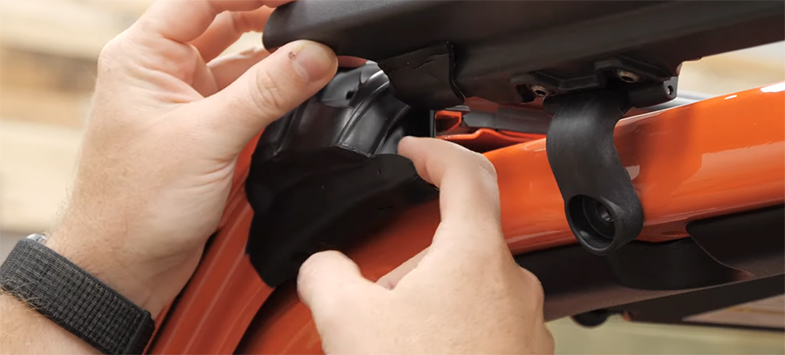
Step 11
Use two T-40 long torx bolts for each surround when connecting to sport bar.
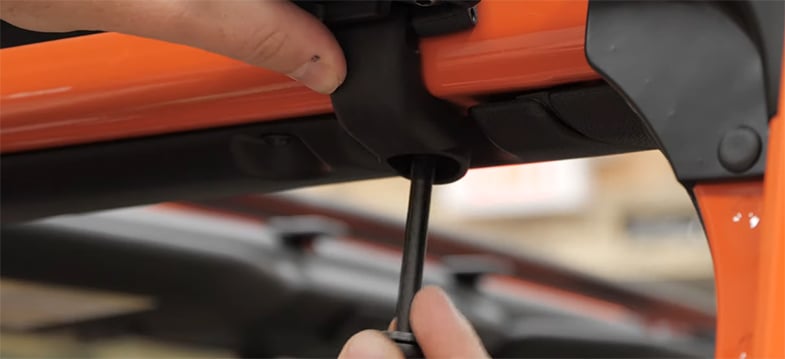
Step 12
For the rear door surround installation, there is one long upper surround and one short lower piece per side, plus a gasket, two T-40 torx bolts and two washers per side.
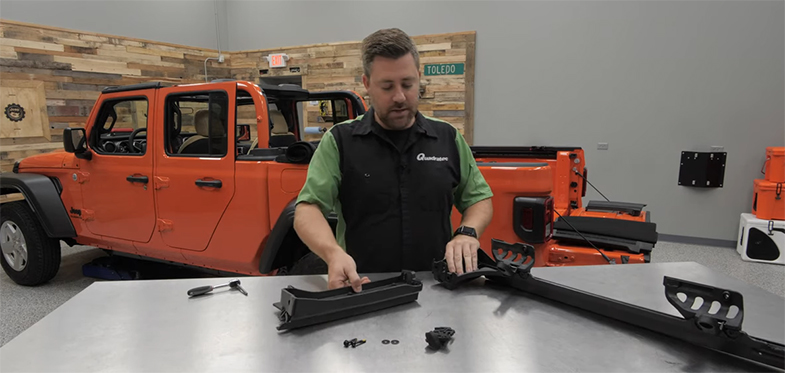
Step 13
These surrounds install in one direction only, and fit like puzzle pieces so if they are not lining up correctly, you may need to swap out a piece.
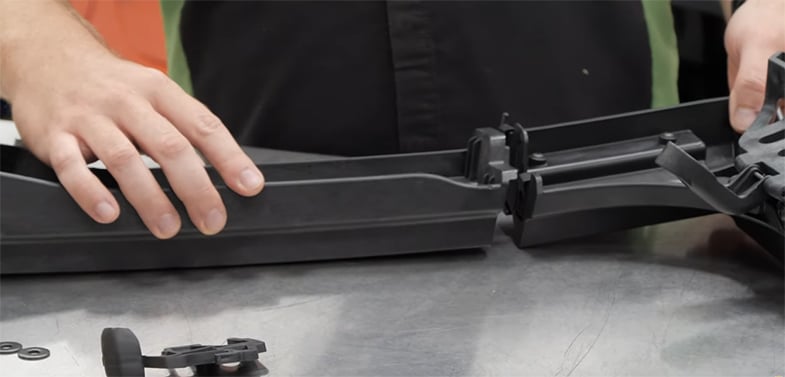
Step 14
Place the gasket in-between each piece when connecting and use the locator pin to secure the gasket into the short lower piece—ensuring the gasket’s outer edge sits nicely against the outer side of the surround.
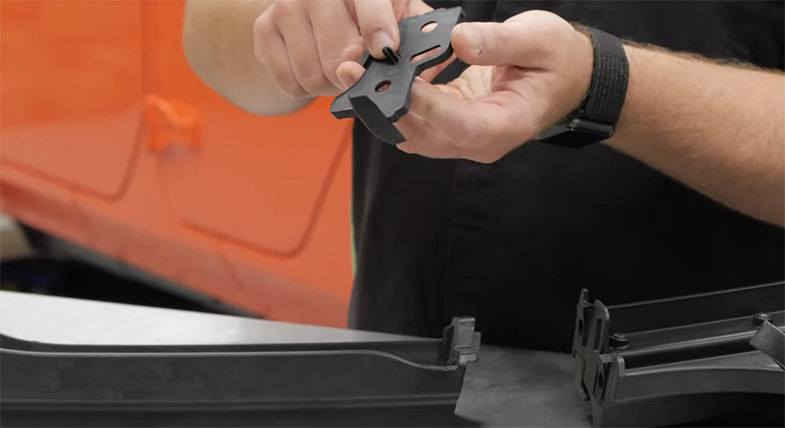
Step 15
Once the two pieces are attached, add a washer on each torx bolt and loosely tighten each bolt when connecting to the surround.
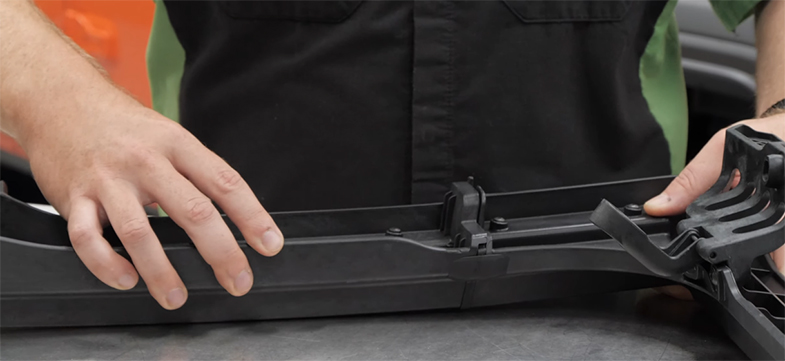
Step 16
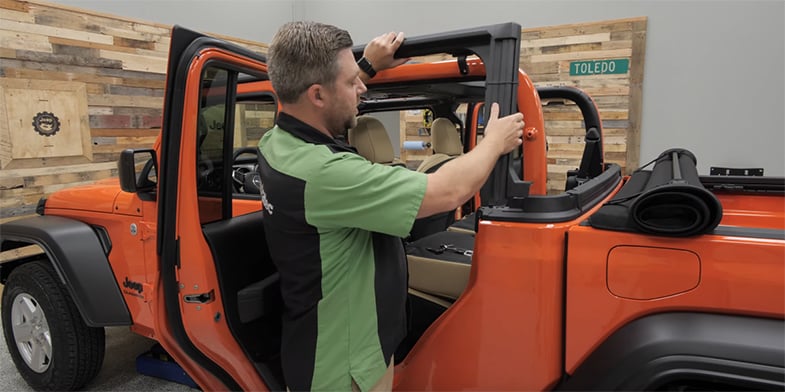
Once each rear door surround is assembled, it connects to the Gladiator using several attachment points—two notches on top of the rear sports bar and a pin on the bottom corner belt rail that slips into a hole at the bottom of the surround.
Step 17
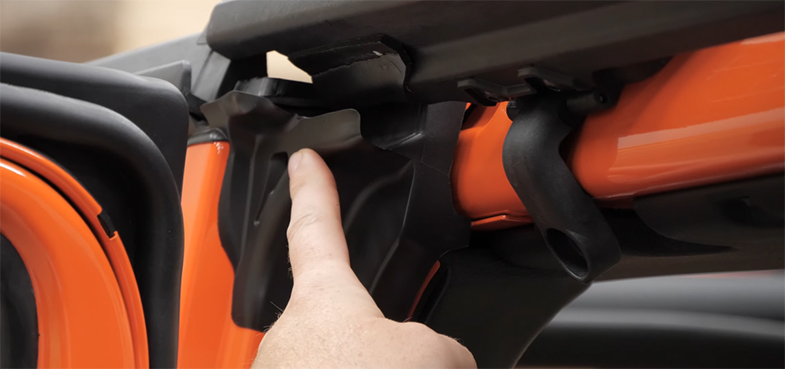
Additionally, make sure when attaching the surround that the front edge fits down into the seal between front and rear doors without crushing the seal.
Step 18
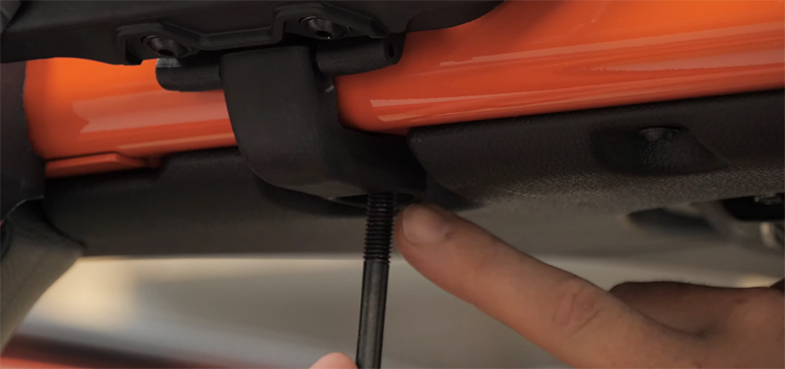
Once everything is aligned correctly, the surround will drop into place. Then you can secure the overall connection to the Gladiator with four T-40 long bolts (two per side) into the hinge pieces that line up with holes on the underside of the sports bar.
Step 19
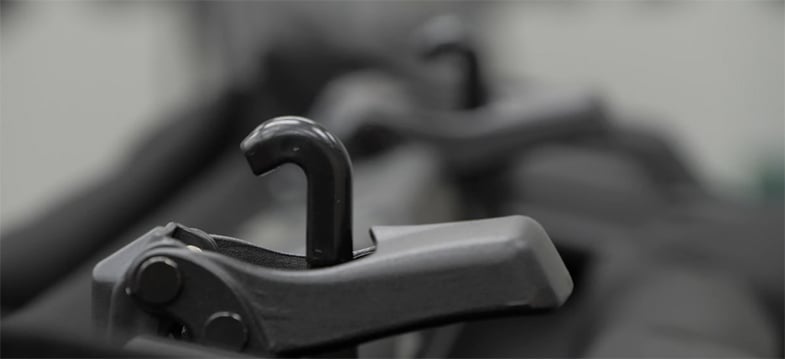
With all the hardware sections installed, you can now attach the top to the Gladiator. Make sure to have the latches facing up so the locating pins on the bow supports are on the bottom.
Step 20
Those four locating pins are going to rest into channels on the hardware pieces. The front ones snap into place and moving those into position is much easier with a friend to help you.
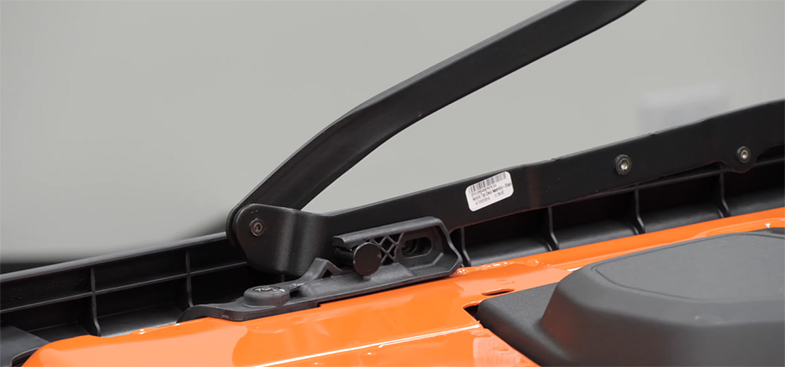
Step 21
After the front pins are situated, the rear tabs will locate onto a channel on the rear surround.
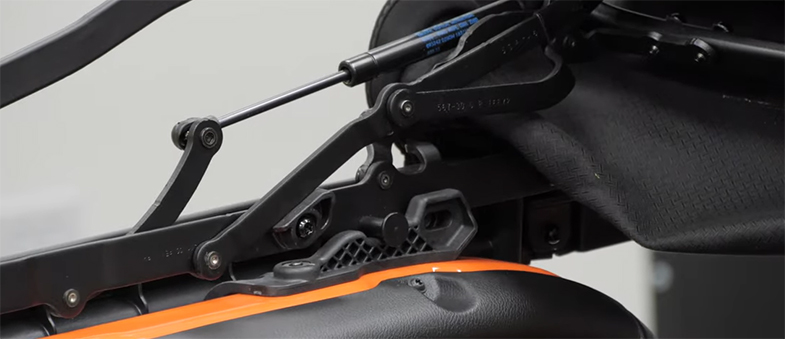
Step 22
Now the top can be secured into position with four T-50 short torx bolts. These attach into place right behind each locating pin.
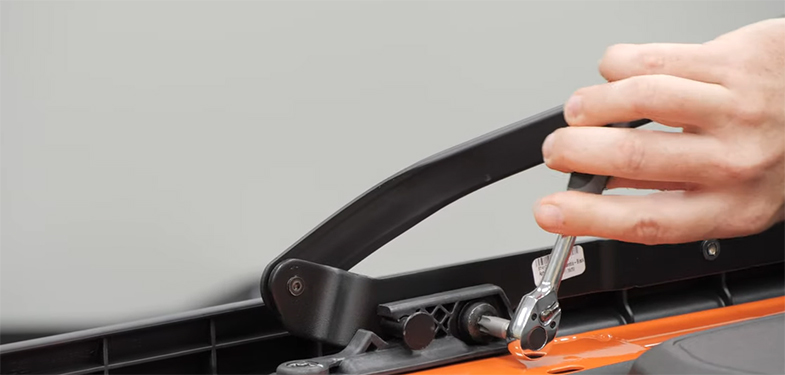
Step 23
When that is completed, pull the top forward and down into position so you can complete the installation of the rear corners and window.
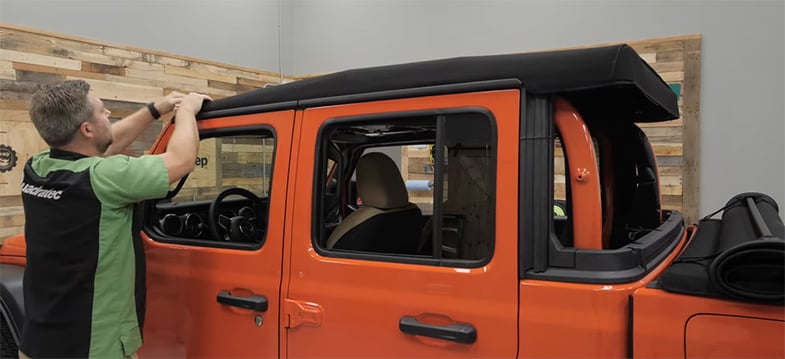
Step 24
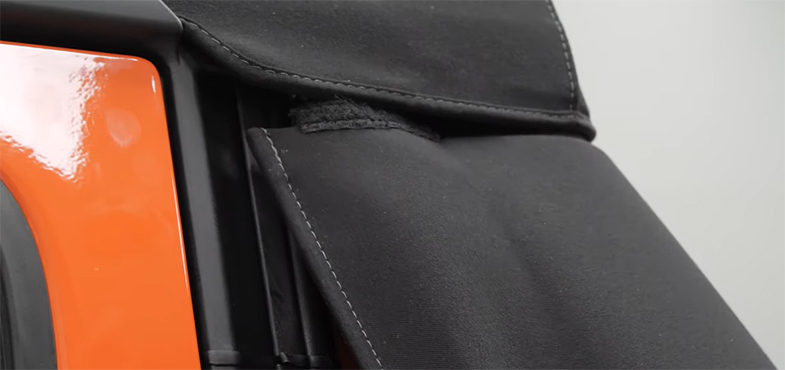
Rear corner installation begins by sliding the top of the corner under the back corner of the soft top.
Step 25
The corner’s bottom has a tab that will line up with a section of the rear belt rail assembly.
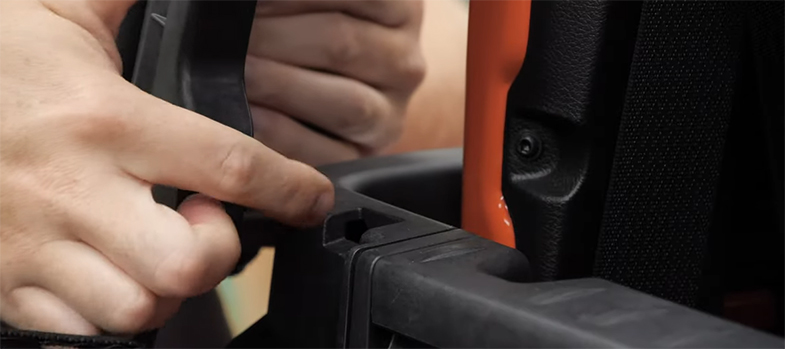
Step 26
Find the plastic tab on the leading edge of the corner and insert into a corresponding slot on the door surround to finish installation of the corners.
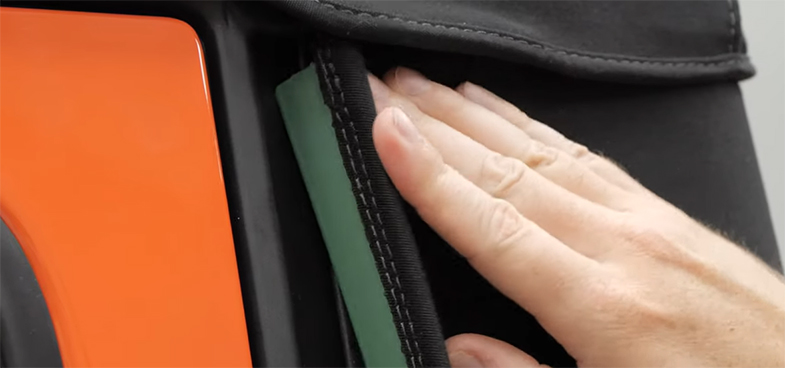
Step 27
To attach the rear window, first take its top edge and insert into a channel that is sewn into the inside rear of the top, then slide all the way across.
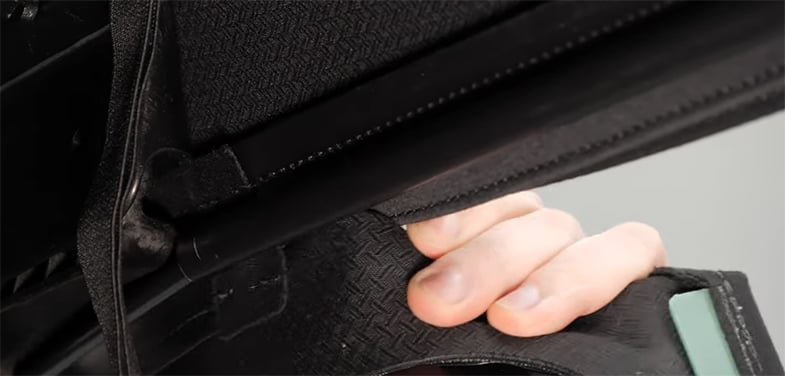
Step 28
Once that top edge is in place, take each side of the window and find the plastic tab. Insert that tab into a channel on the hardware to lock the window into position.
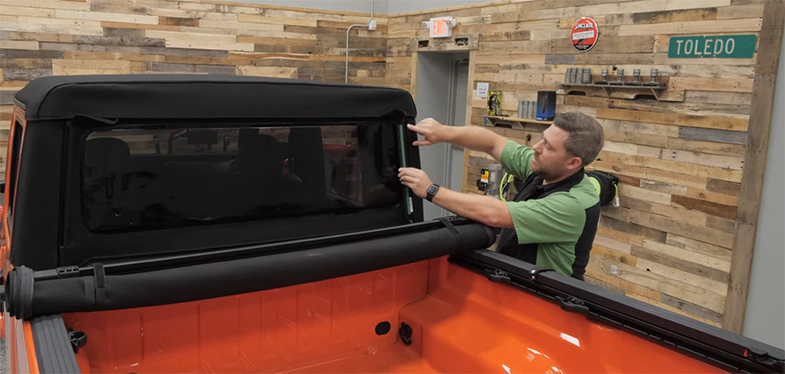
Step 29
Make sure to tuck any excess fabric under the top and press the hook and loop attachment down to make a watertight seal.
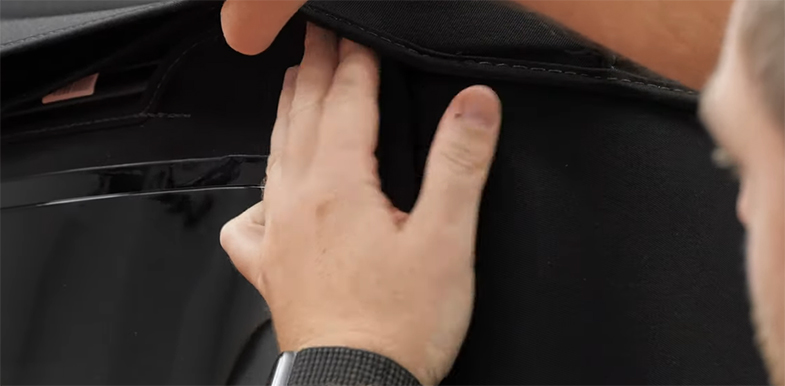
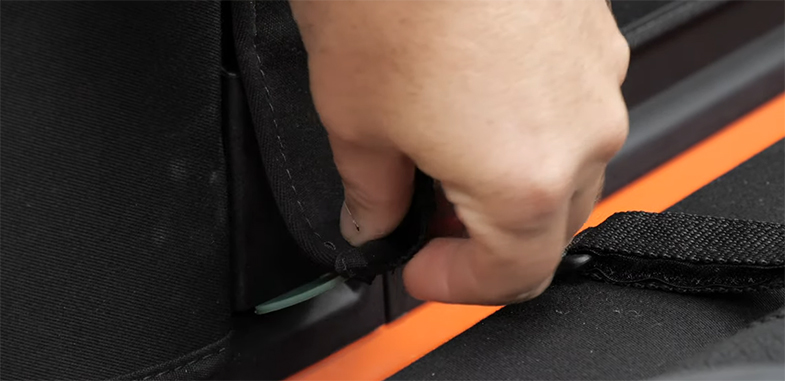
Step 30
With both sides installed, find the corner tabs on the bottom driver and passenger side of the window and tuck each into a channel on the rear corner section. These may be somewhat difficult to attach the first time, especially in colder weather, but if you let the material sit and relax a bit before installing, then it should make that process a bit easier.
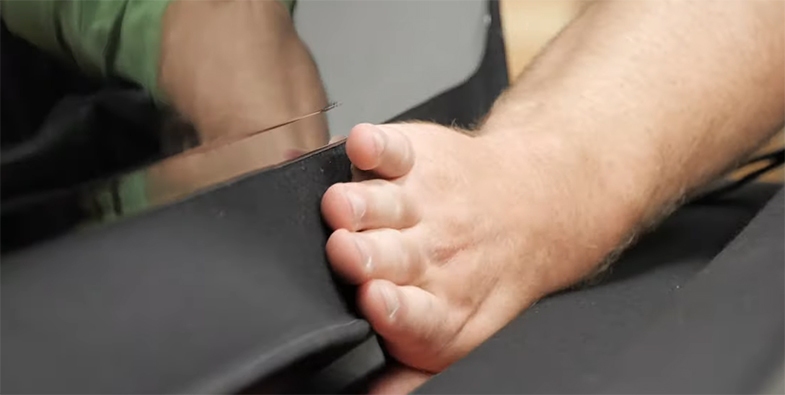
Step 31
Now you can attach the final plastic tab that runs along the bottom of the rear window. This tucks into place like the others, into a channel on the bottom of that belt rail.
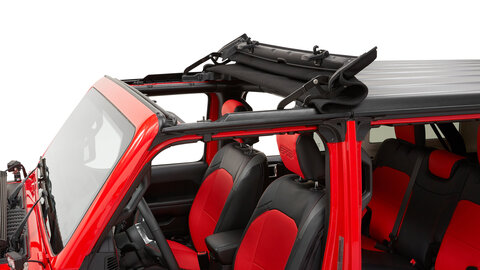
Once that top is installed, you now have access to open air driving whenever you want. Additionally, Jeep has provided some items to make that experience easier as well. They have included two straps you can use to hold the hardware in place when the top is reclined back—that way it isn’t buffeting in the wind. They also include two straps for the rear window so you can roll it up if you want, instead of removing the thing.
Also, remember that products like Bestop's Soft Top Cleaner and Protectant can be crucial to maintaining that top's appearance year-round.
For more great Jeep Gladiator JT parts, as well as product news, make sure to visit our Jeep Gladiator JT product page..


