by Scott Ammerman
Torque Senior Correspondent
Part One of Three: History, Acquisition, Beginning the Process
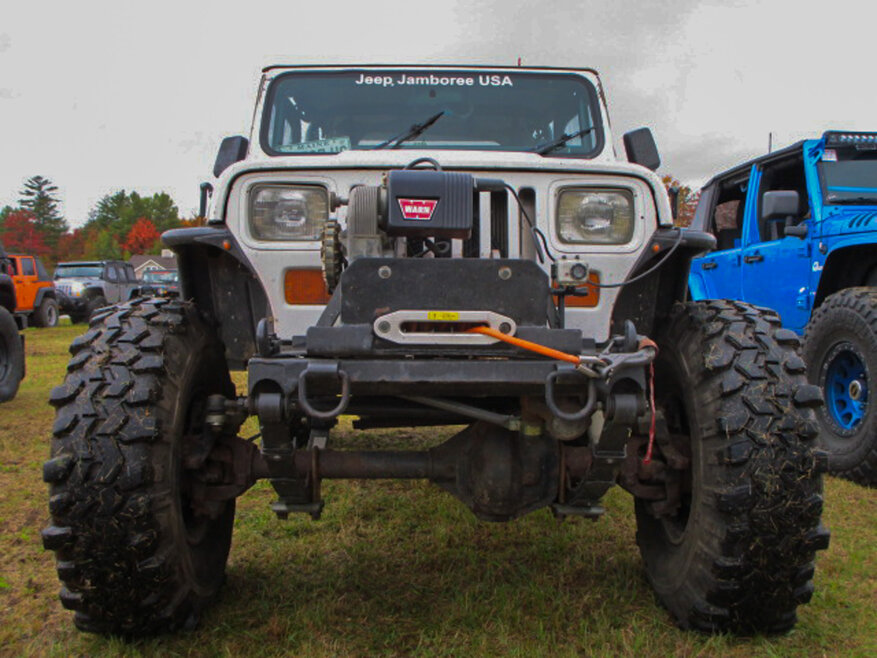
The iconic Warn 8274 winch is more than a piece of recovery equipment; it is a legend in the world of off-roading. With its standout design, unmatched performance and enduring reliability, the 8274 has become a benchmark device for off-road enthusiasts, professional adventurers and competition drivers alike.
I had been searching for an older 8274 for several years and recently discovered one in the back of a shop not too far from where I live. After seeing the listing, I headed north to the Poconos in Pennsylvania the next day to pick it up. The advertisement listed it as fully functional, but when I was around 20 minutes away, the seller called me with bad news – the winch was electrically inoperative.
So, as 2024 represents the 50th anniversary of the release of this winch model, my goal will be to finish the rebuild by the end of December and document the entire process in this three-part story.
If you aren’t familiar with this winch, it has all the personality of an industrial equipment piece, with gear-driven guts that look like something from a Dana 300 transfer case, while sounding like an out-of-control chain hoist while operating. The no-load line speed is also among the fastest in history for a self-recovery winch.
And in part one of this rebuild story, we will dip into how it all started.
The Birth of an Off-Road Legend
The story opens in the early 1970s — a time marked by a growing interest in off-road exploration and competition. As enthusiasts began pushing the limits of their vehicles, the need for reliable recovery tools became increasingly apparent.
Enter Warn Industries. The company was already known for its innovative approach to off-road equipment, such as the invention of the first 4WD hubs in 1948. This allowed the front axles of surplus military Jeeps to be easily unlocked, an important feature to new civilian buyers looking to use these as farm vehicles.
In 1959, Warn introduced the Belleview M6000, an electric winch that had a distinctive upright configuration, creating a new standard that would revolutionize the off-road world.
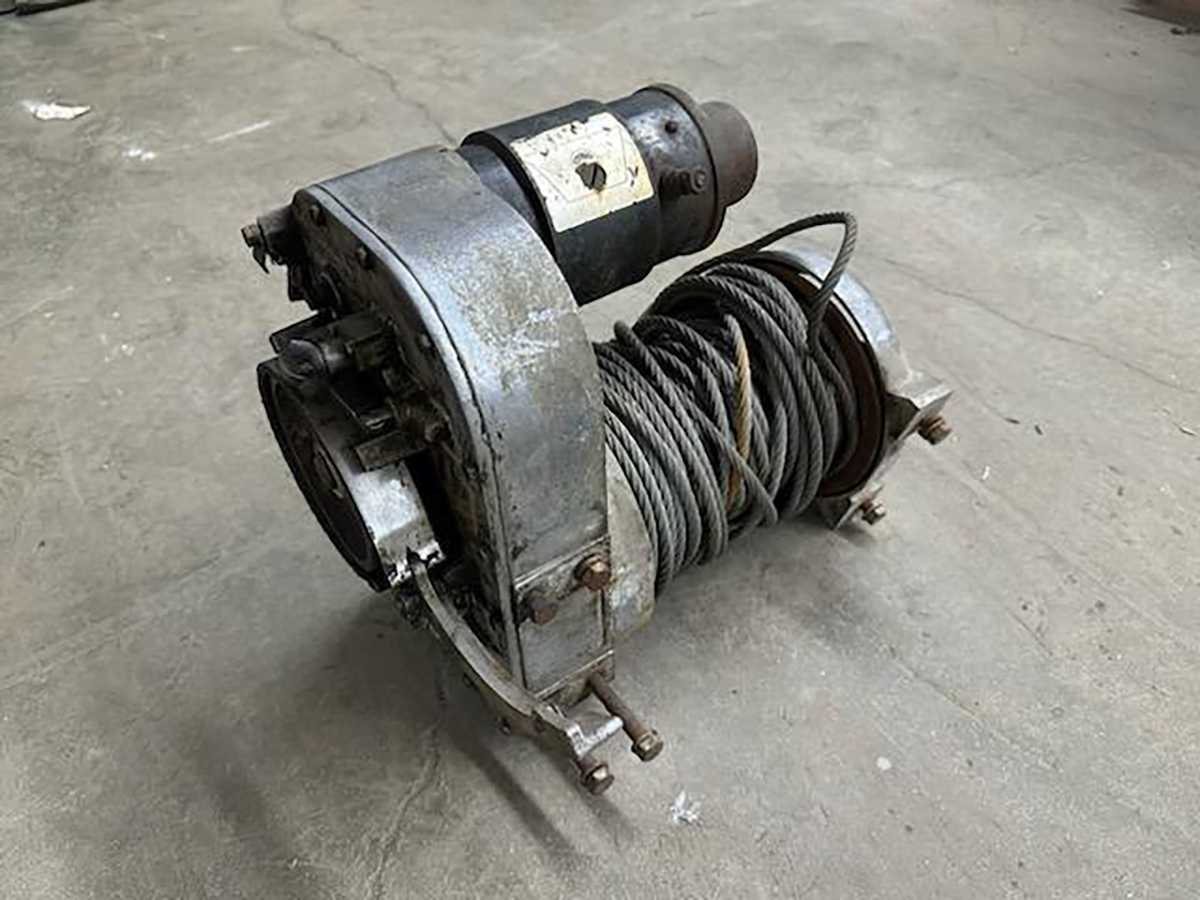
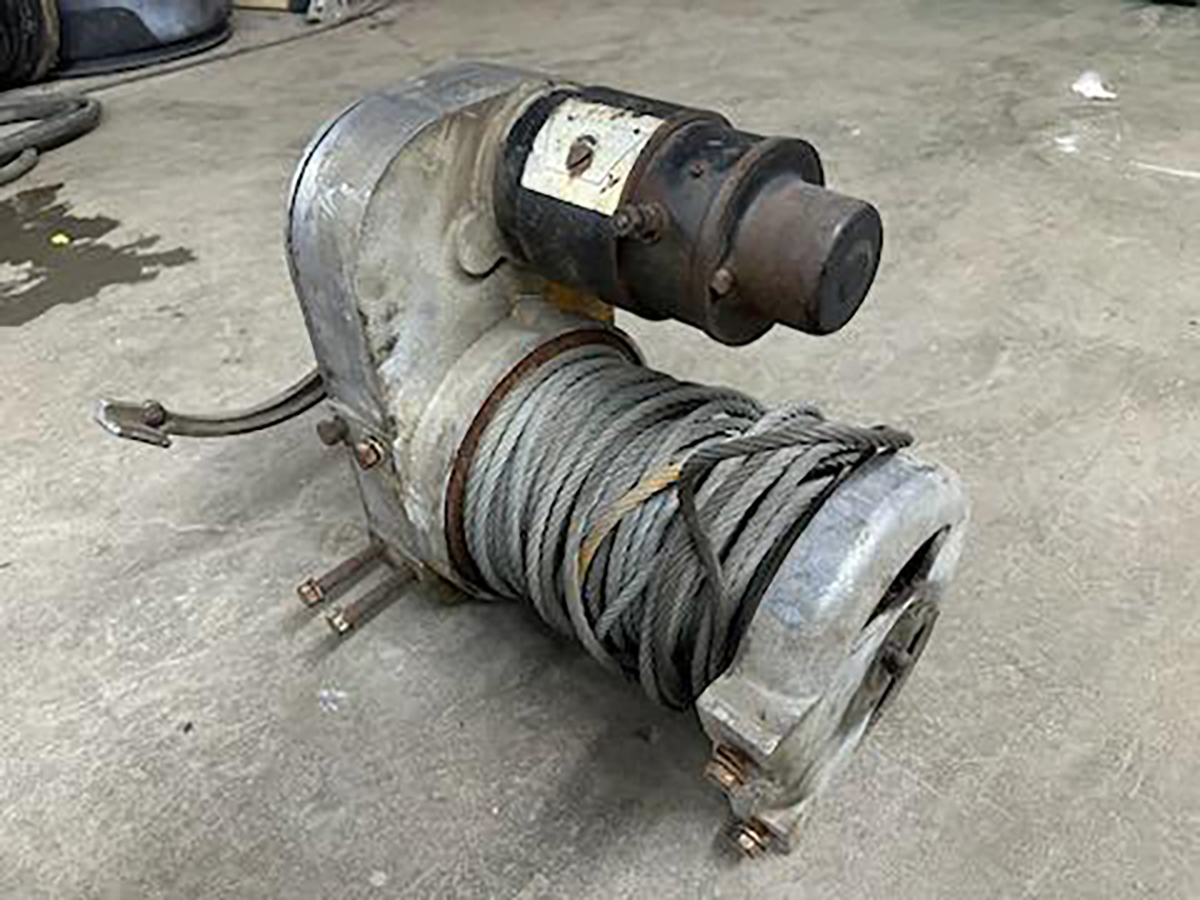
The original Belleview winch was a groundbreaking design boasting a 6,000 lb. capacity. It also operated electrically, a drastic departure from PTO (Power Take Off) powered winches of the era that required a running engine to operate the winch. The Belleview offered a critical advantage in recovery situations where a vehicle may have stalled but still had electrical power.
It quickly gained popularity but was eventually discontinued in 1973 as Warn’s commitment to recovery devices led to a superior replacement hitting the market.
The M8274.
The Introduction of the M8274
In 1974, Warn officially launched the M8274, with the ‘M’ standing for model, ‘8’ representing the 8,000-pound pulling capacity, and ‘74’ marking the year of its introduction.
The M8274 retained the Belleview winch’s upright design but featured several key improvements. Among these was a more powerful motor, which enhanced the winch’s pulling power and line speed. The M8274 also featured an upgraded braking system designed to provide greater control and safety during recoveries.
One of the standout features of the M8274 was its exceptional line speed. While most winches of that era operated at relatively slow speeds, the M8274 could spool in line at a significantly faster rate, making it invaluable in competitive off-road events where every second mattered.
This speed and its reliable performance quickly made the M8274 the winch of choice for serious off-roaders and competitors.
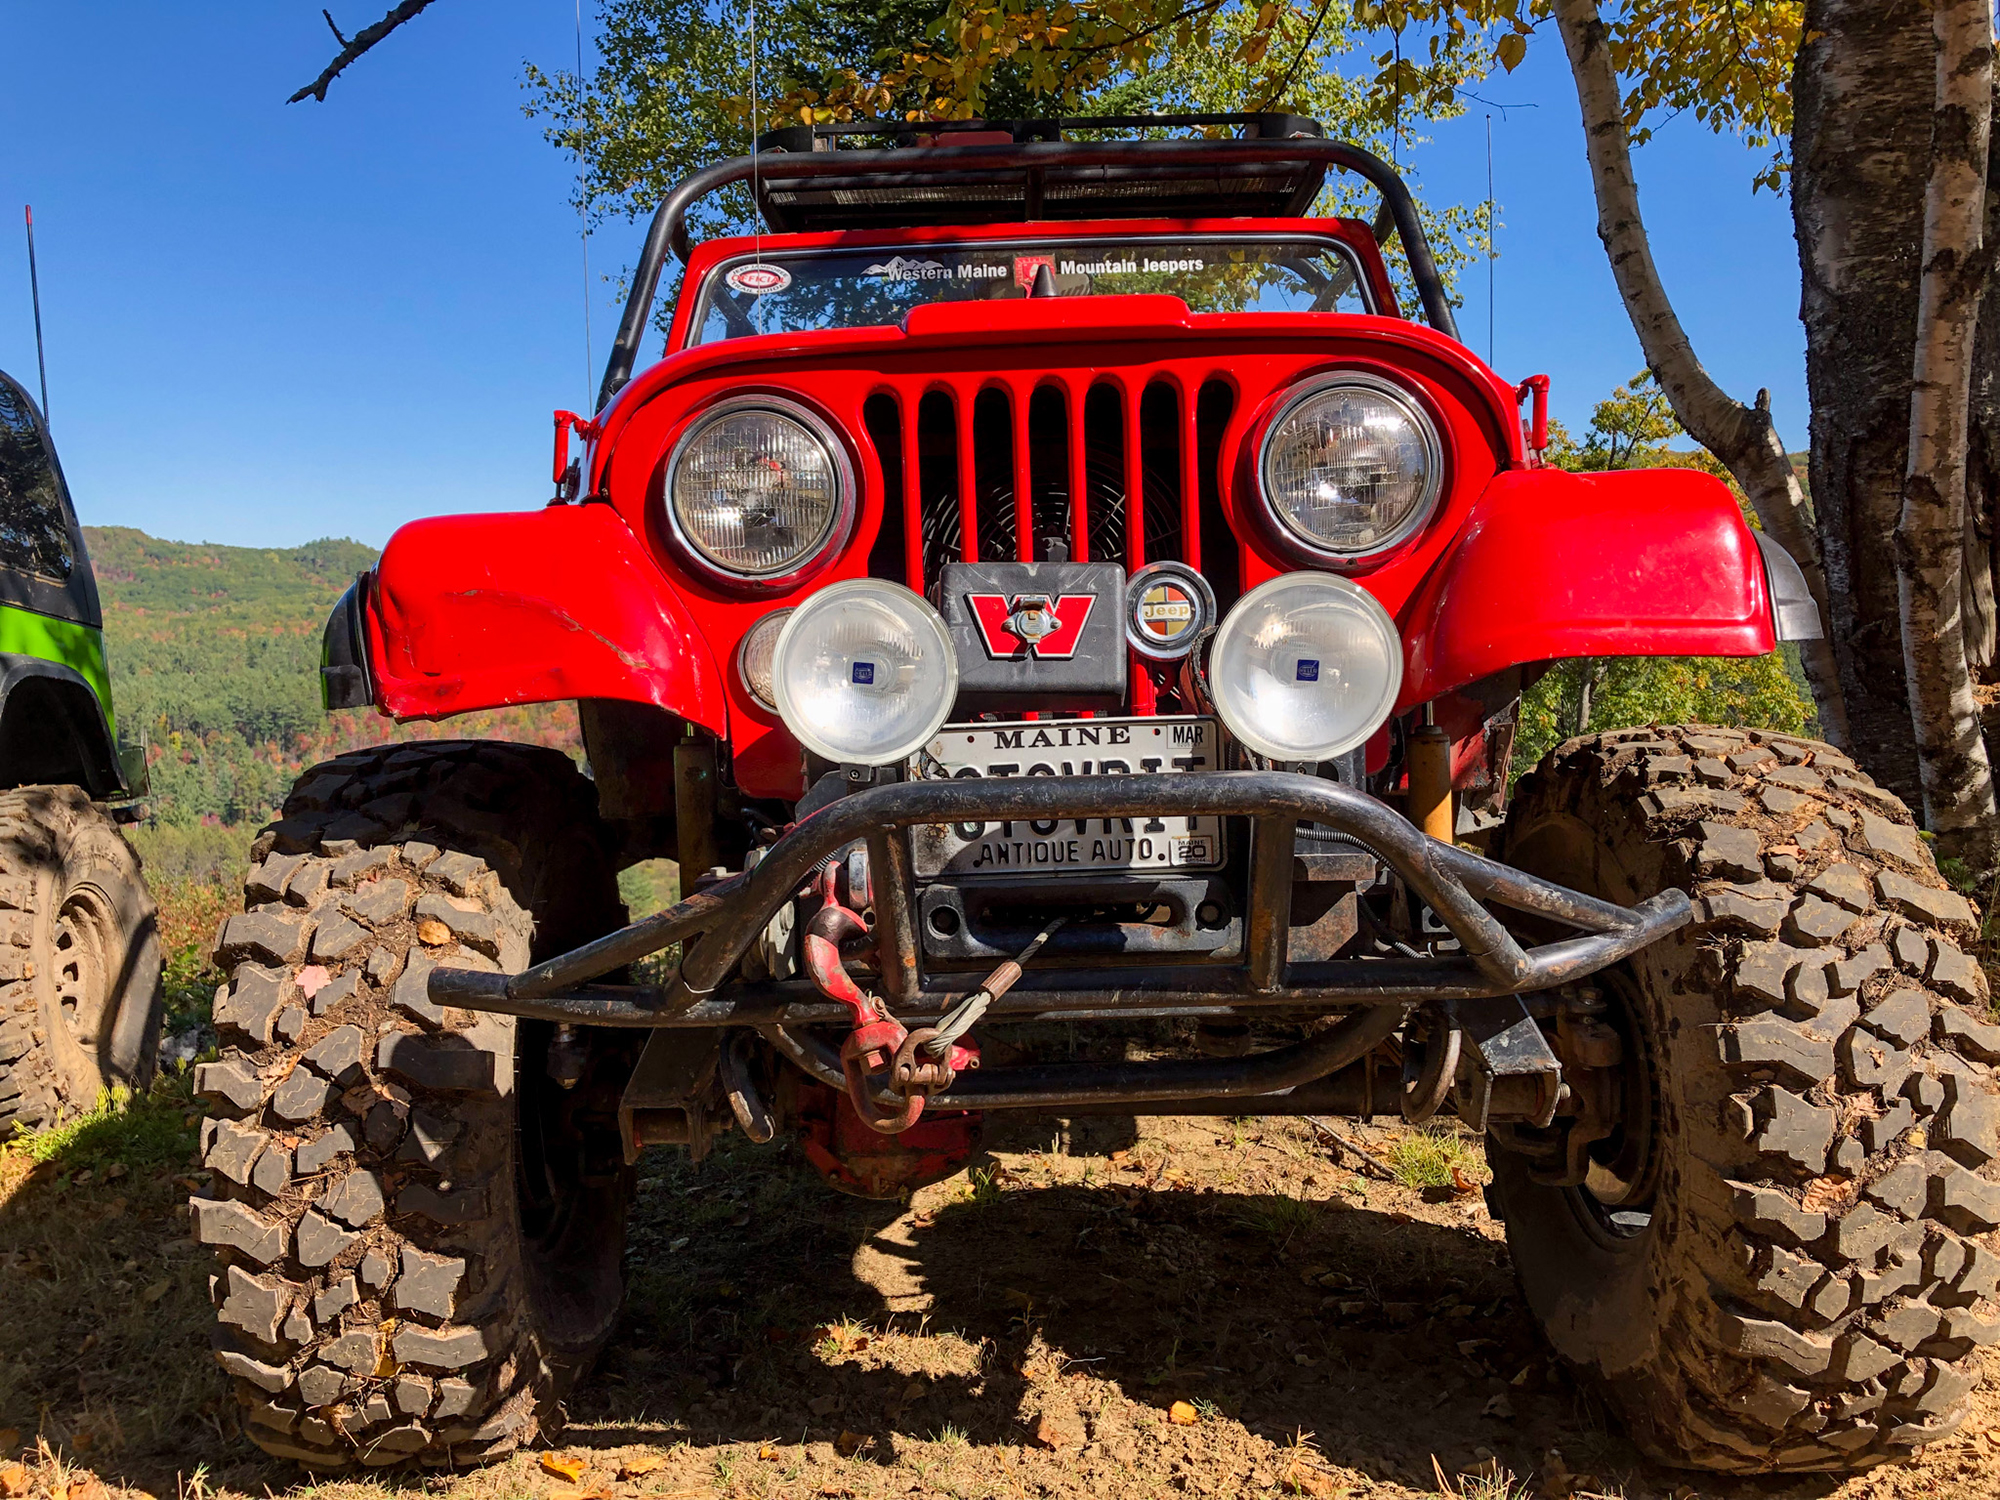
The Special Equipment Variations
During the mid to late 1970s, Warn developed several Special Equipment variations of the M8274 winch specifically for AMC Jeep dealers. These models were designed to catch the eye of a growing off-road enthusiast market and were tailored to the needs of Jeep owners. The Special Equipment models were functionally the same as a standard 8274, but were packaged with mounting kits that made installation straightforward.
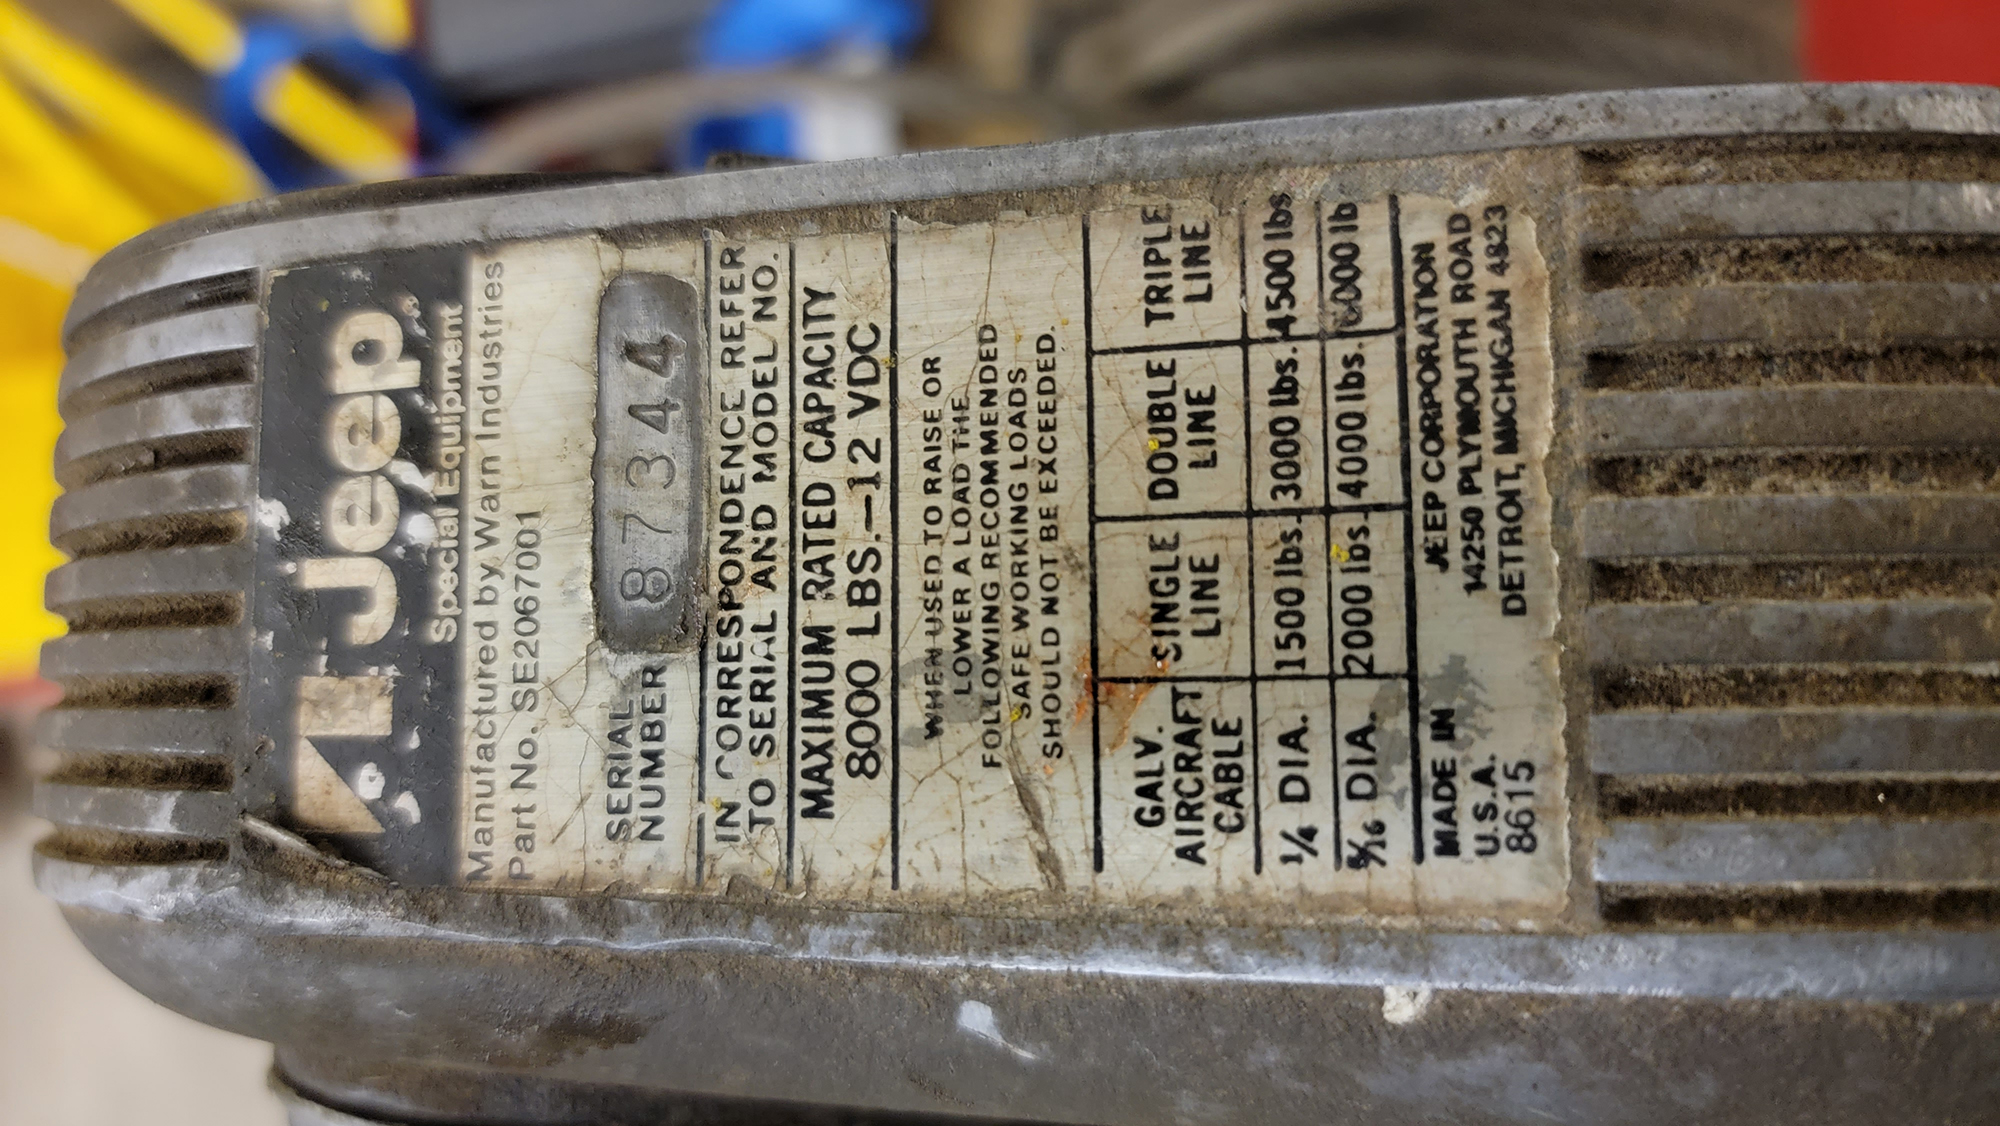
These Special Equipment winches had a different data decal at the top, and were marketed as official accessories, allowing Jeep owners to equip their vehicles with a winch that was both powerful and perfectly integrated with their vehicle. These models are now highly sought after by collectors, particularly those interested in vintage Jeep vehicles.
The Survivor
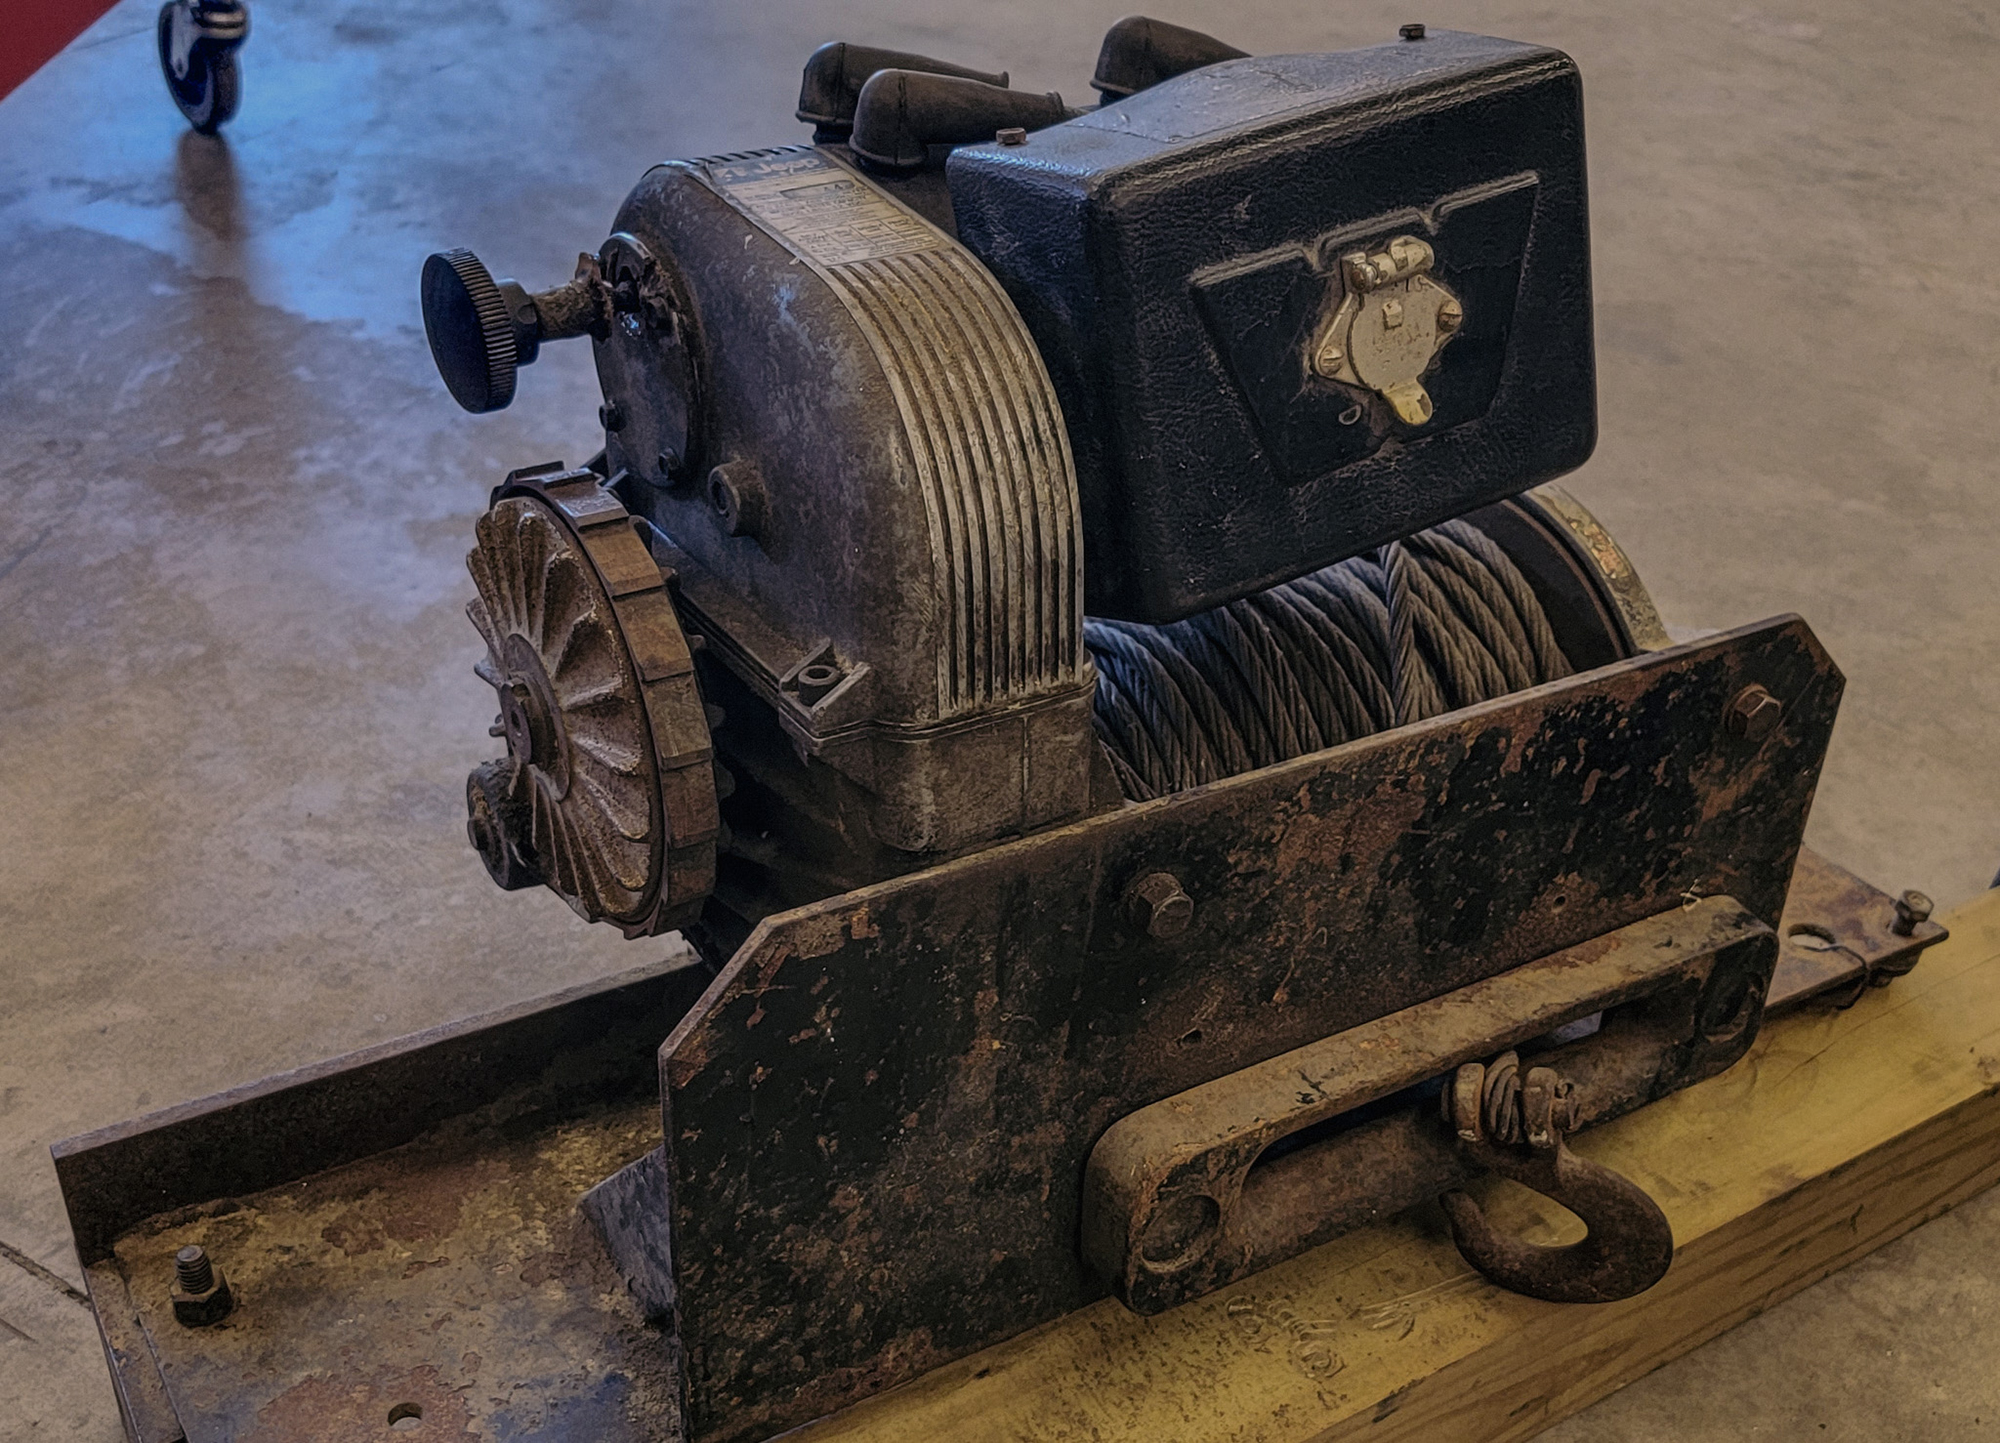
Even though the unit I found was electrically inoperative, I was not significantly dissuaded because I intended to upgrade the motor anyway to a higher output version from a more modern winch — the 6 horsepower one from a Warn 9.5XP.
This M8274 also showed evidence of years of hard use, some significant grime from indoor and outdoor storage, and electrical components in less-than-ideal condition.
Additionally, some kind of previous accident had bent the clutch lever and cracked the stub of the aluminum lever housing. While someone had applied silicone to the shaft to repel water, it won’t work as a clutch until the whole assembly (still available) is replaced. Still, with the owner offering a discount for what was likely a bad motor (or one of many components in ugly shape), the winch was coming home with me.

Back at home, a quick inspection made me feel this rebuild project was more than what my small garage would currently accept without creating a pile of trip hazards. So, I loaded it back up for a trip to Limerick, Pennsylvania and the Western Montgomery Career and Technology Center; where space, technical expertise and tools are abundant.
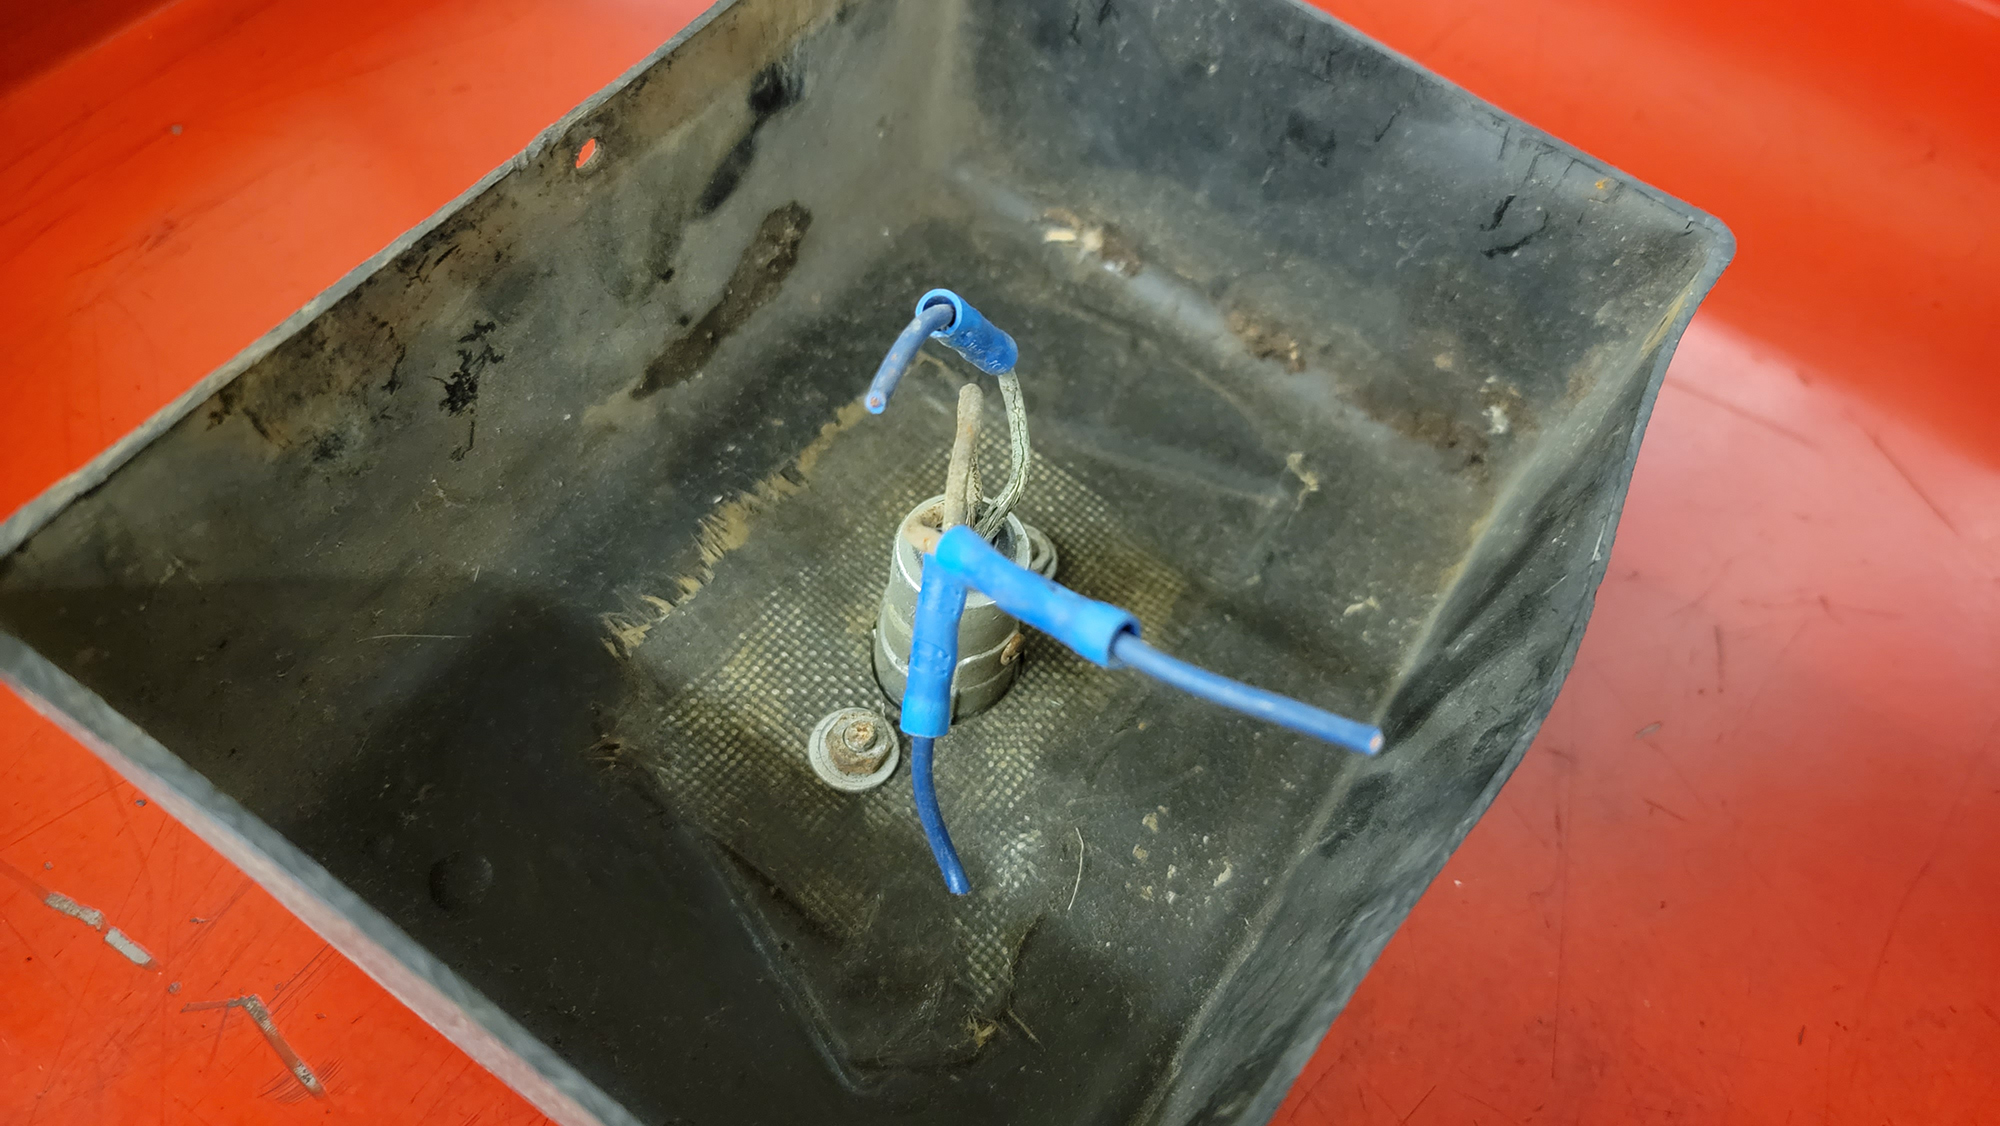
Upon removing the control pack, we found several wires for the remote control socket were broken, which could have easily caused an issue, but the solenoids were also showing fresh carbon scoring, and the previous owner had told me he jumped it at the motor with booster cables to see if it would work.
This control pack still has the original style metal socket, which places the winch somewhere in the mid to late 1970s production range. It was also seemingly repaired at one point, with a fiberglass repair screen reinforcing the control socket area.
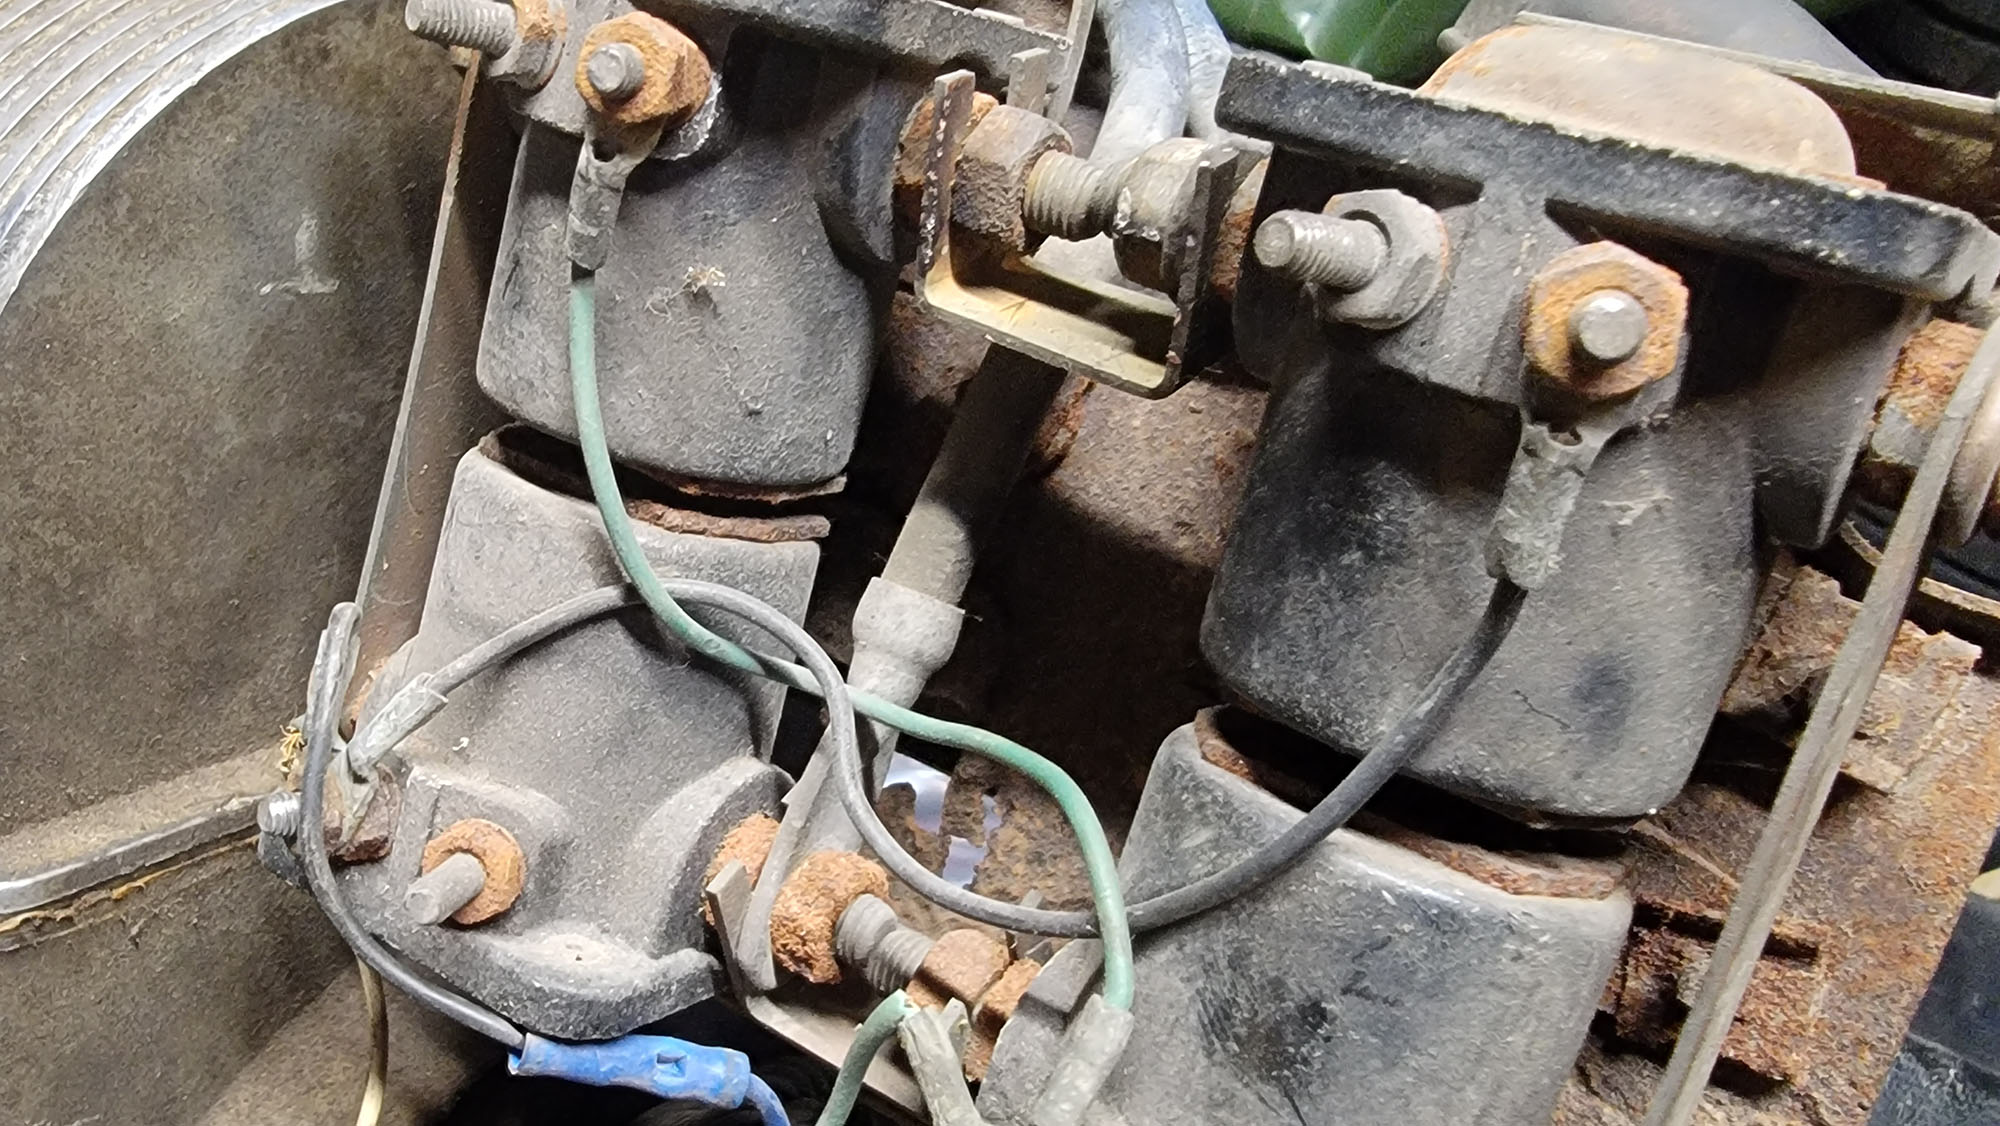
The wires between the motor and control pack were not much better and could not be trusted. The insulation was cracked, and heavy corrosion was visible on the strands of copper wire.
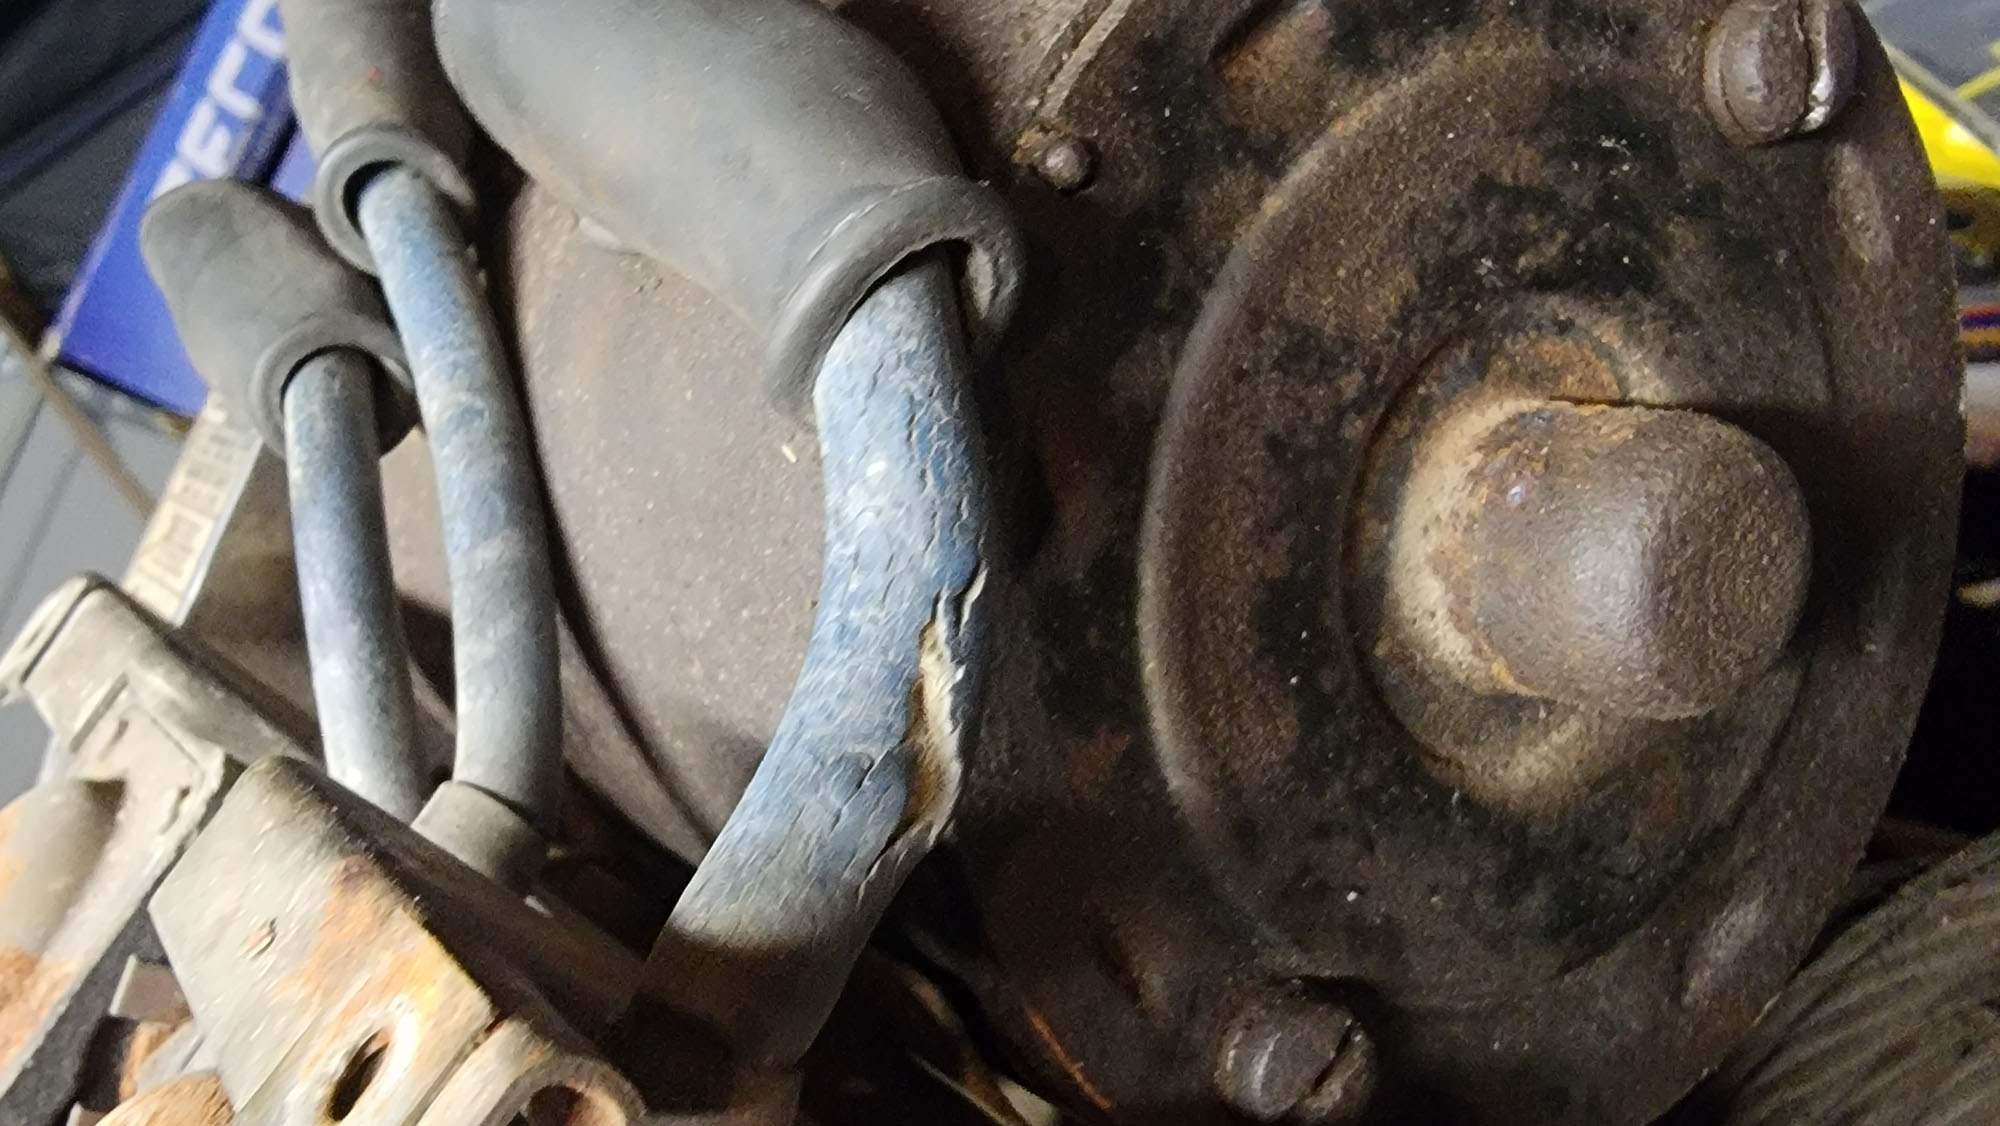
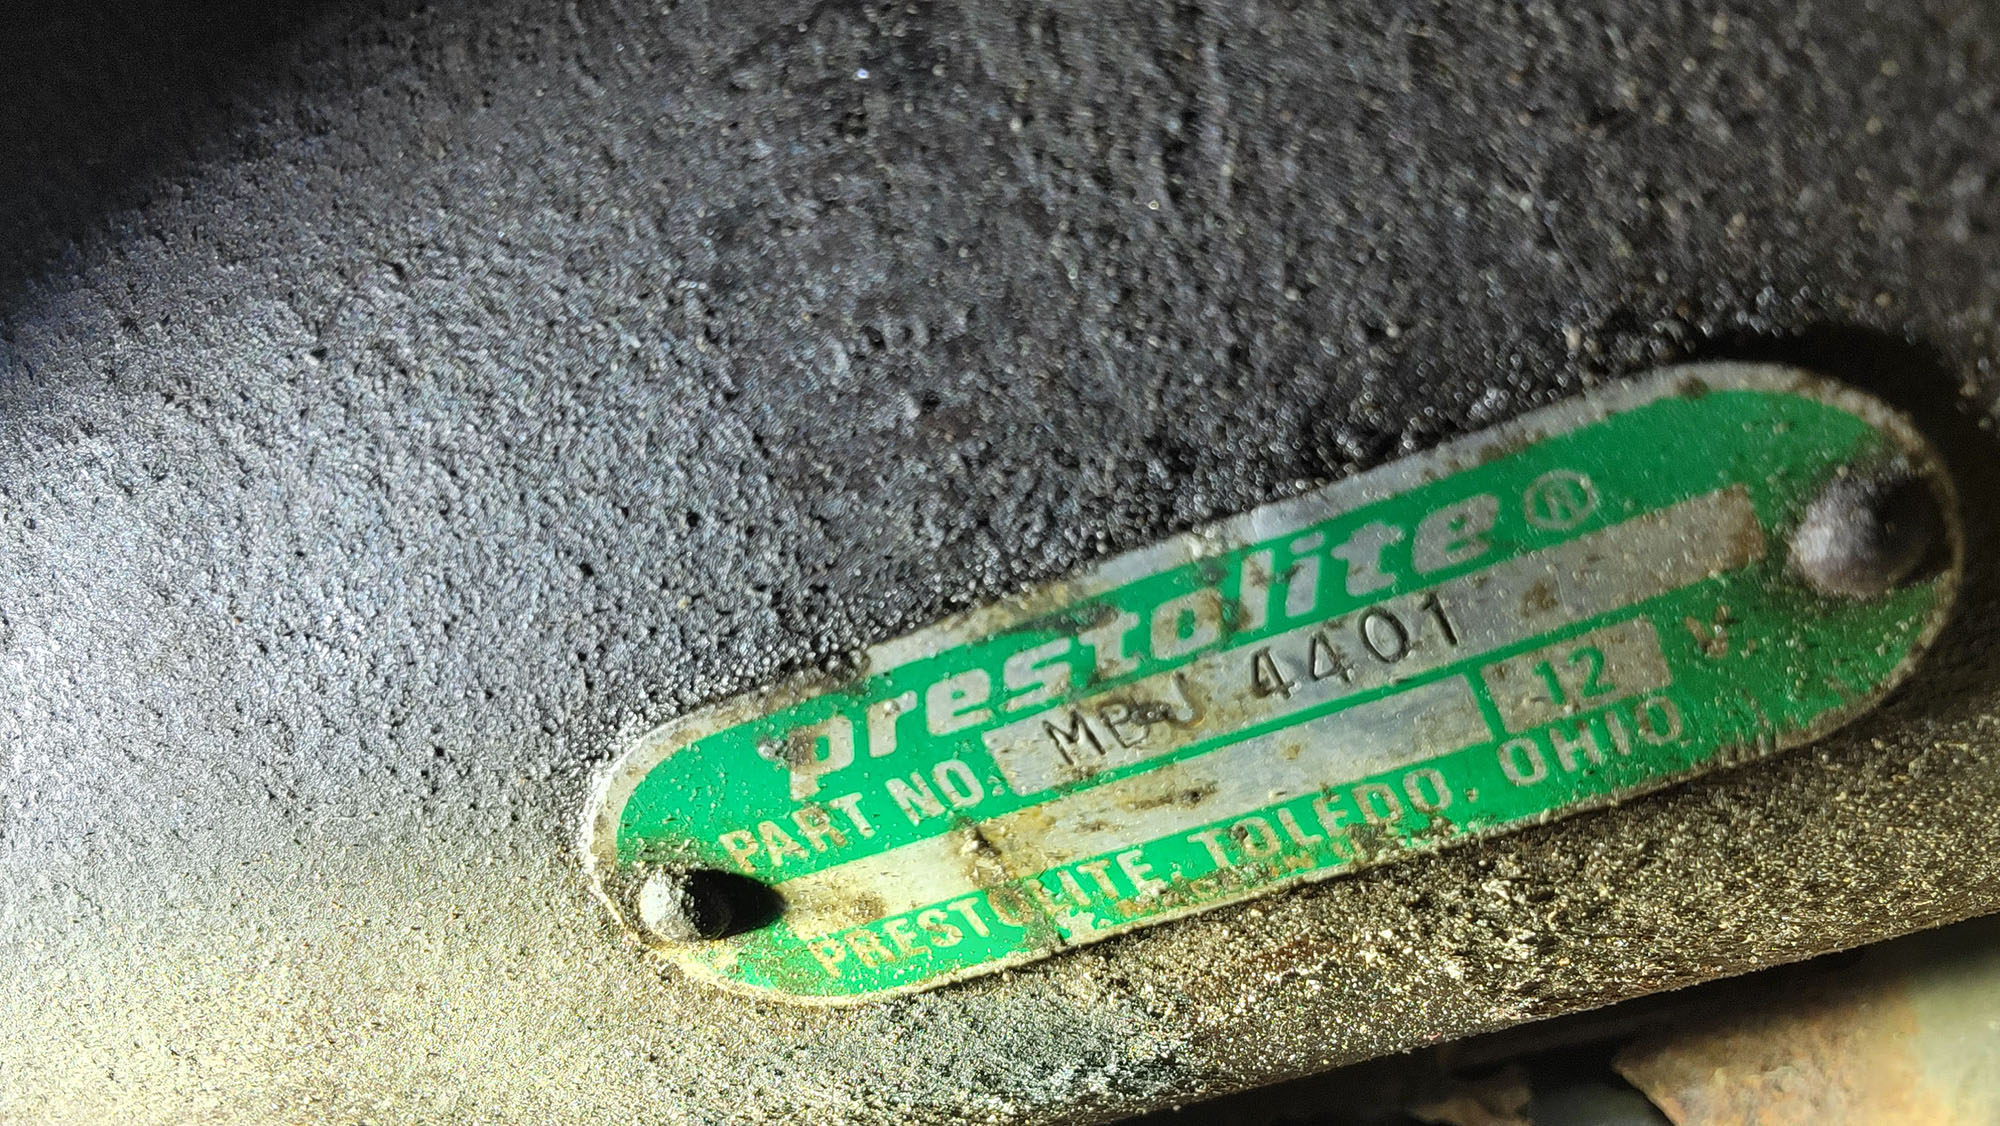
We removed the nuts on the electrical connections for the motor and set the whole solenoid pack and wiring setup aside. This was likely the original motor, or at the very least was of the same vintage, and probably topped out at a meager 2.2 horsepower.
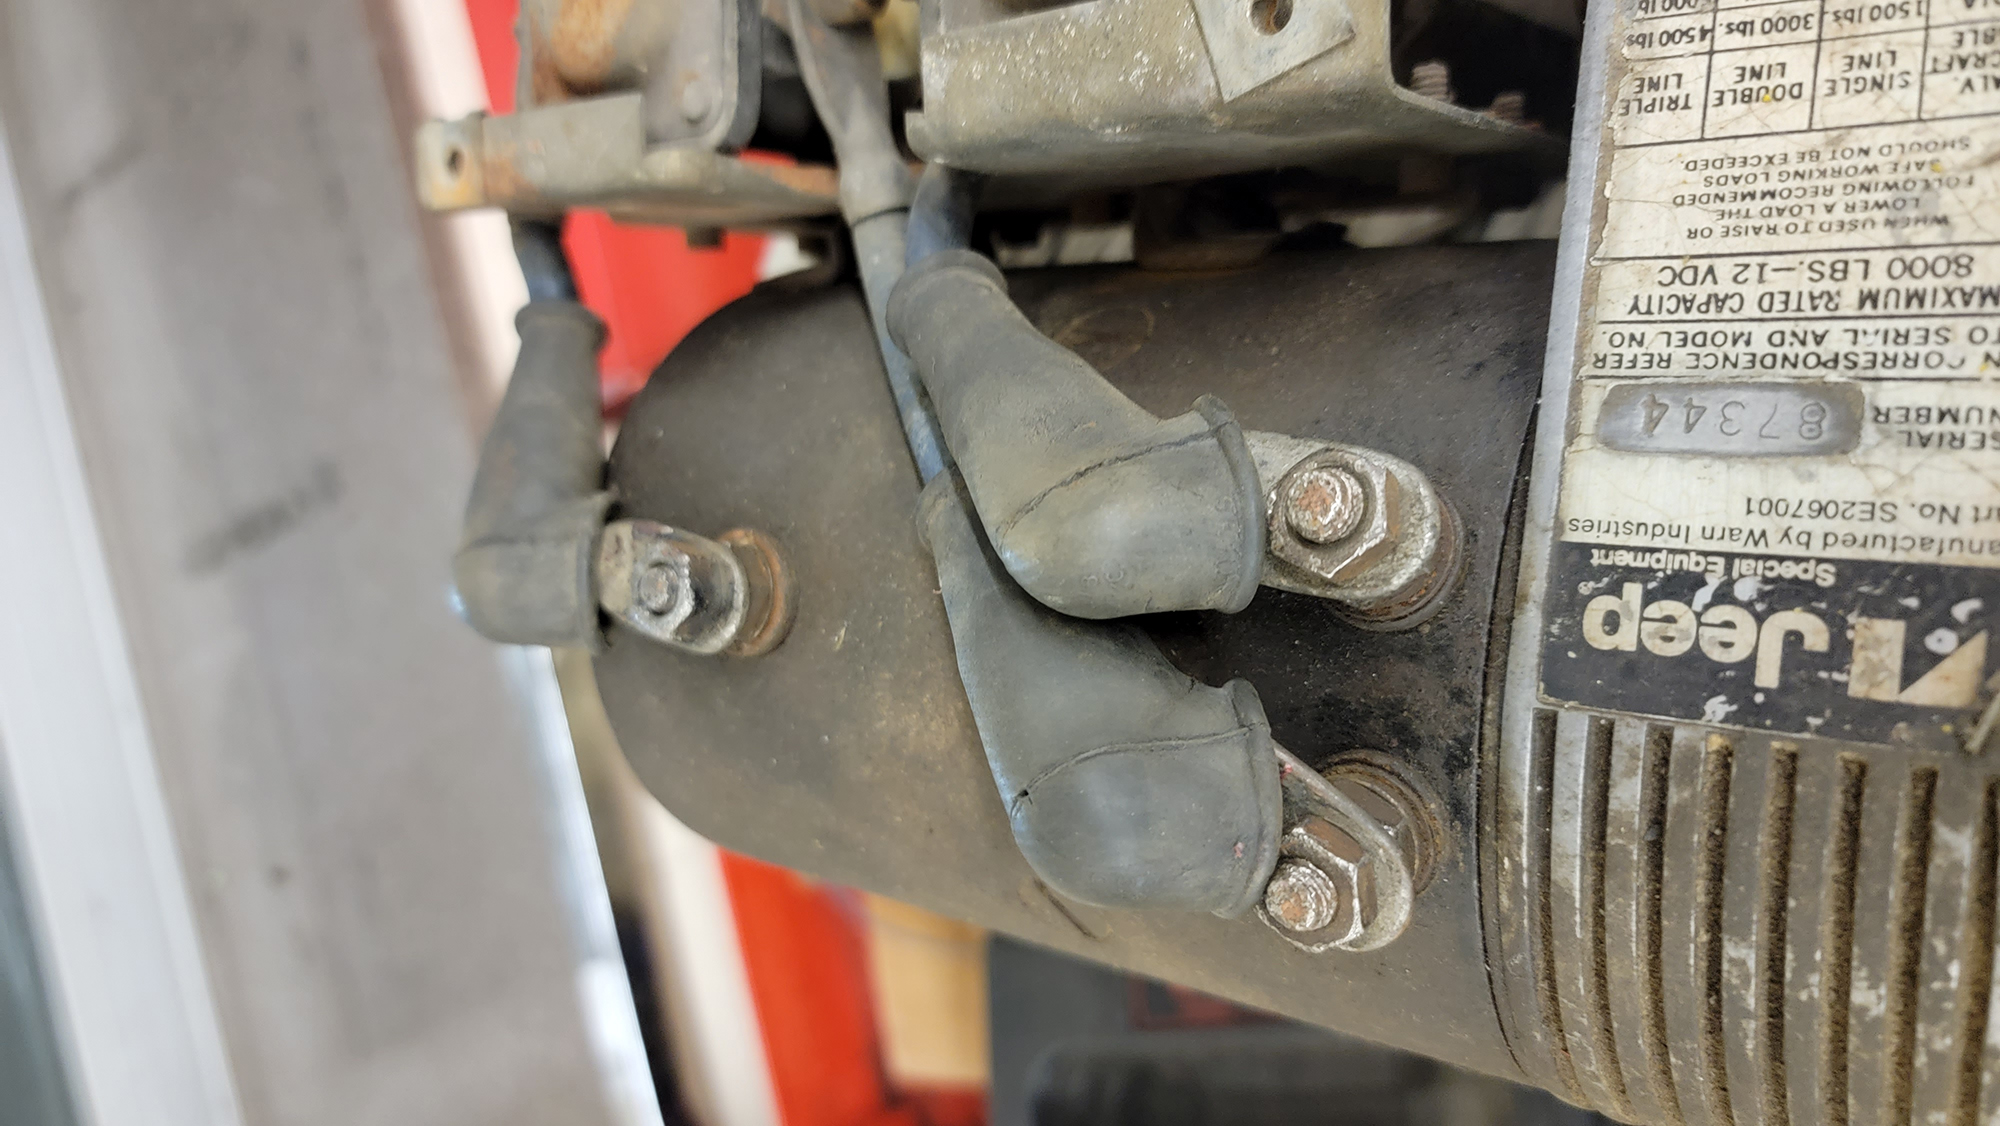
The next step was removing it from the bulky homemade mount. The hawse fairlead was attached to the lower pair of mounting bolts, and this winch is unusual compared to modern versions because it is mounted to the back of a winch plate, not on top.
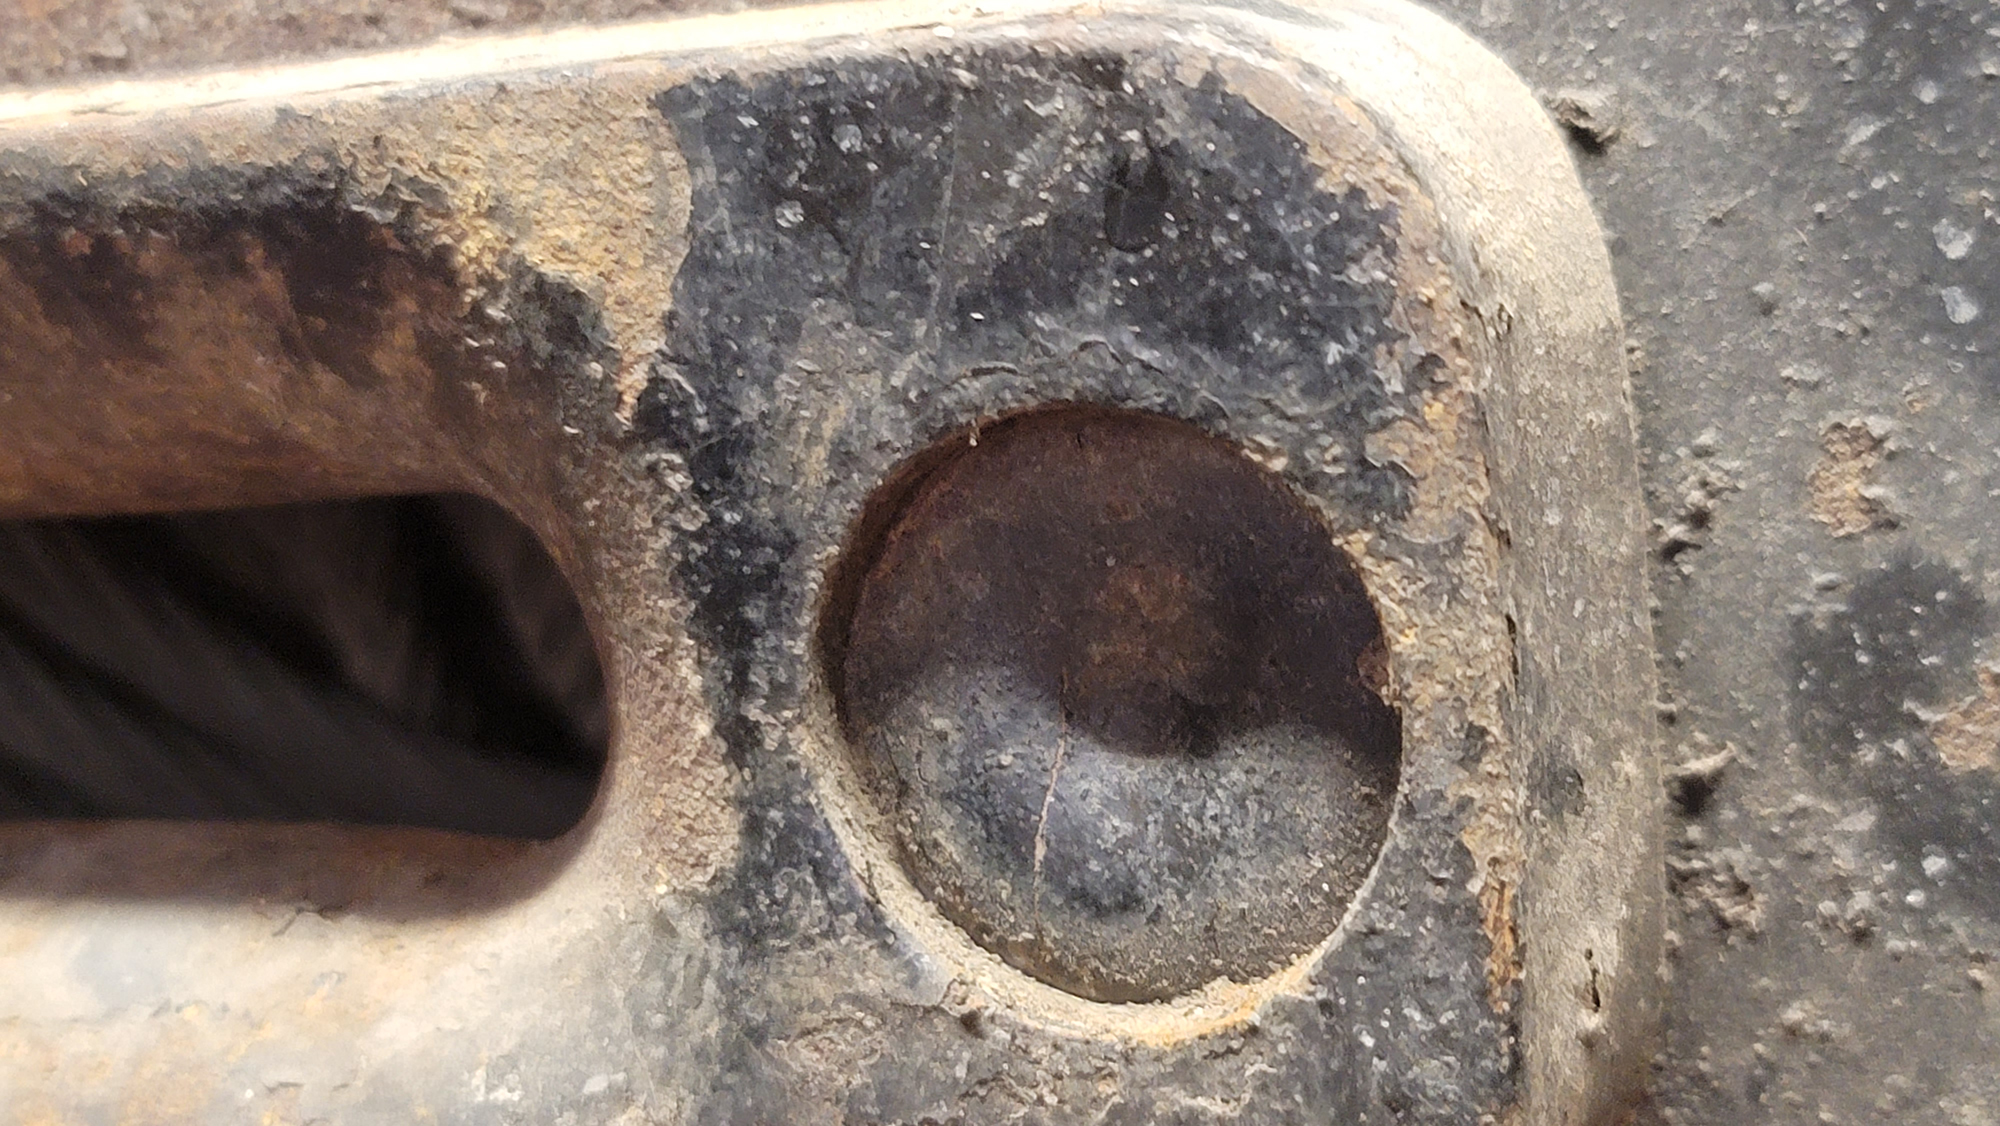
Only the top pair of bolts were easy to get to, however. The lower bolts were bolt covers pushed into the fairlead, but corrosion made them almost impossible to remove.
The square nuts on the back side were braced against the lower housing, so they could not be spun off from the rear.
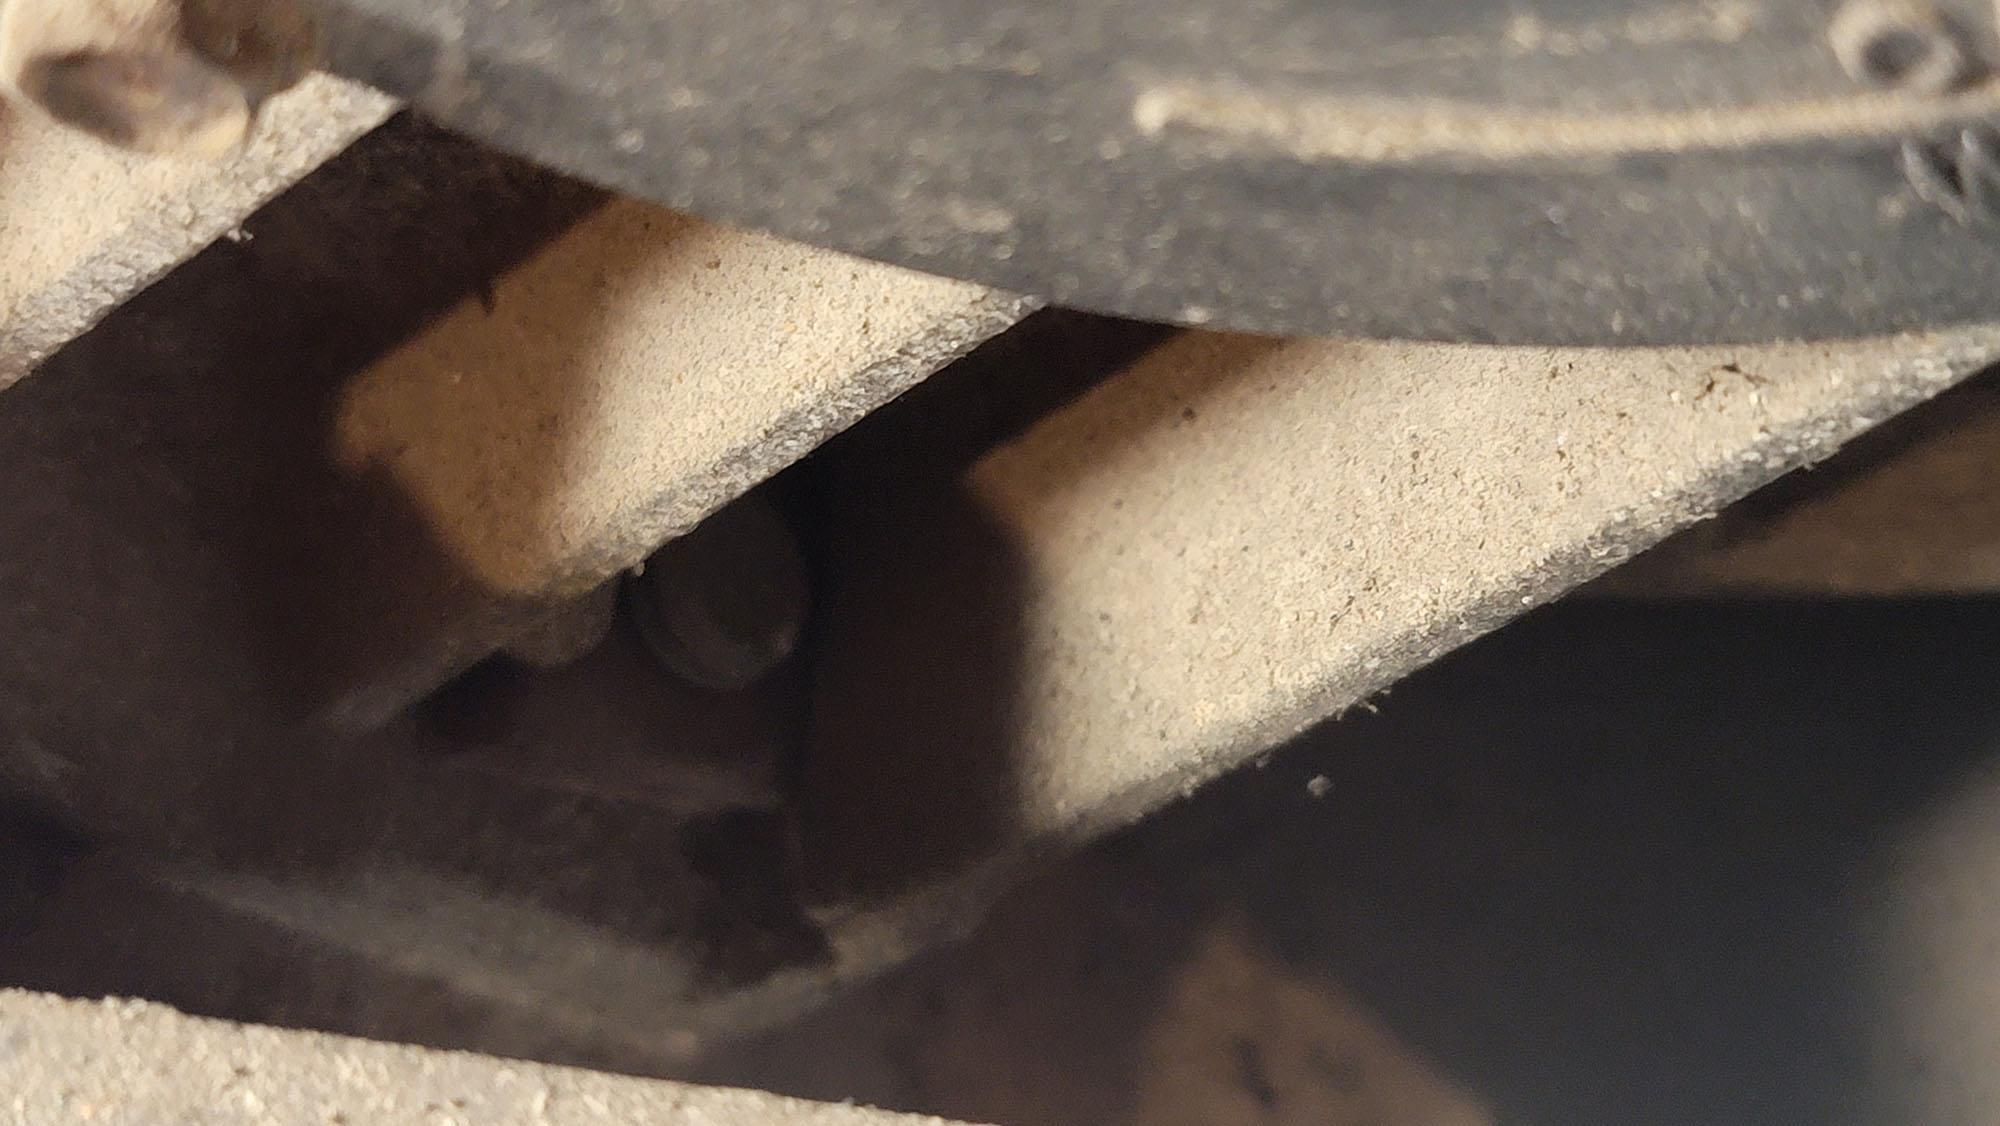
We punched a hole in the front, pried them off with a screwdriver and removed the bolts behind them — brute force success.
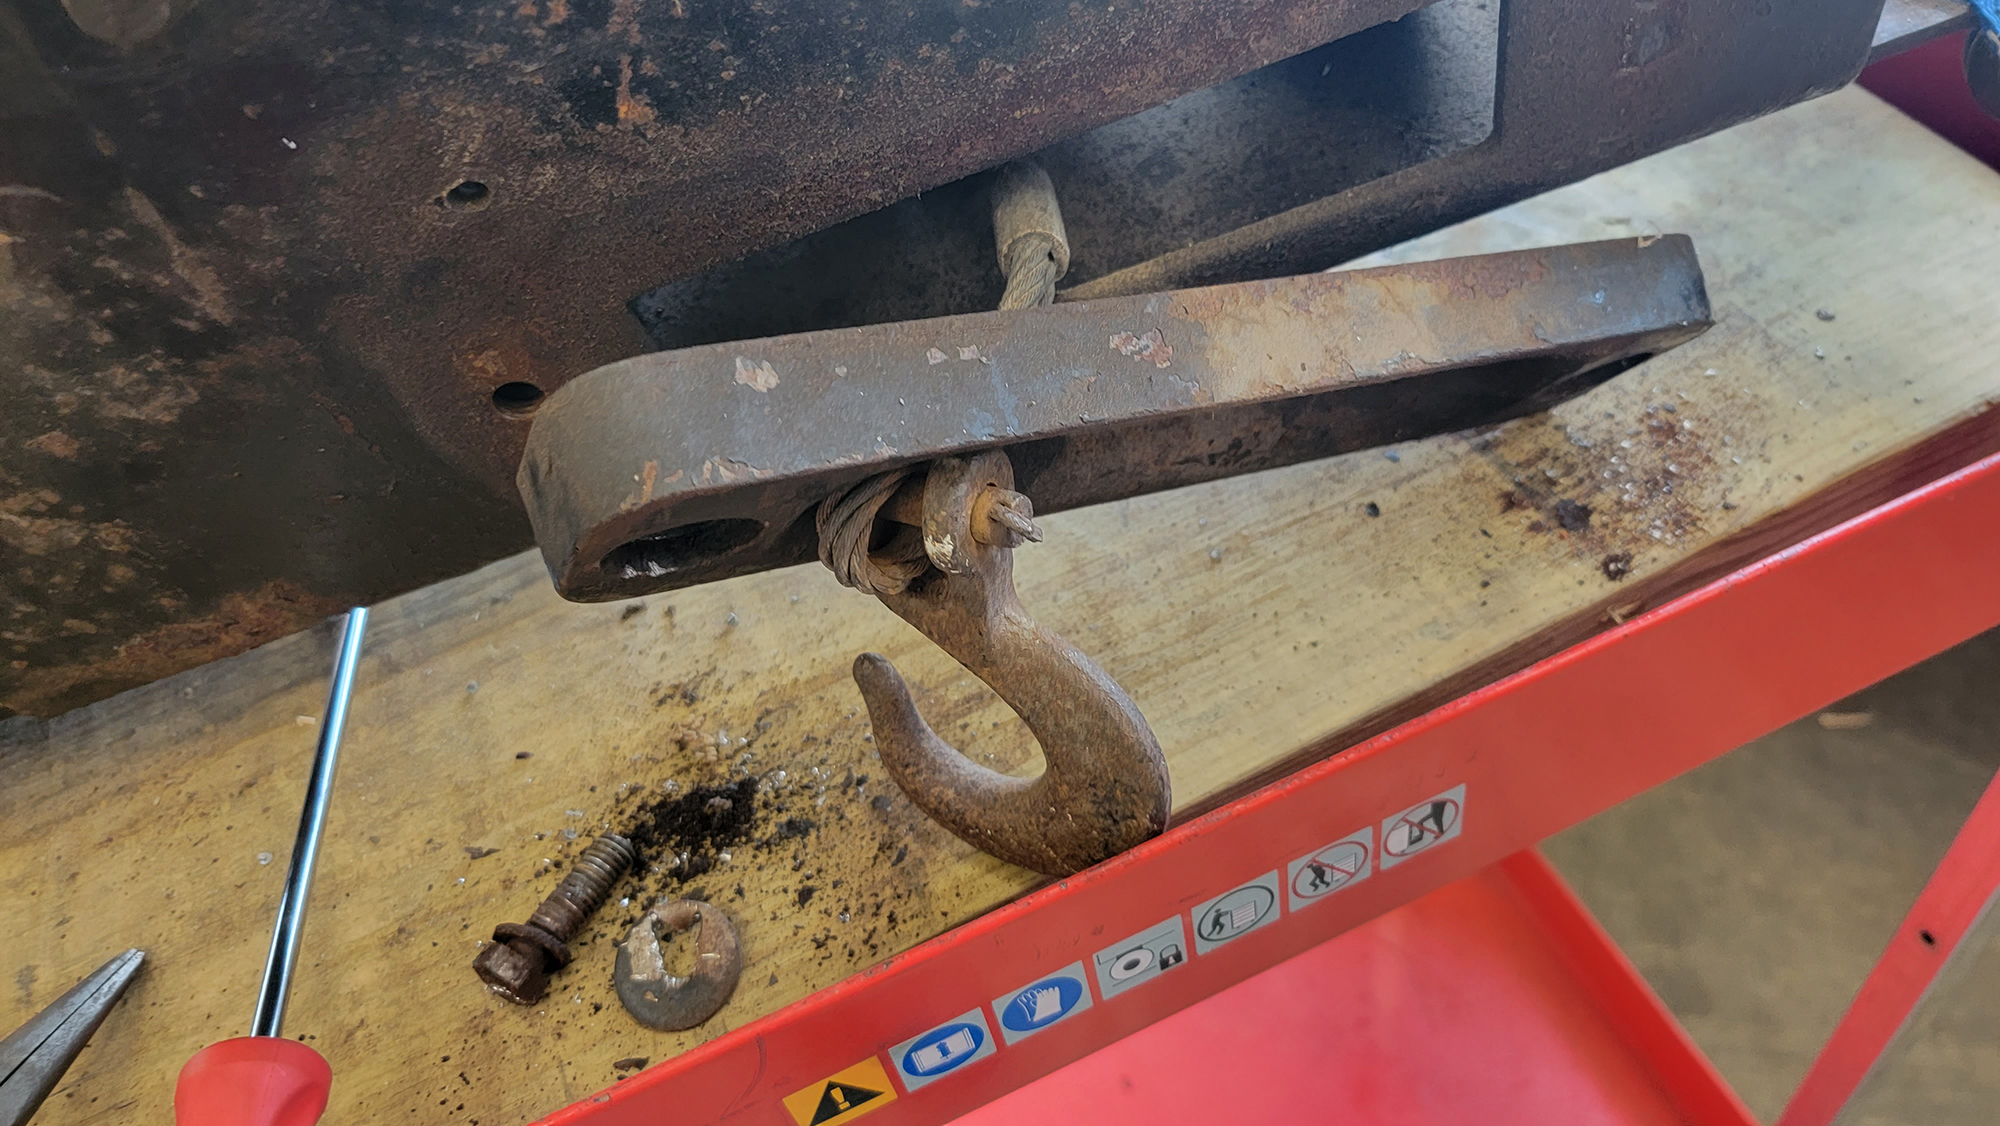
With the winch unbolted, the drum support on the right side comes off, as it is friction fit into the outer part of the drum with a plastic bushing taking up the space between them. This part will be replaced.
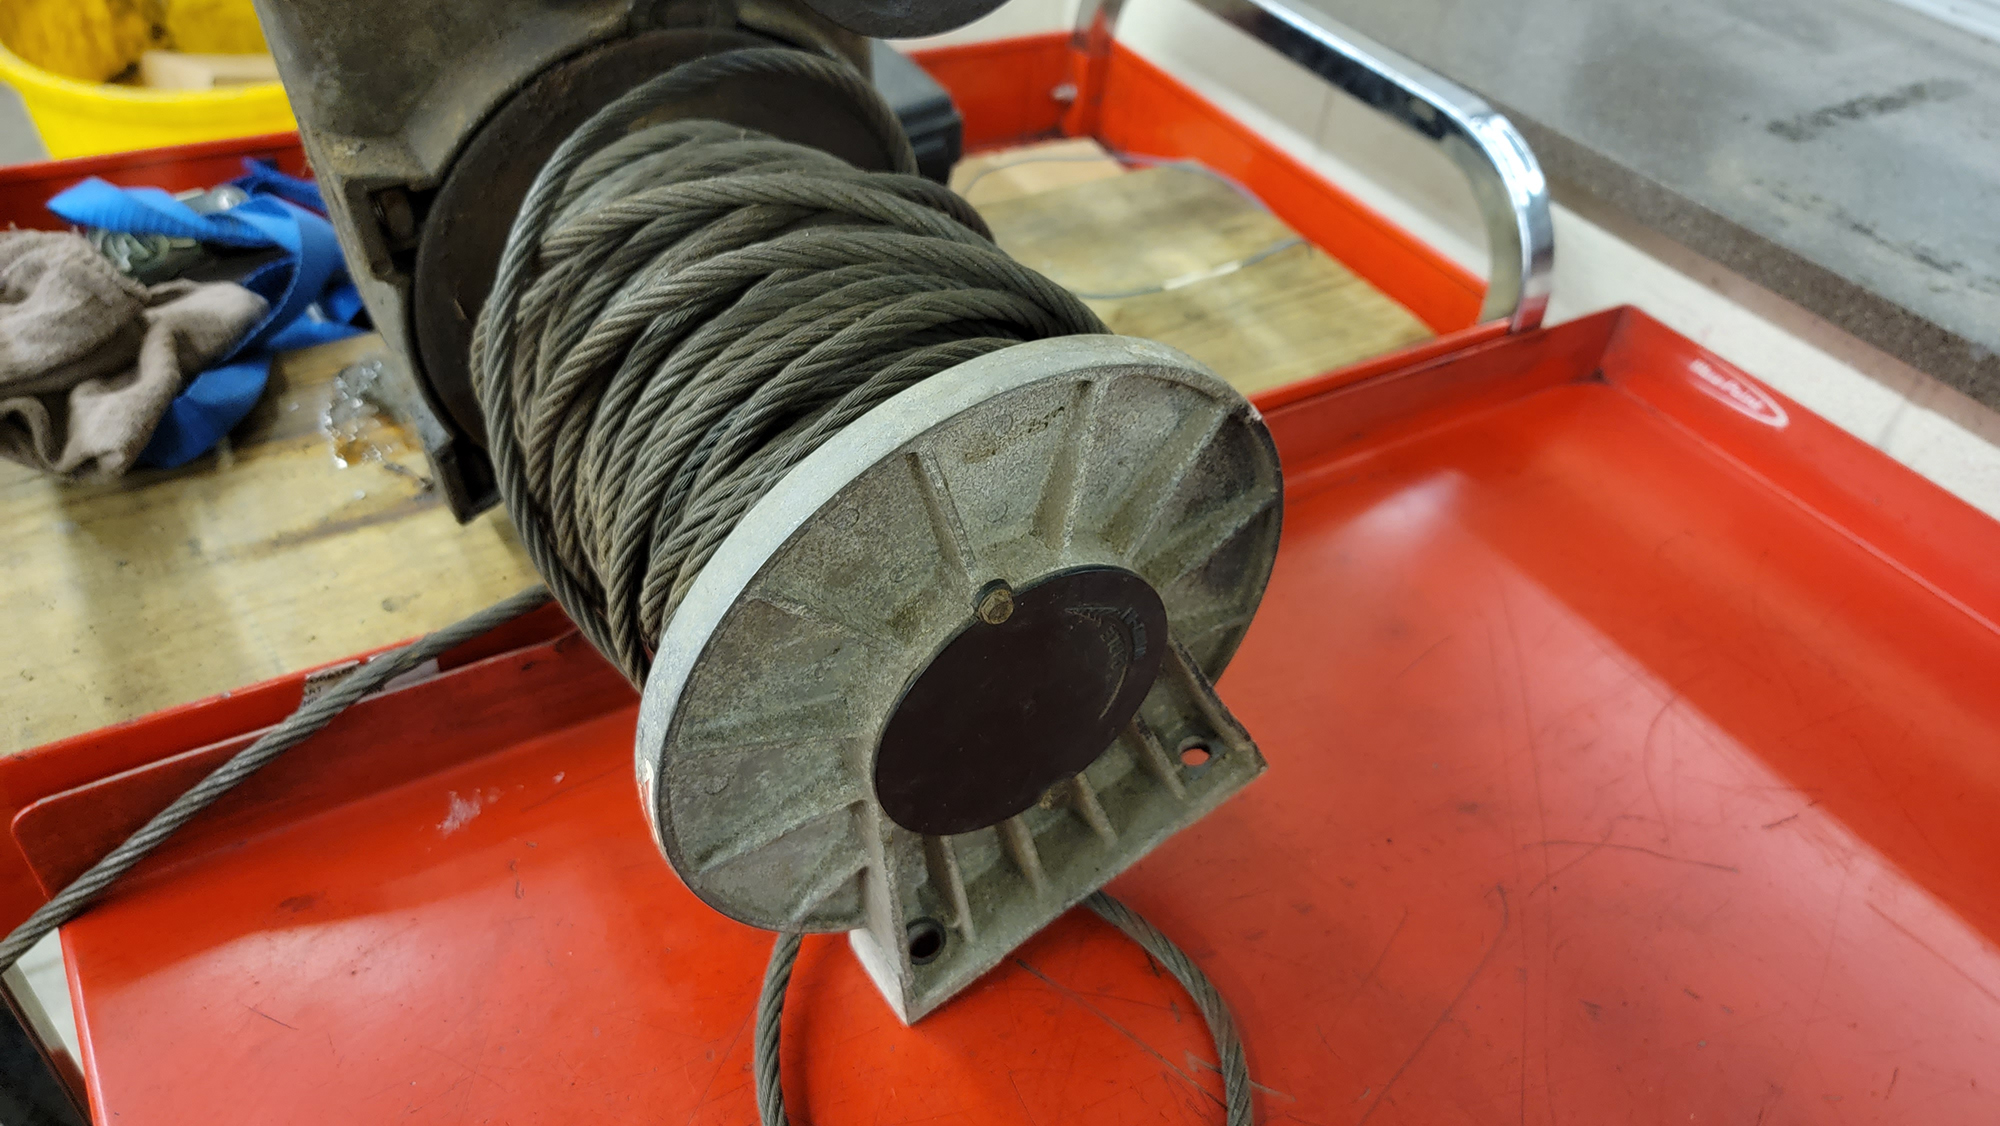
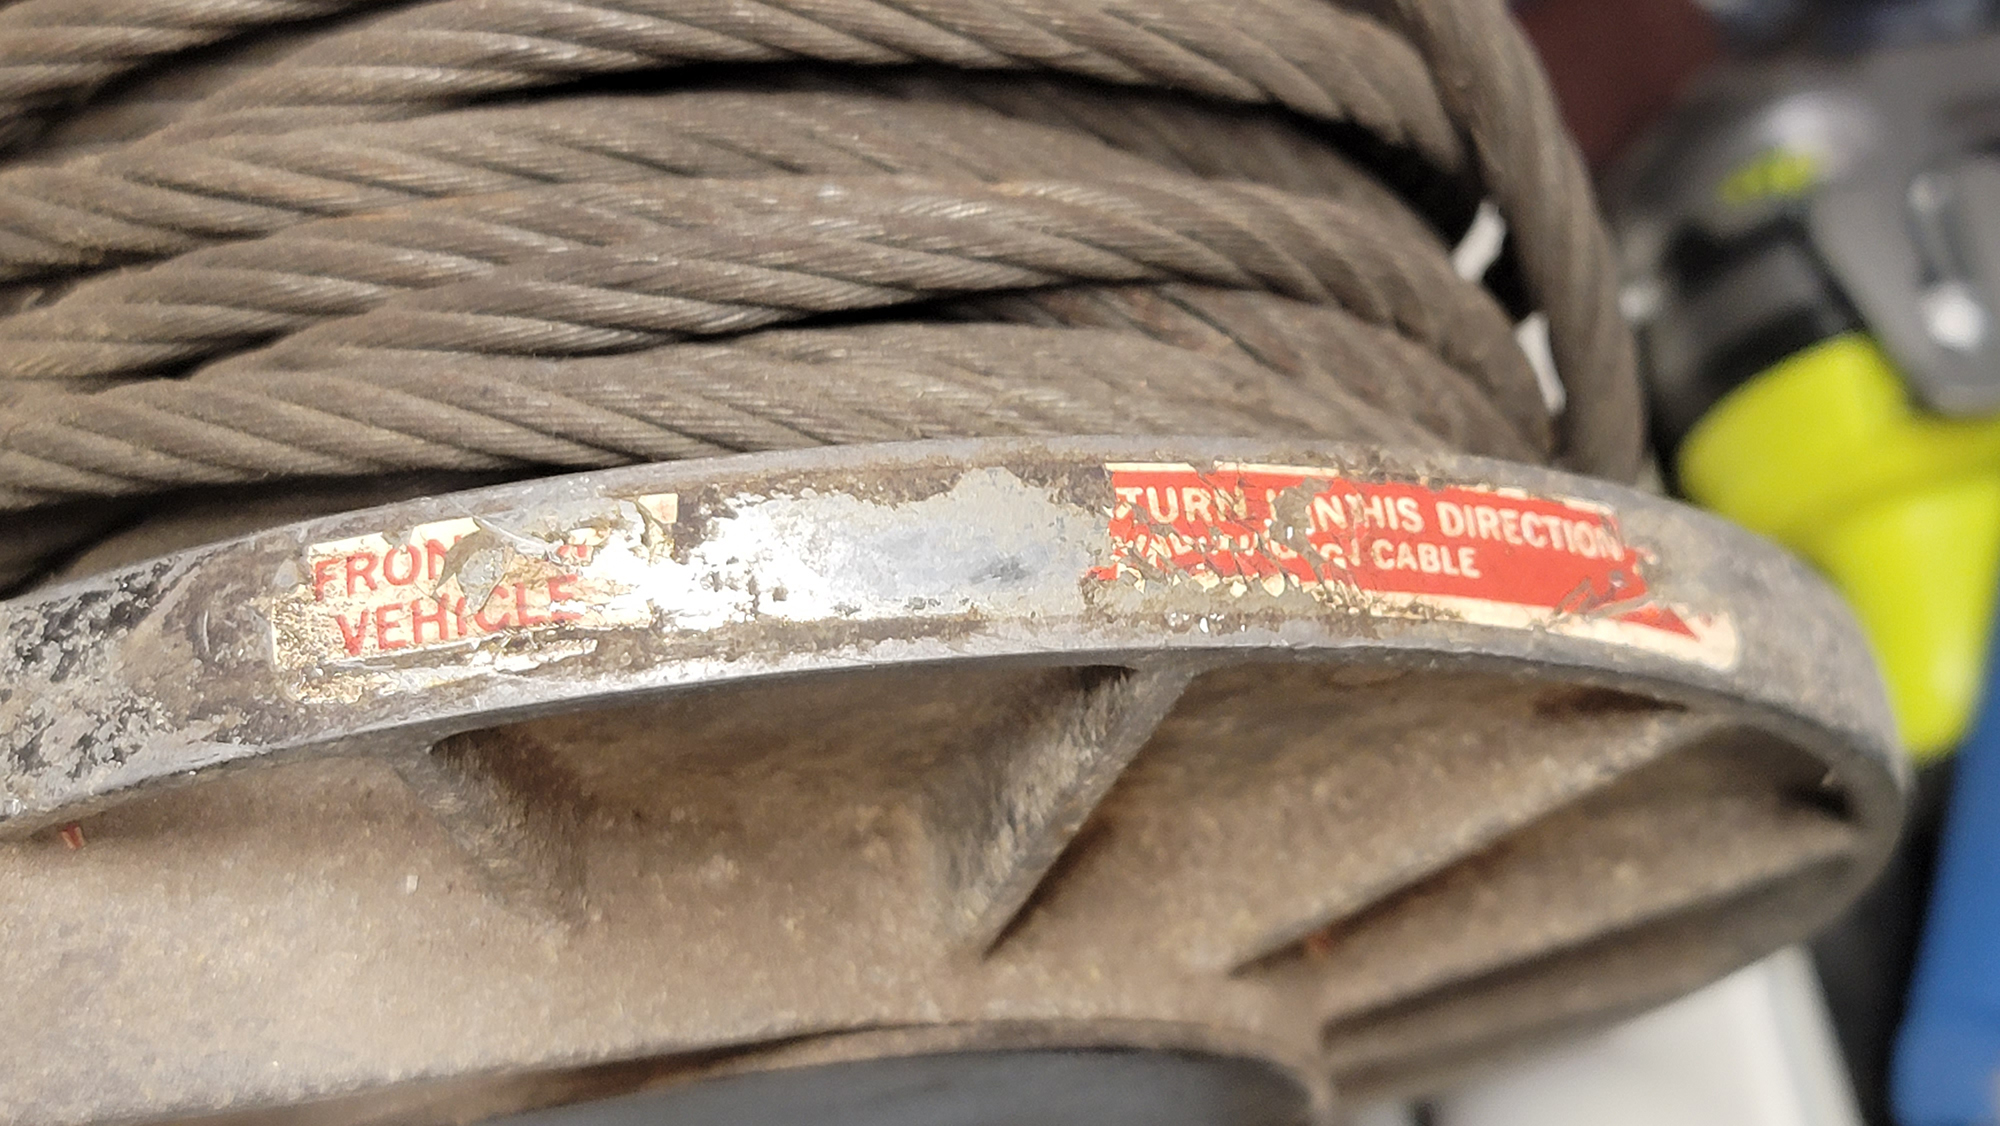
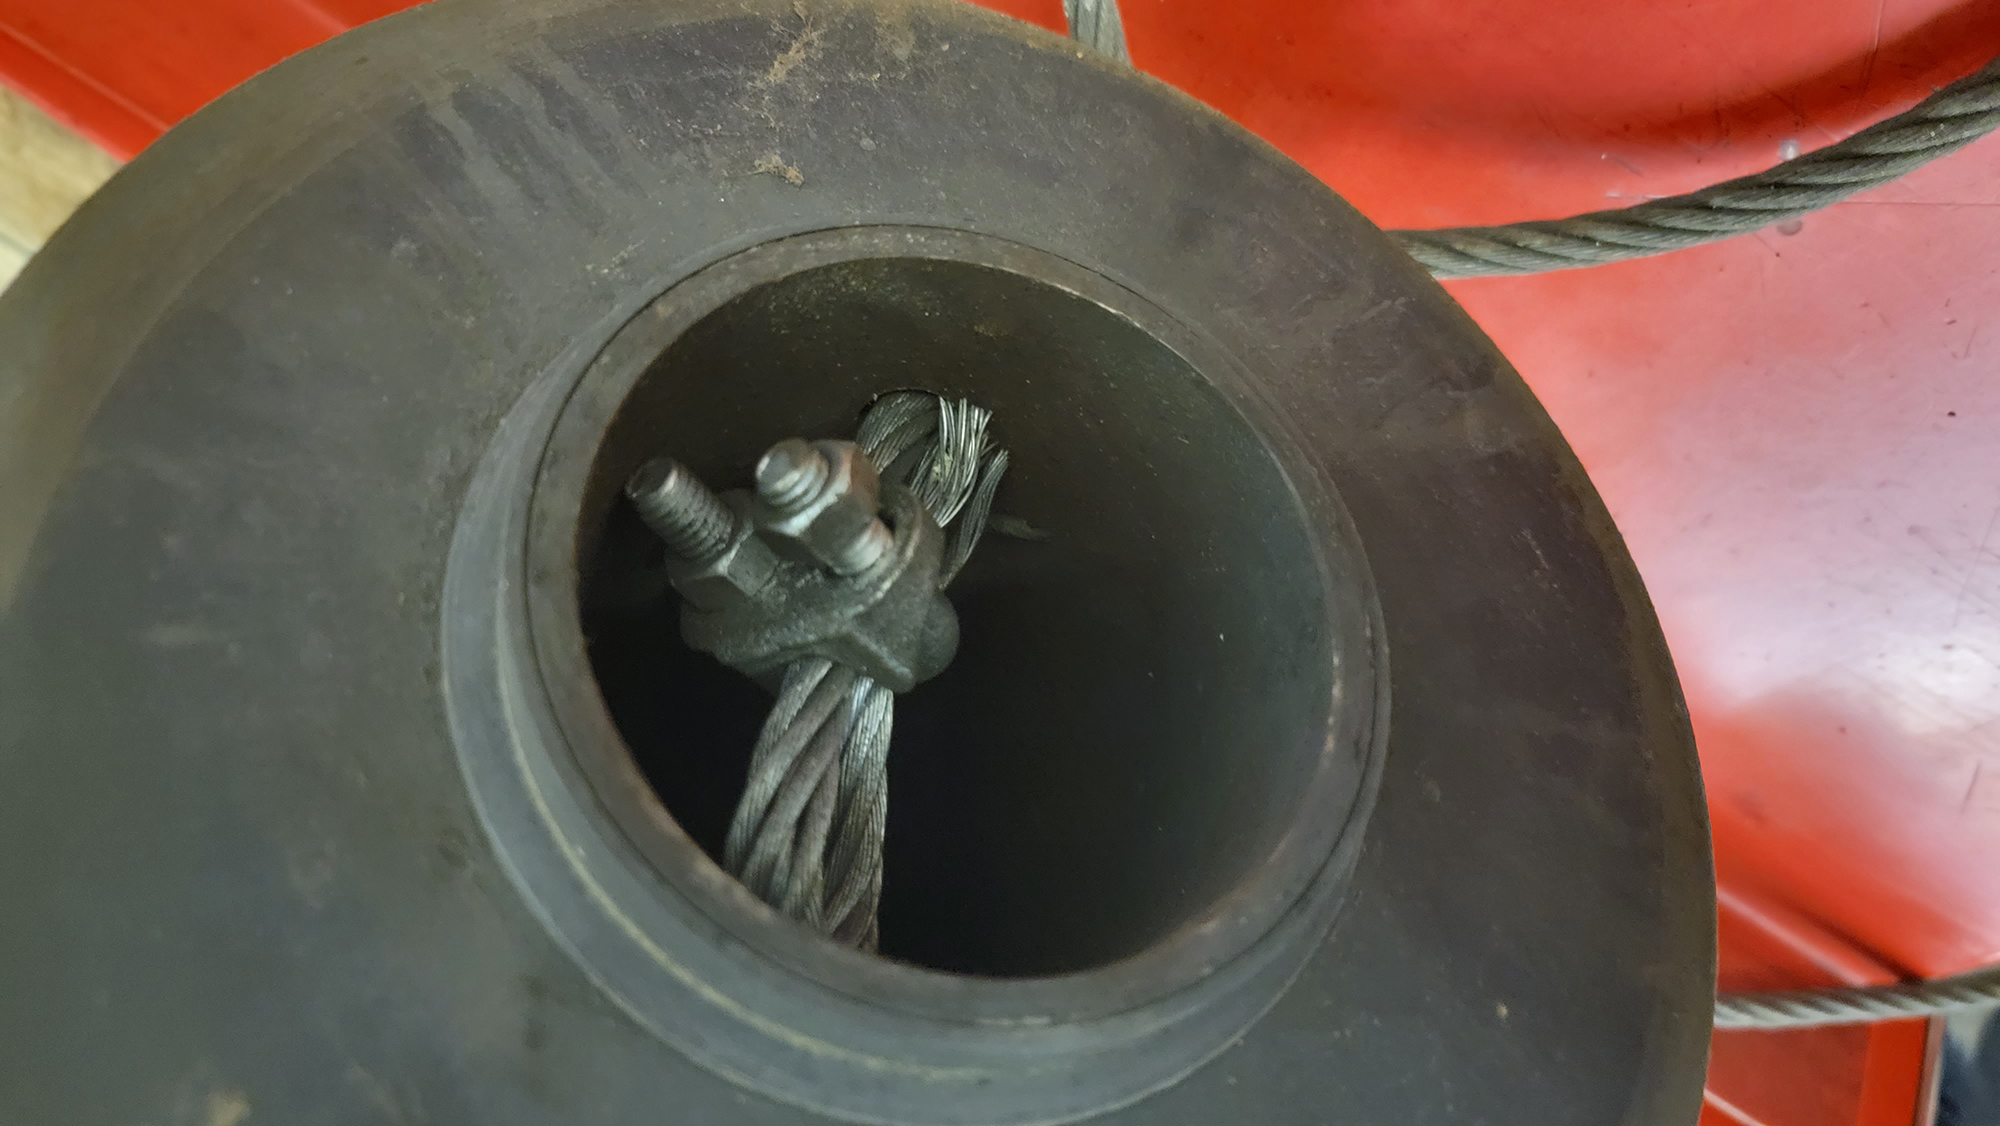
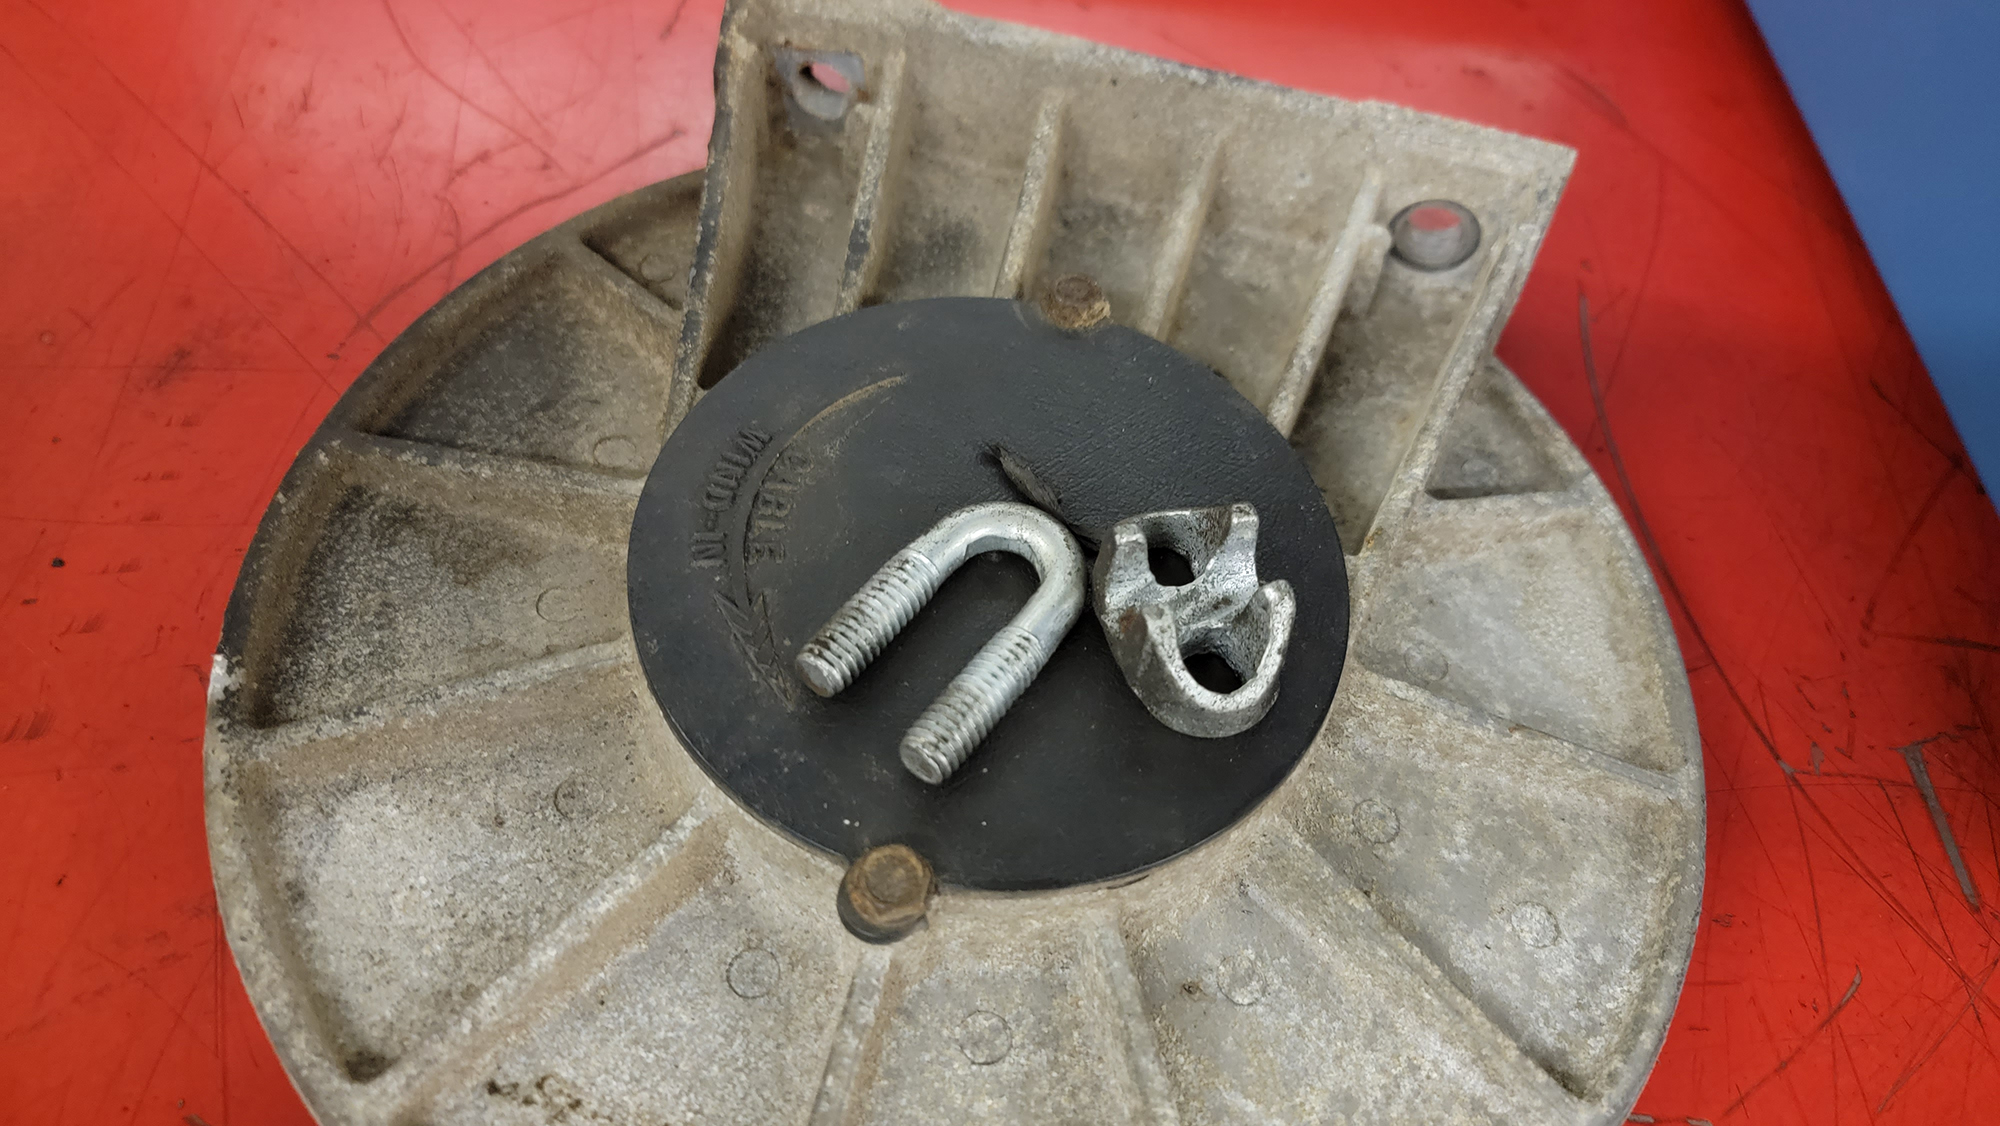
Although not completely necessary right now, we removed the cable stop inside the drum since the wire rope will not be reused.
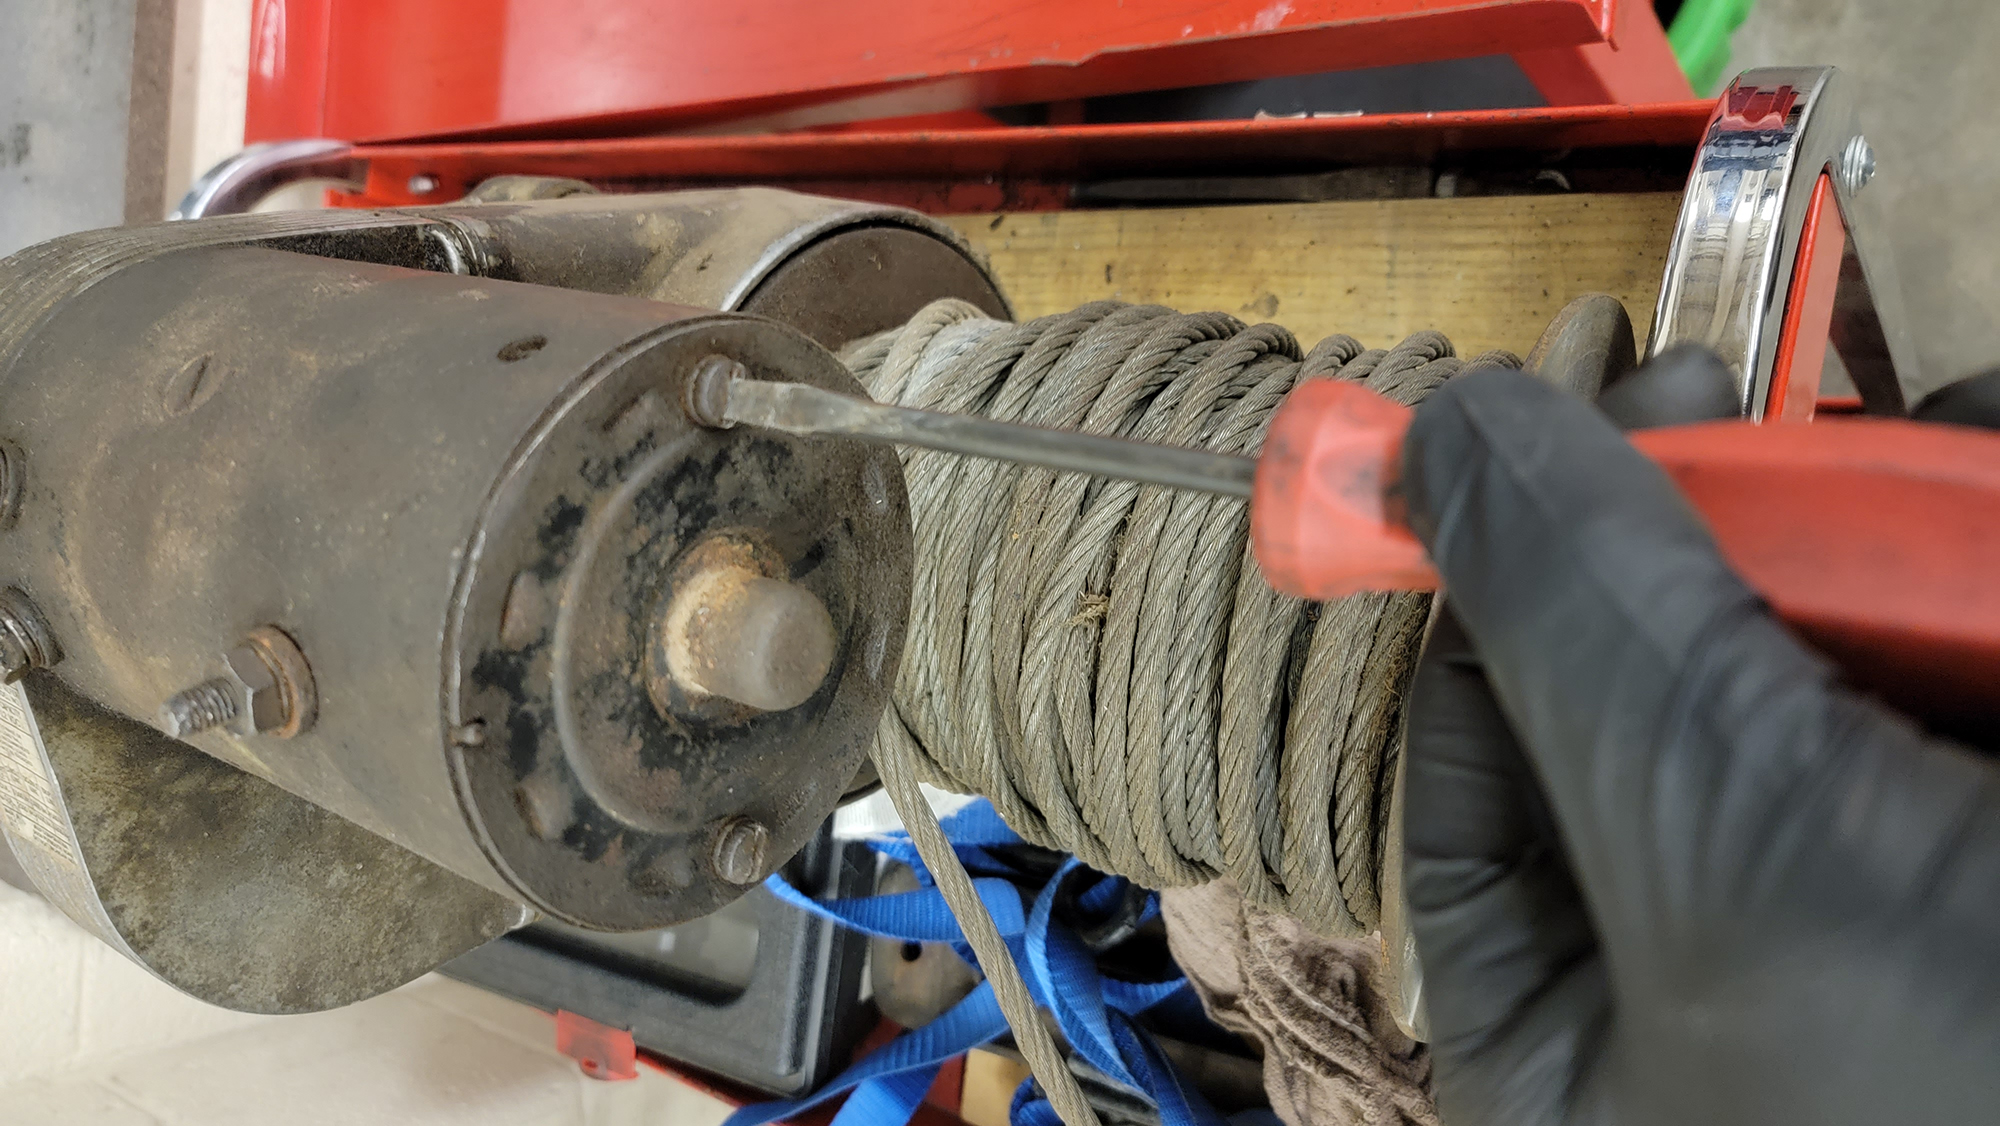
Two flathead bolts hold the motor into the upper housing, so once they were removed, we could take out the motor.
With the motor bolts pulled, the keyed shaft pulls out of the gear inside the upper housing.
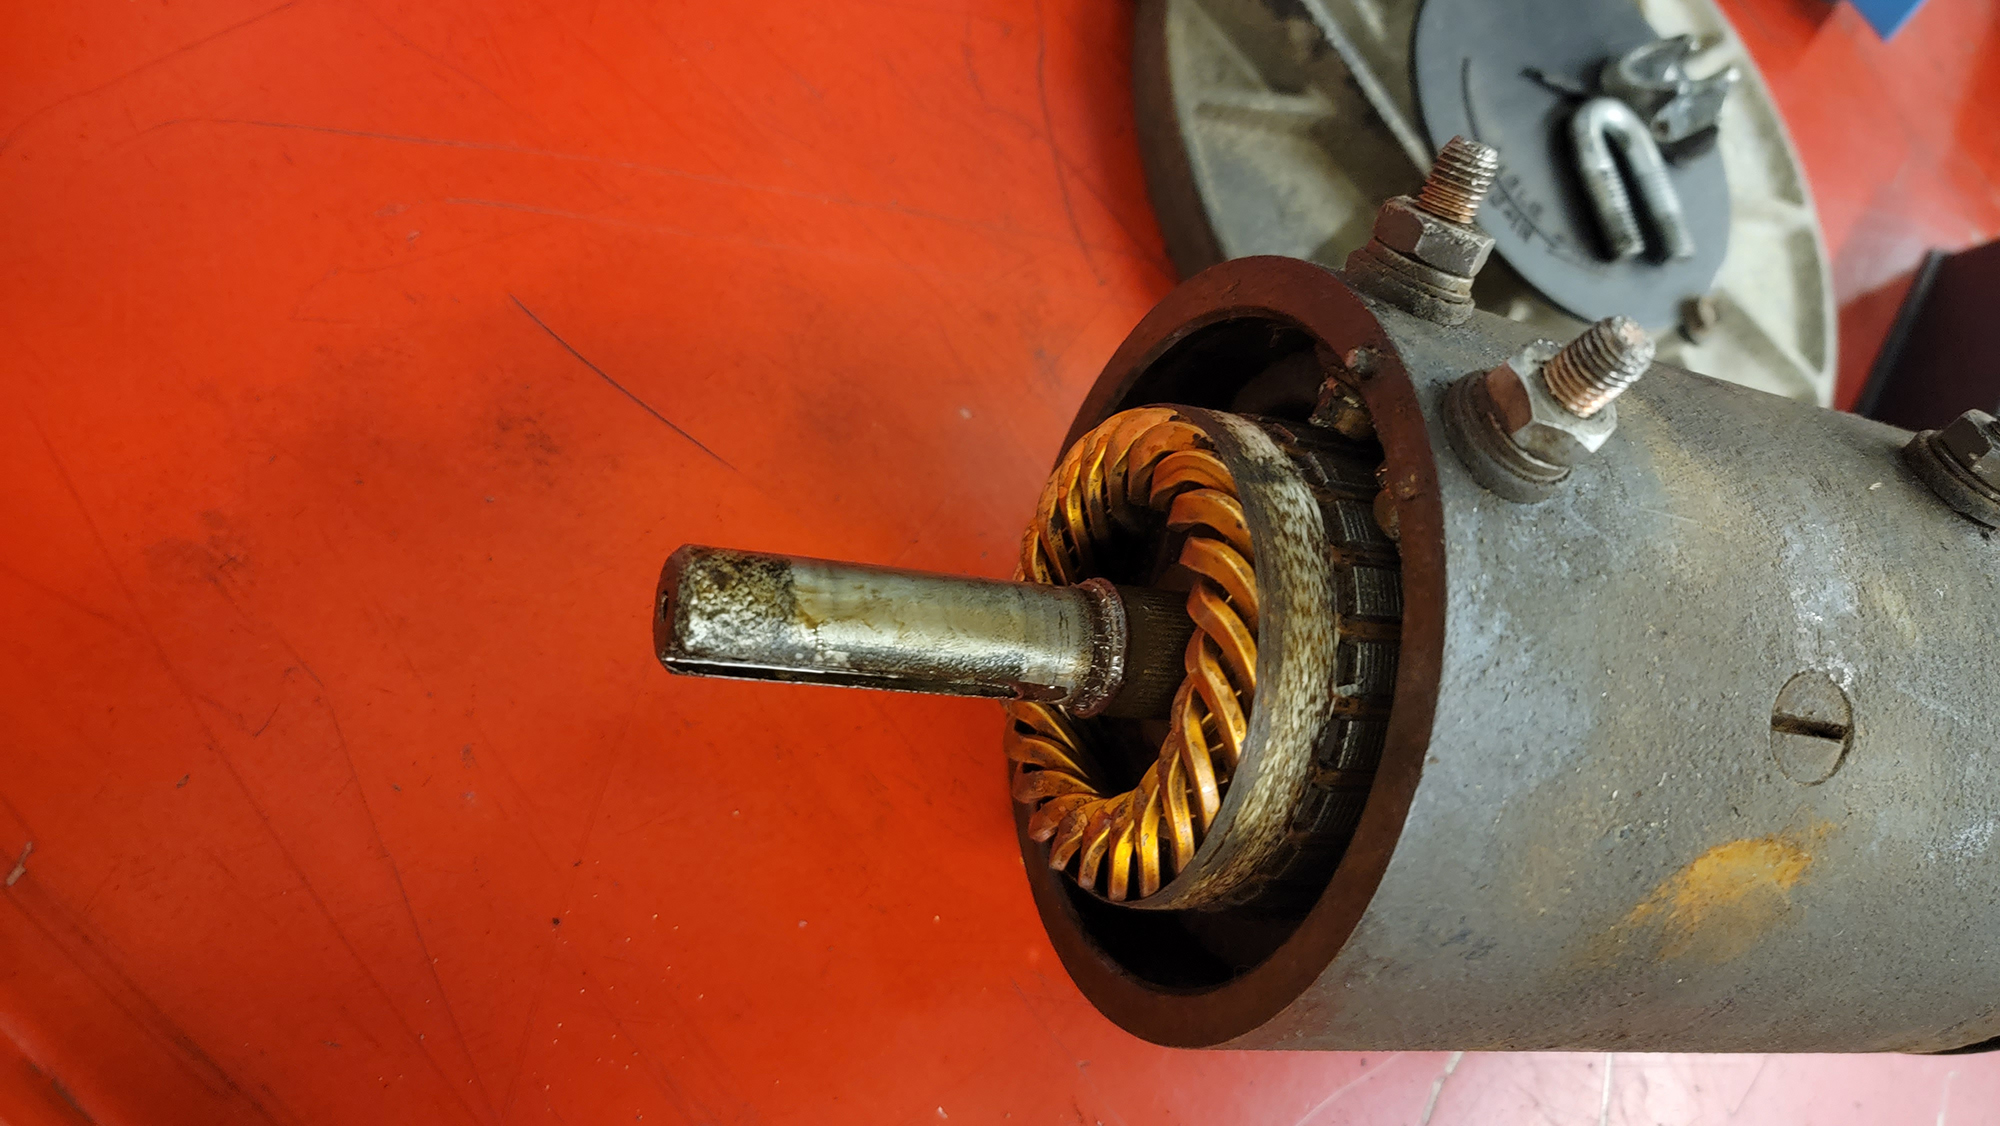
Later-era motors, like the upgraded unit we’re planning for this rebuild, use a splined shaft for strength, so the gear that fell off inside the winch when the motor was removed will not be reused either.
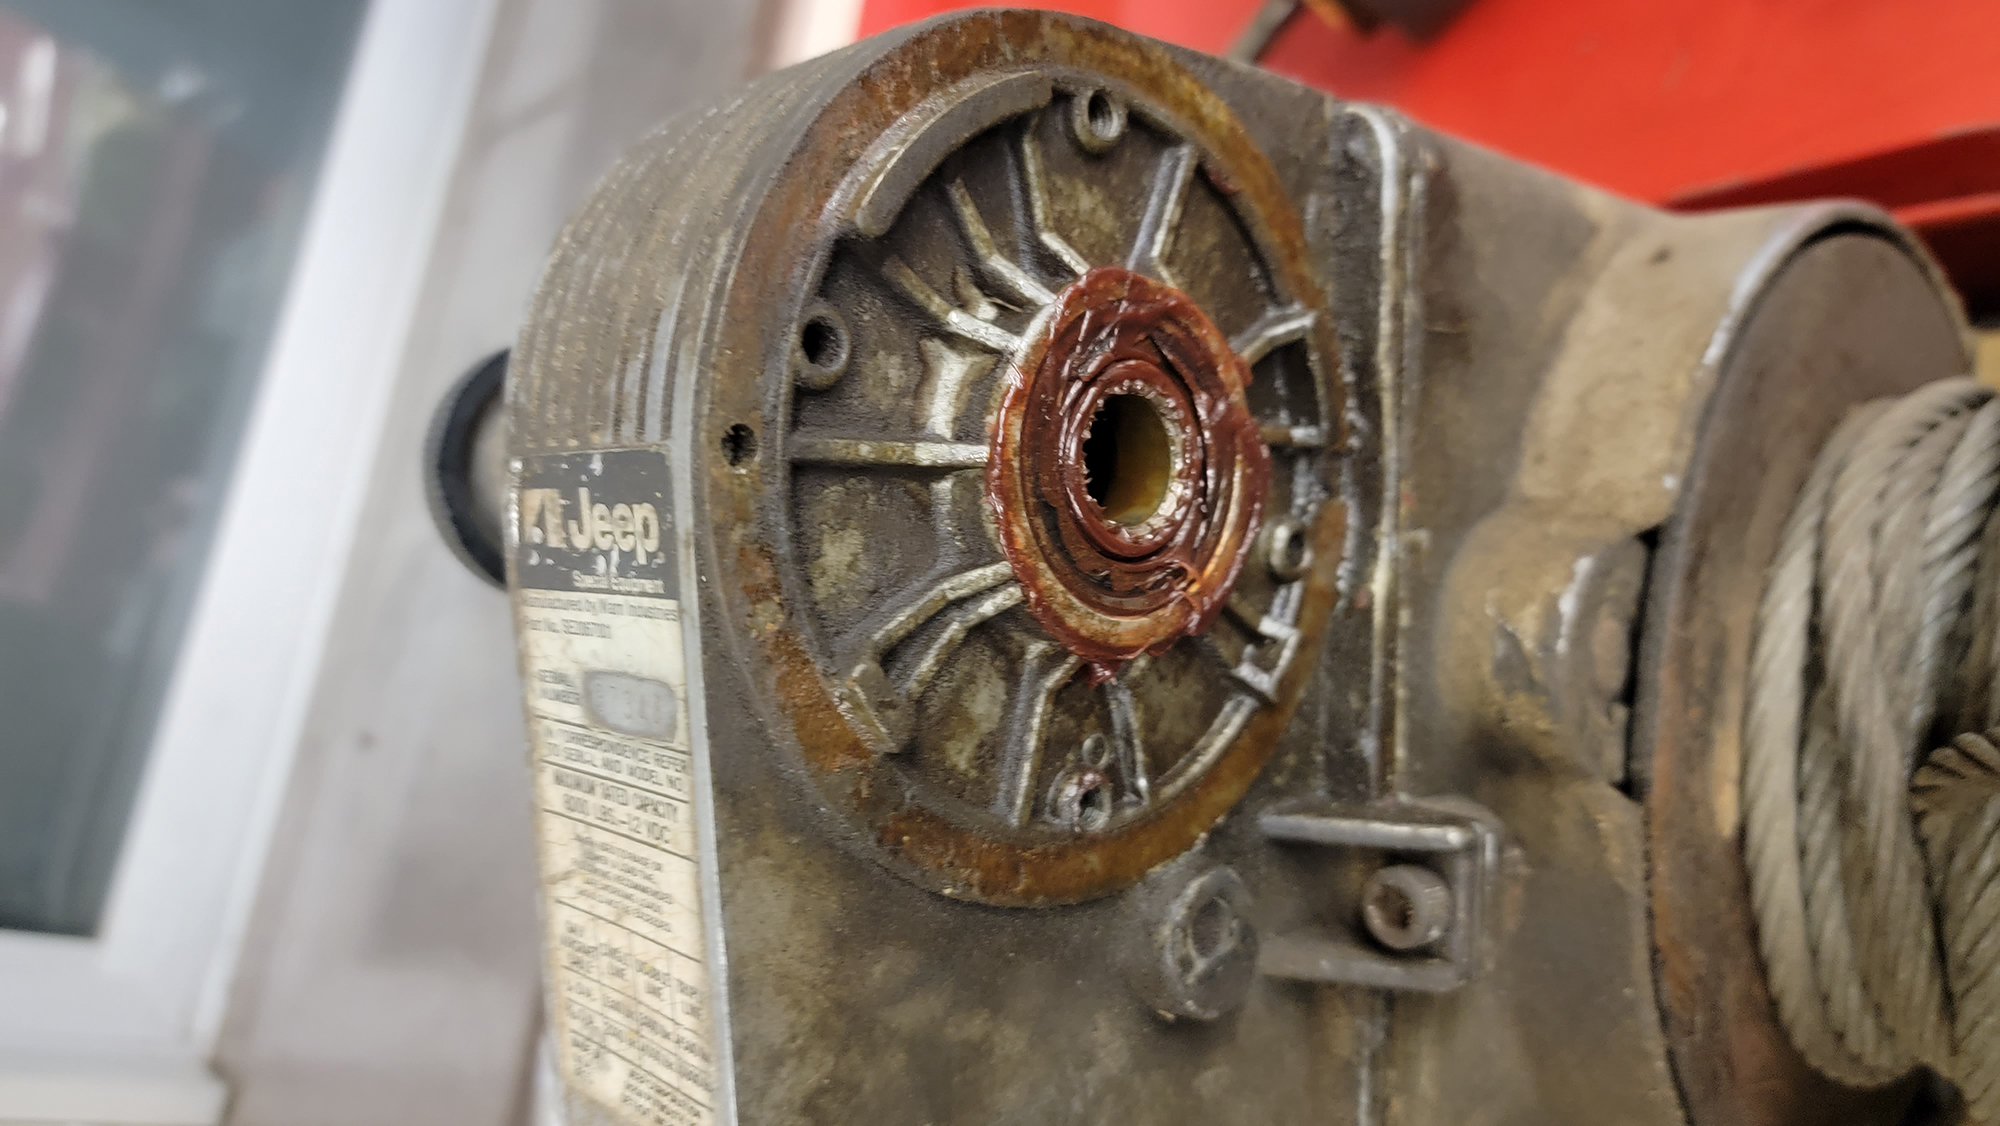
This greasy bearing will be replaced with a new factory unit, also available through Warn.
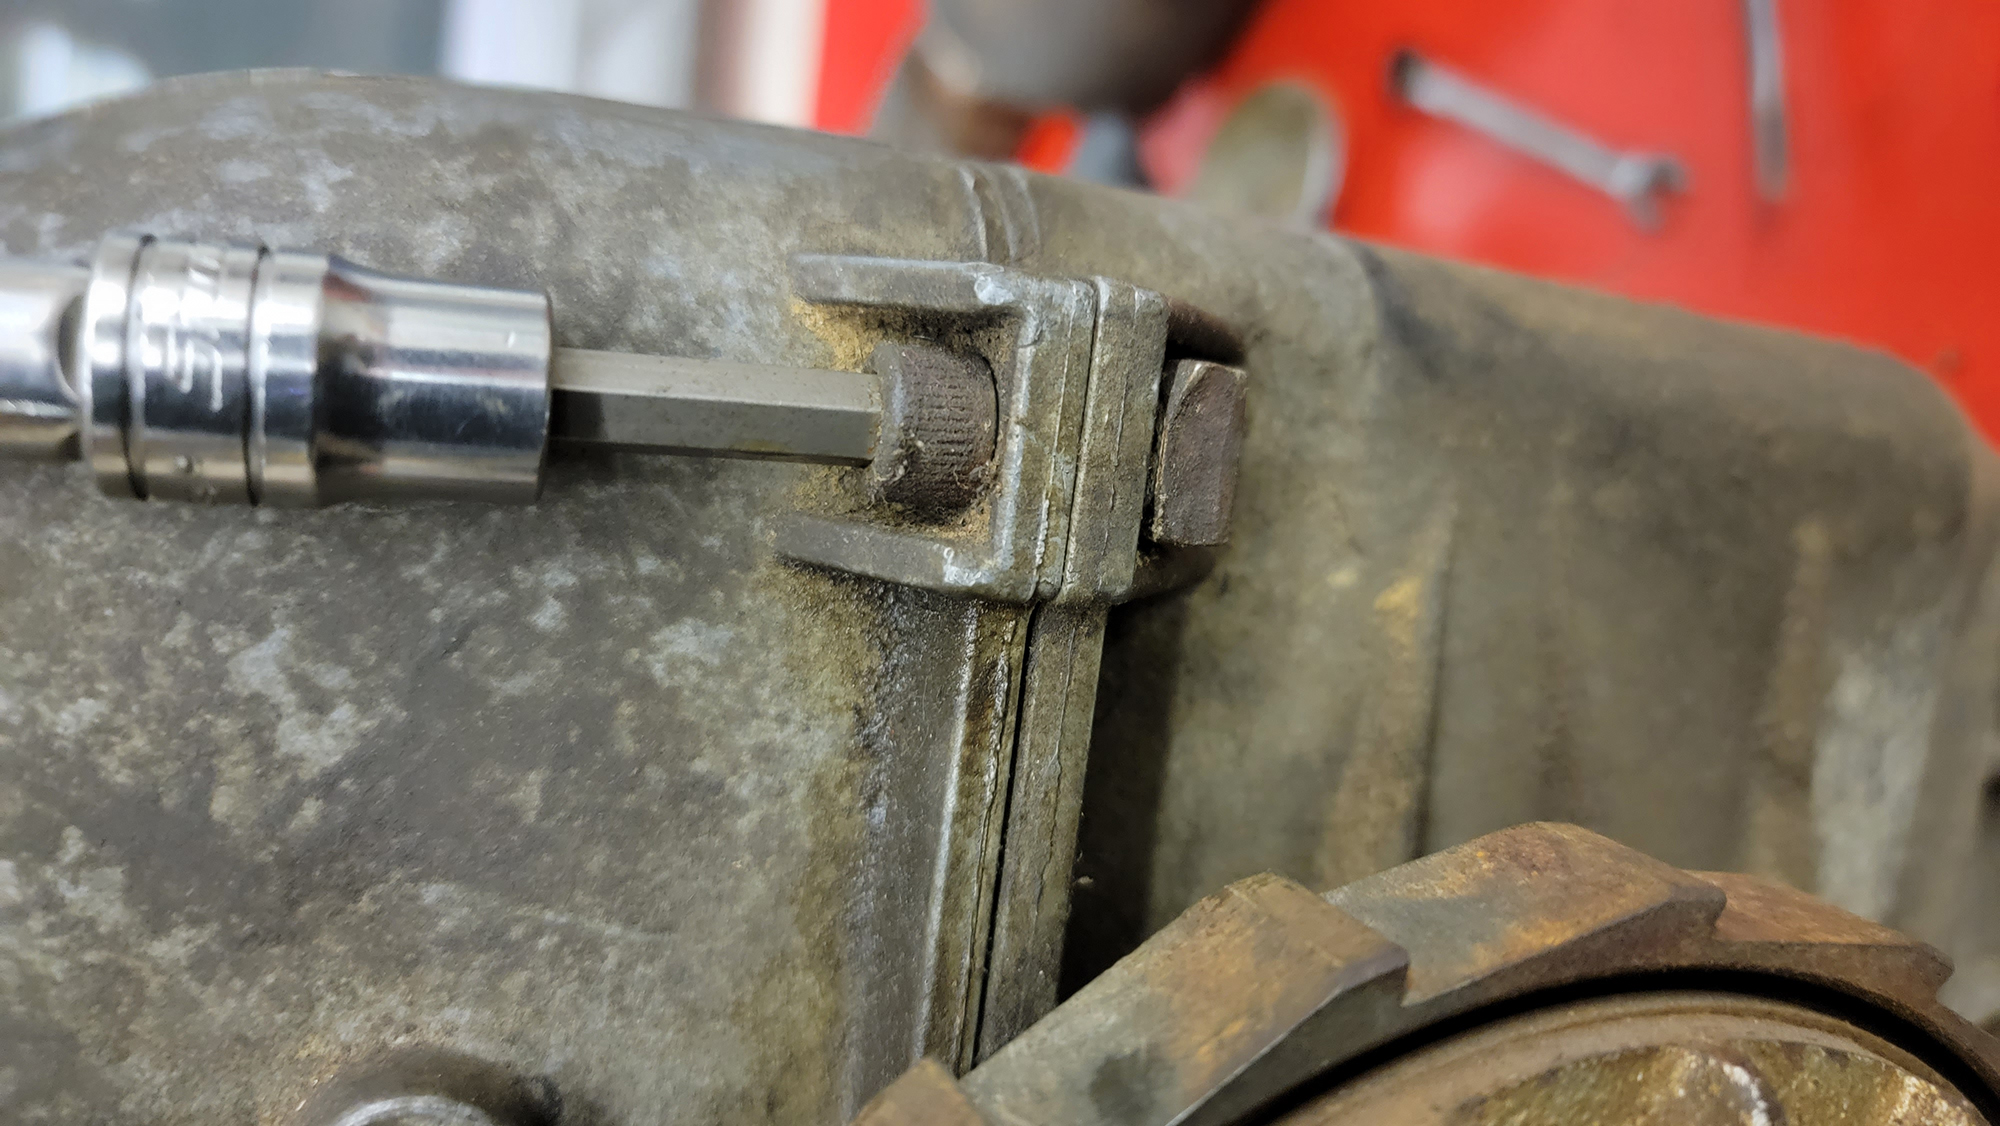
Three Allen head cap screws with square nuts below secure the housing halves together, and removing all three gets us one step closer to separating the case halves.
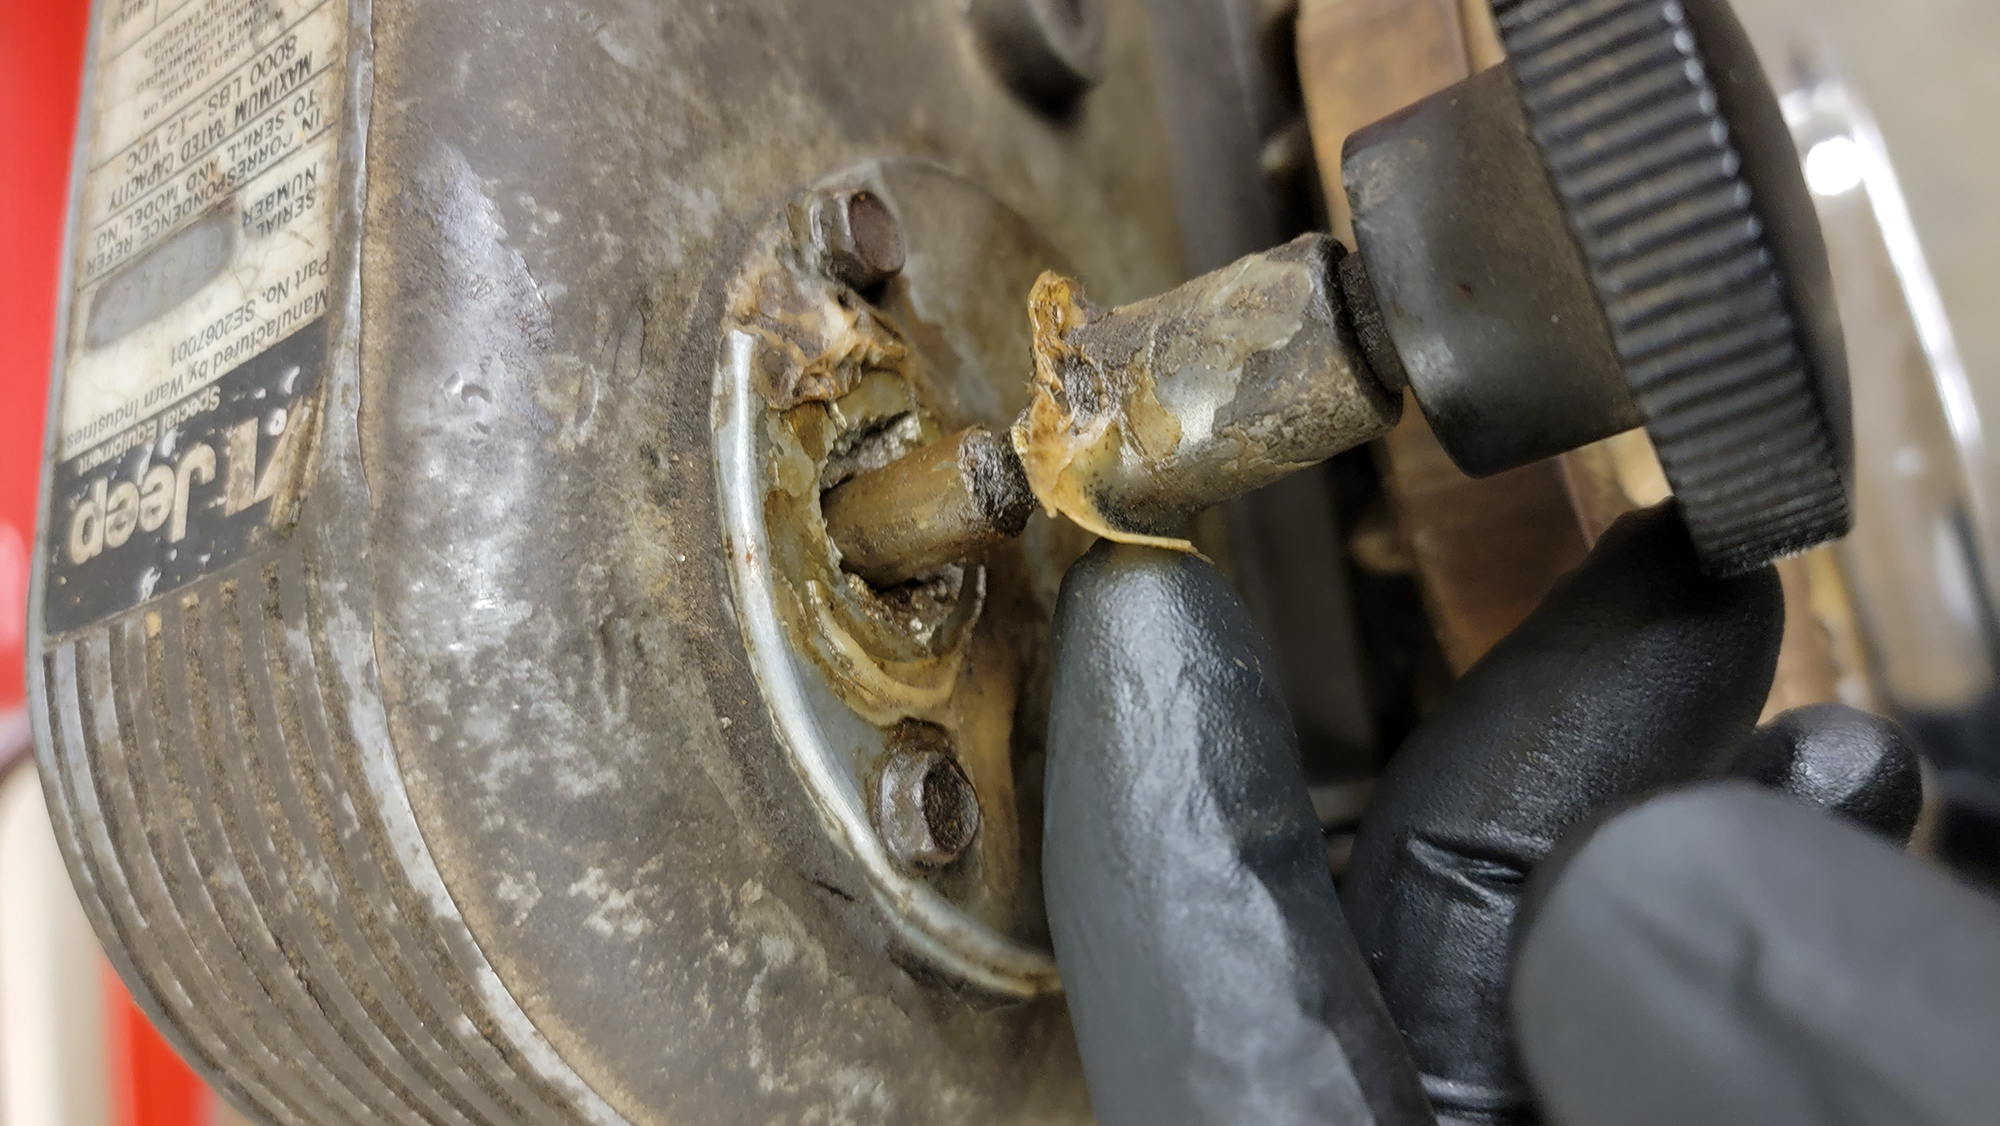
Next, removing the two bolts holding the clutch assembly allows the whole plate to come off, showing just how damaged it was internally.
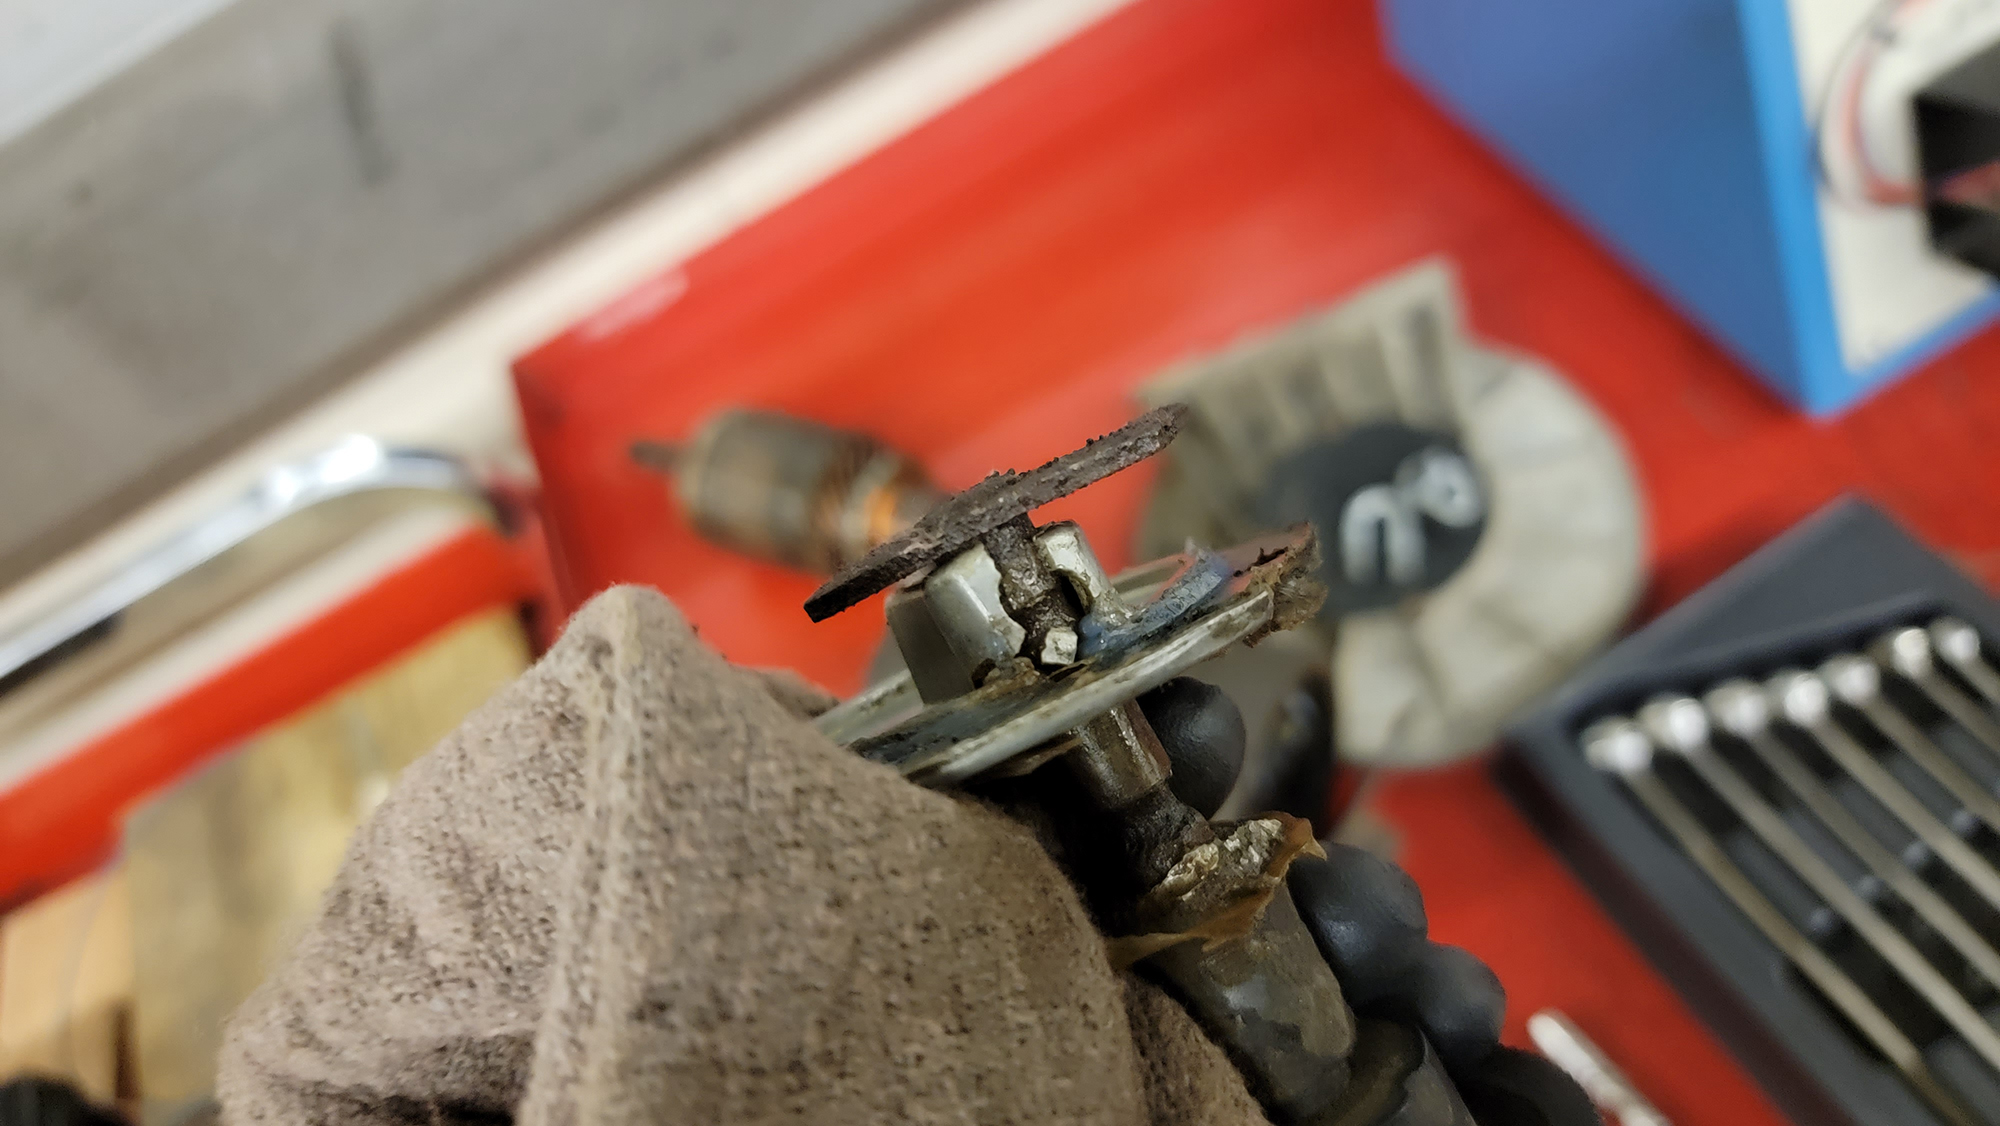
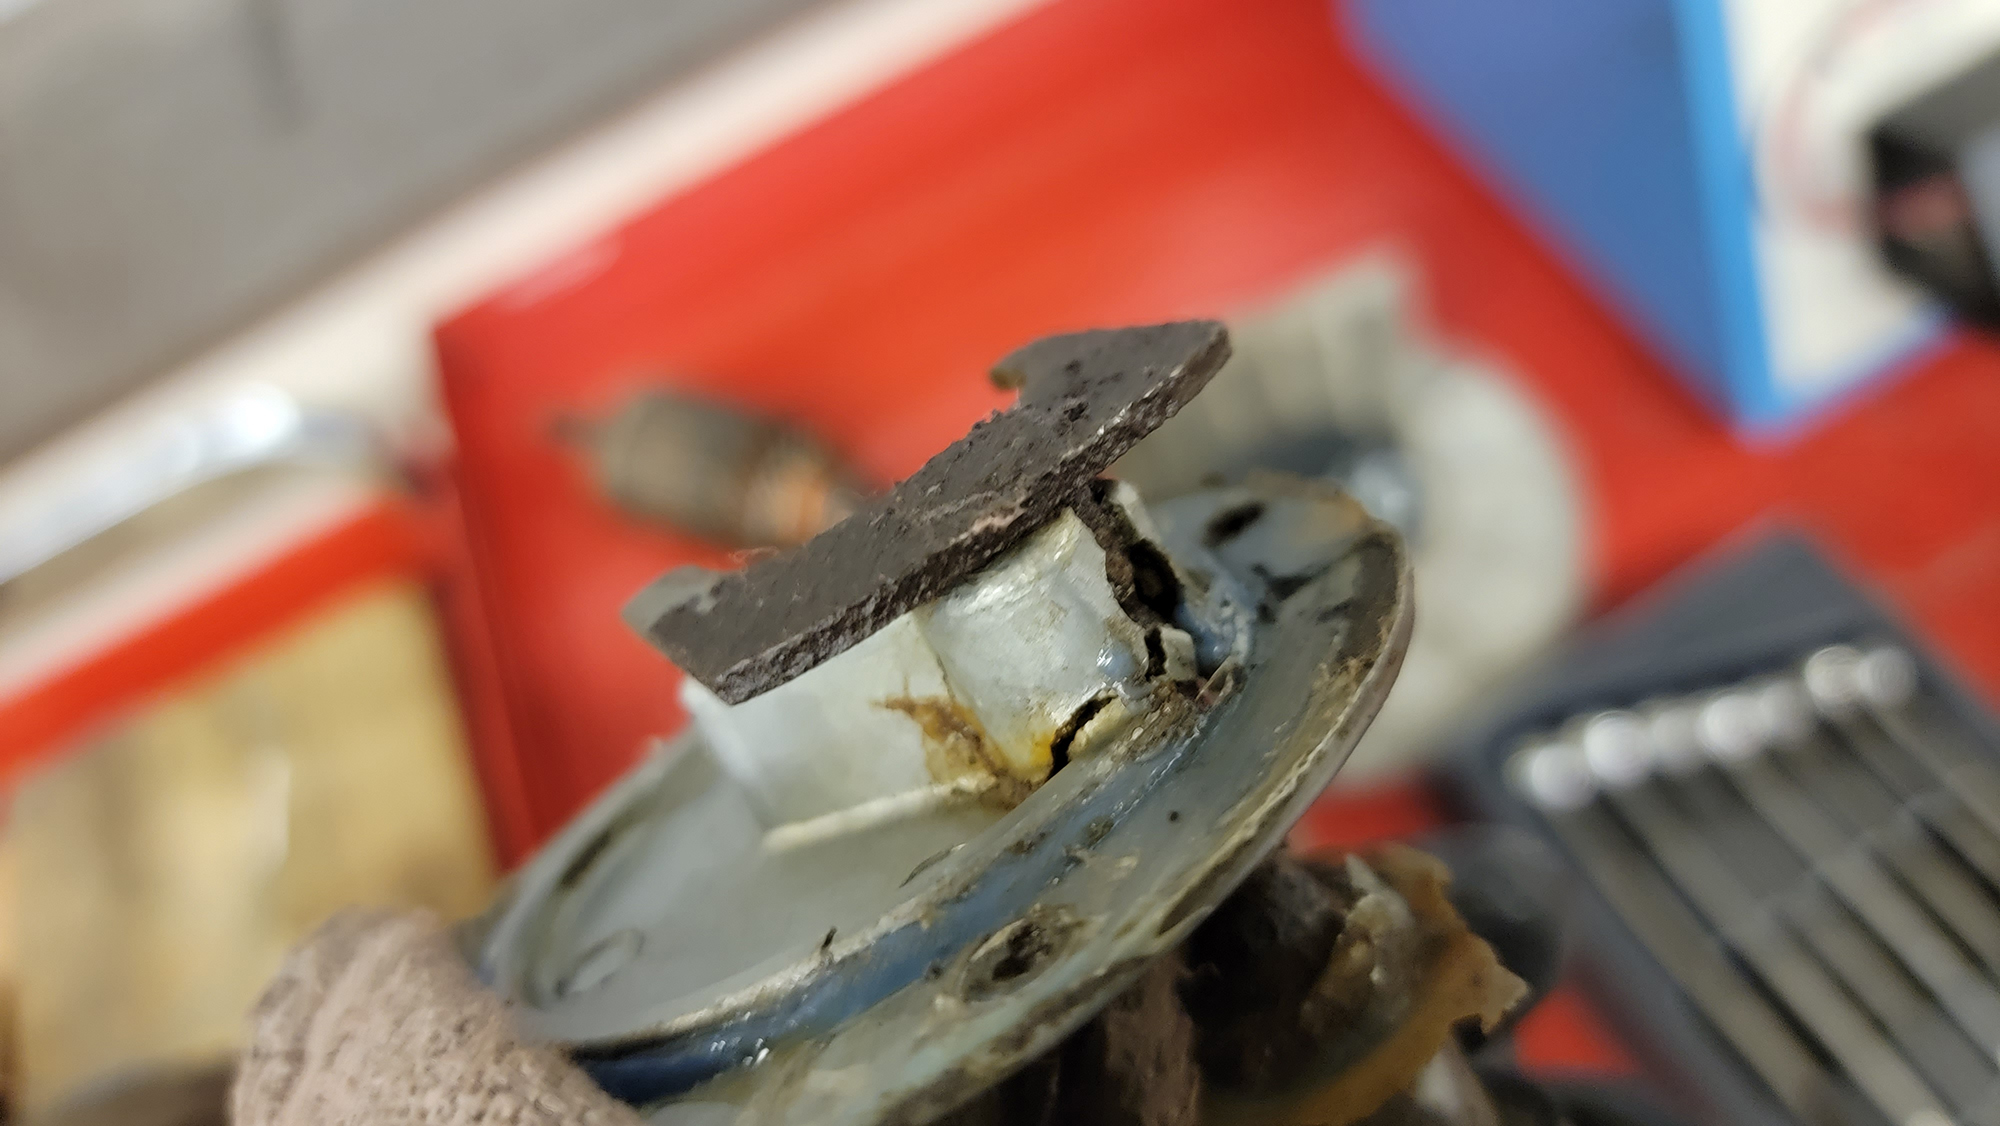
This prevented it from disengaging the motor from the gears so the winch could free spool and let the cable play out without operating the motor.
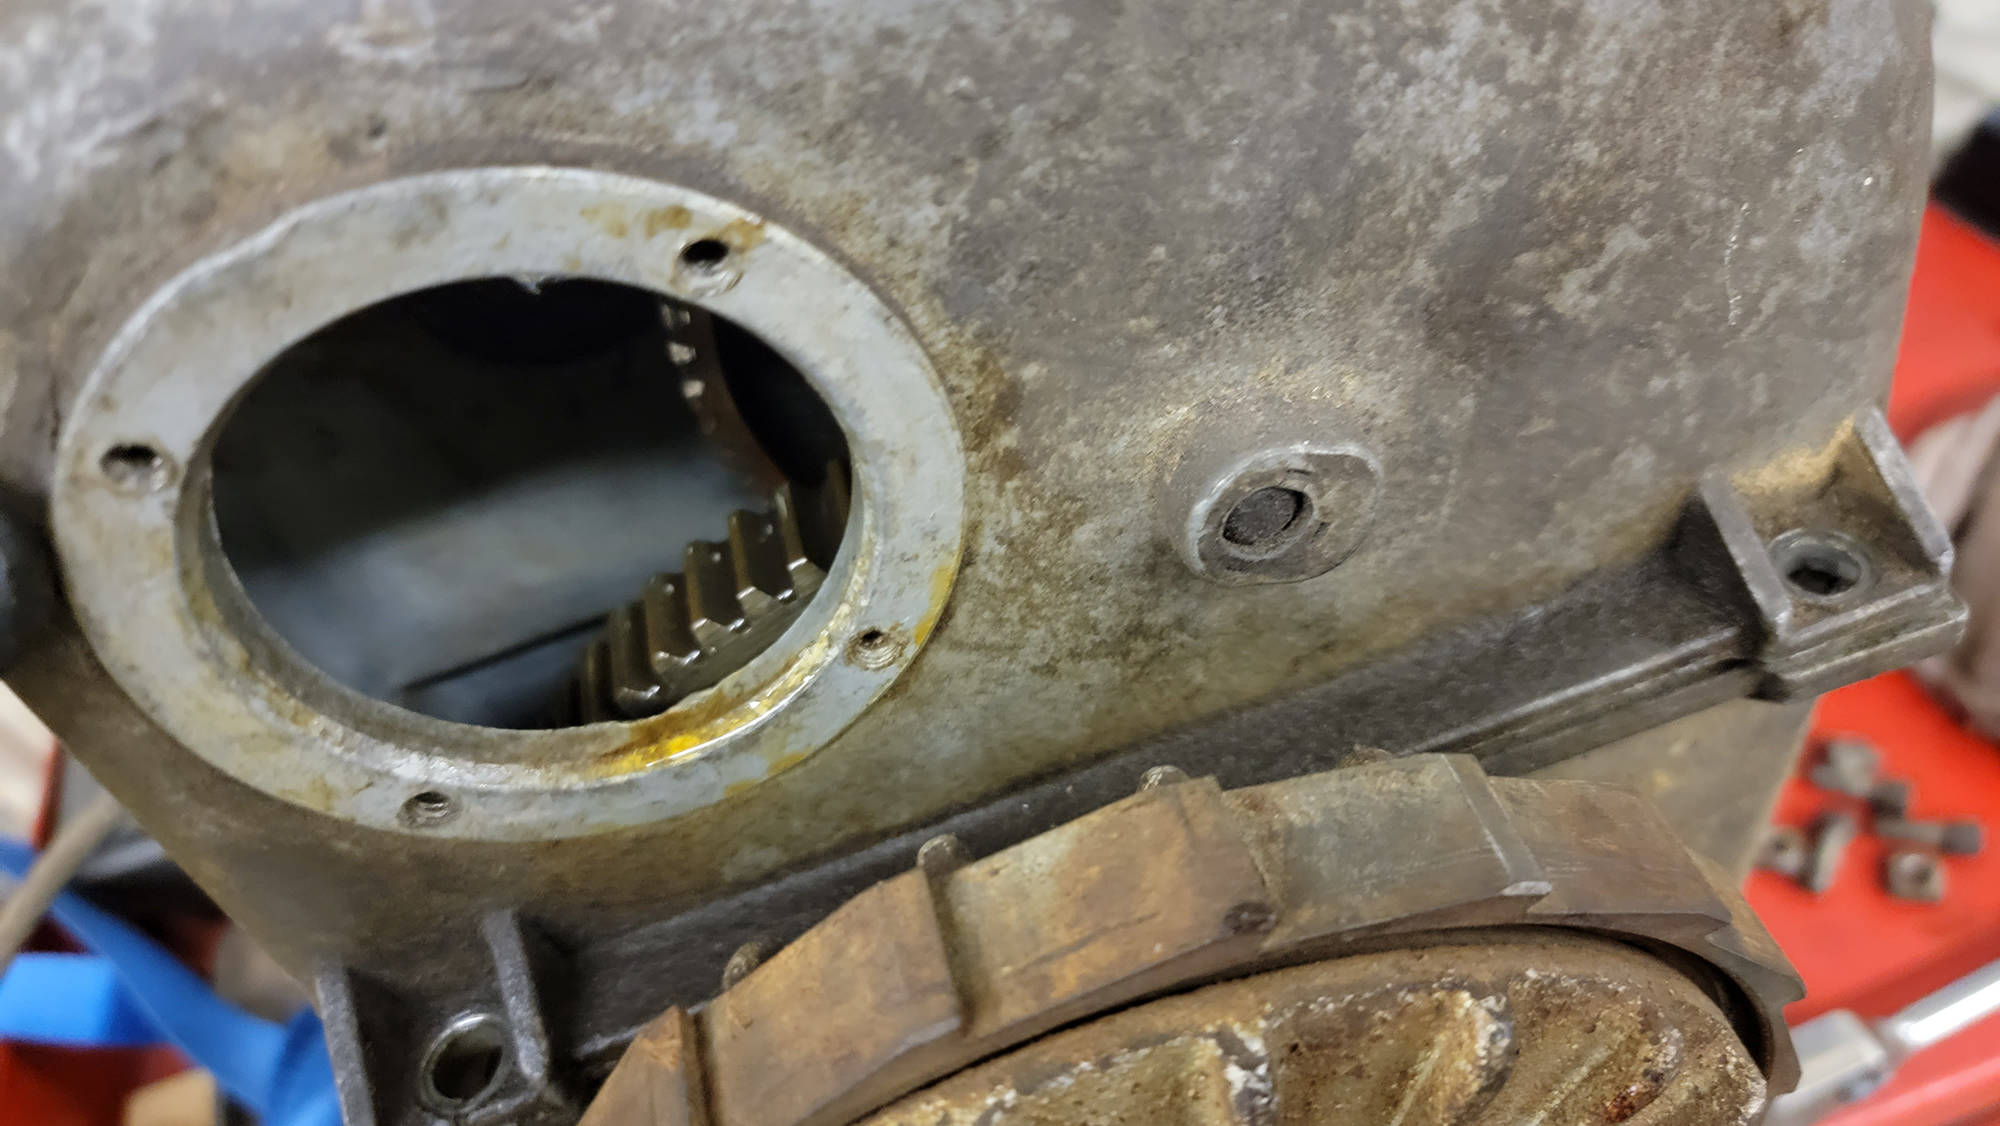
A bead of hardened silicone was the only thing holding the housing halves together, and some quick taps with a three pound meat hammer (the underside of my fist) allowed the upper housing to loosen.
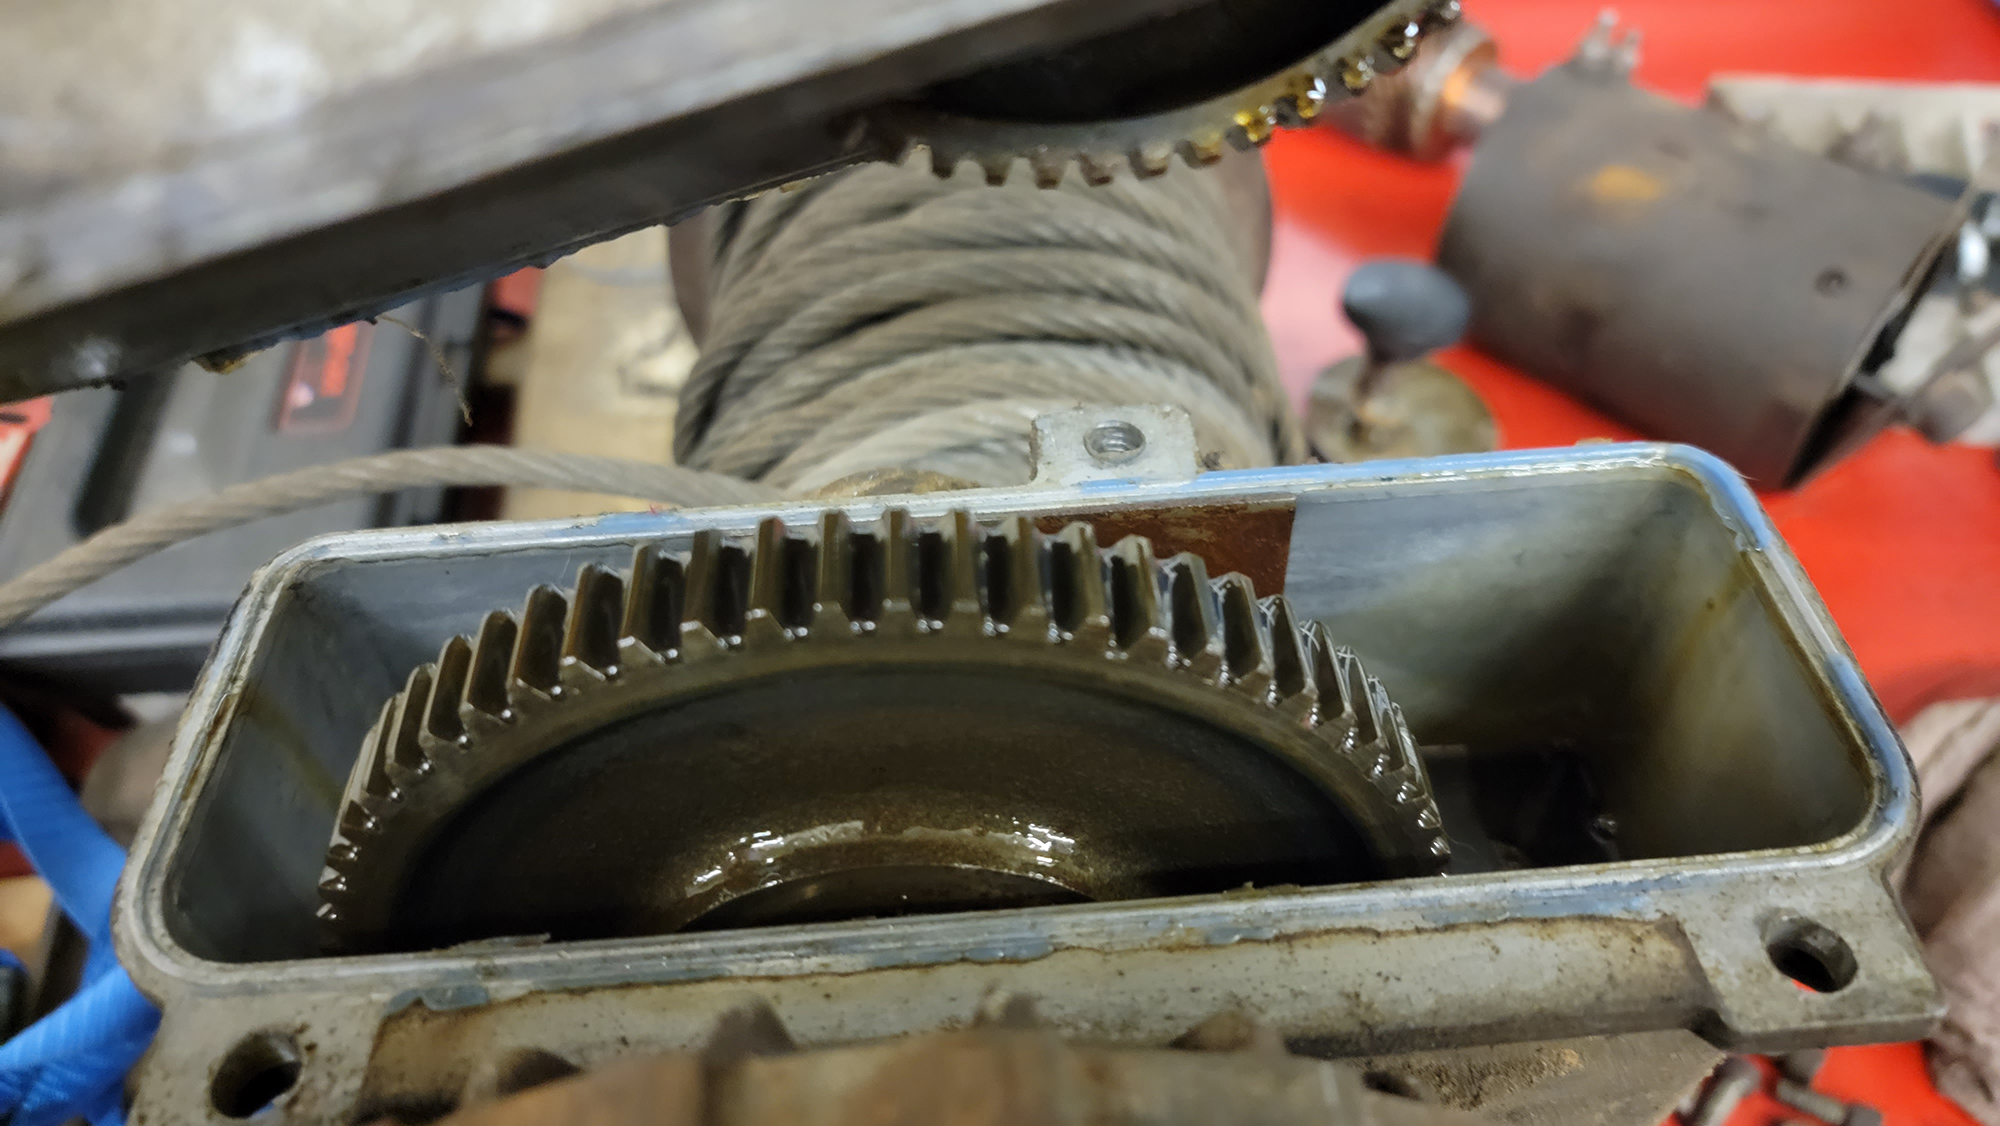
Luckily, the internals were in great shape for such an old winch. The silicone someone added to the damaged shaft of the clutch lever prevented most of the moisture from entering while it sat unused.
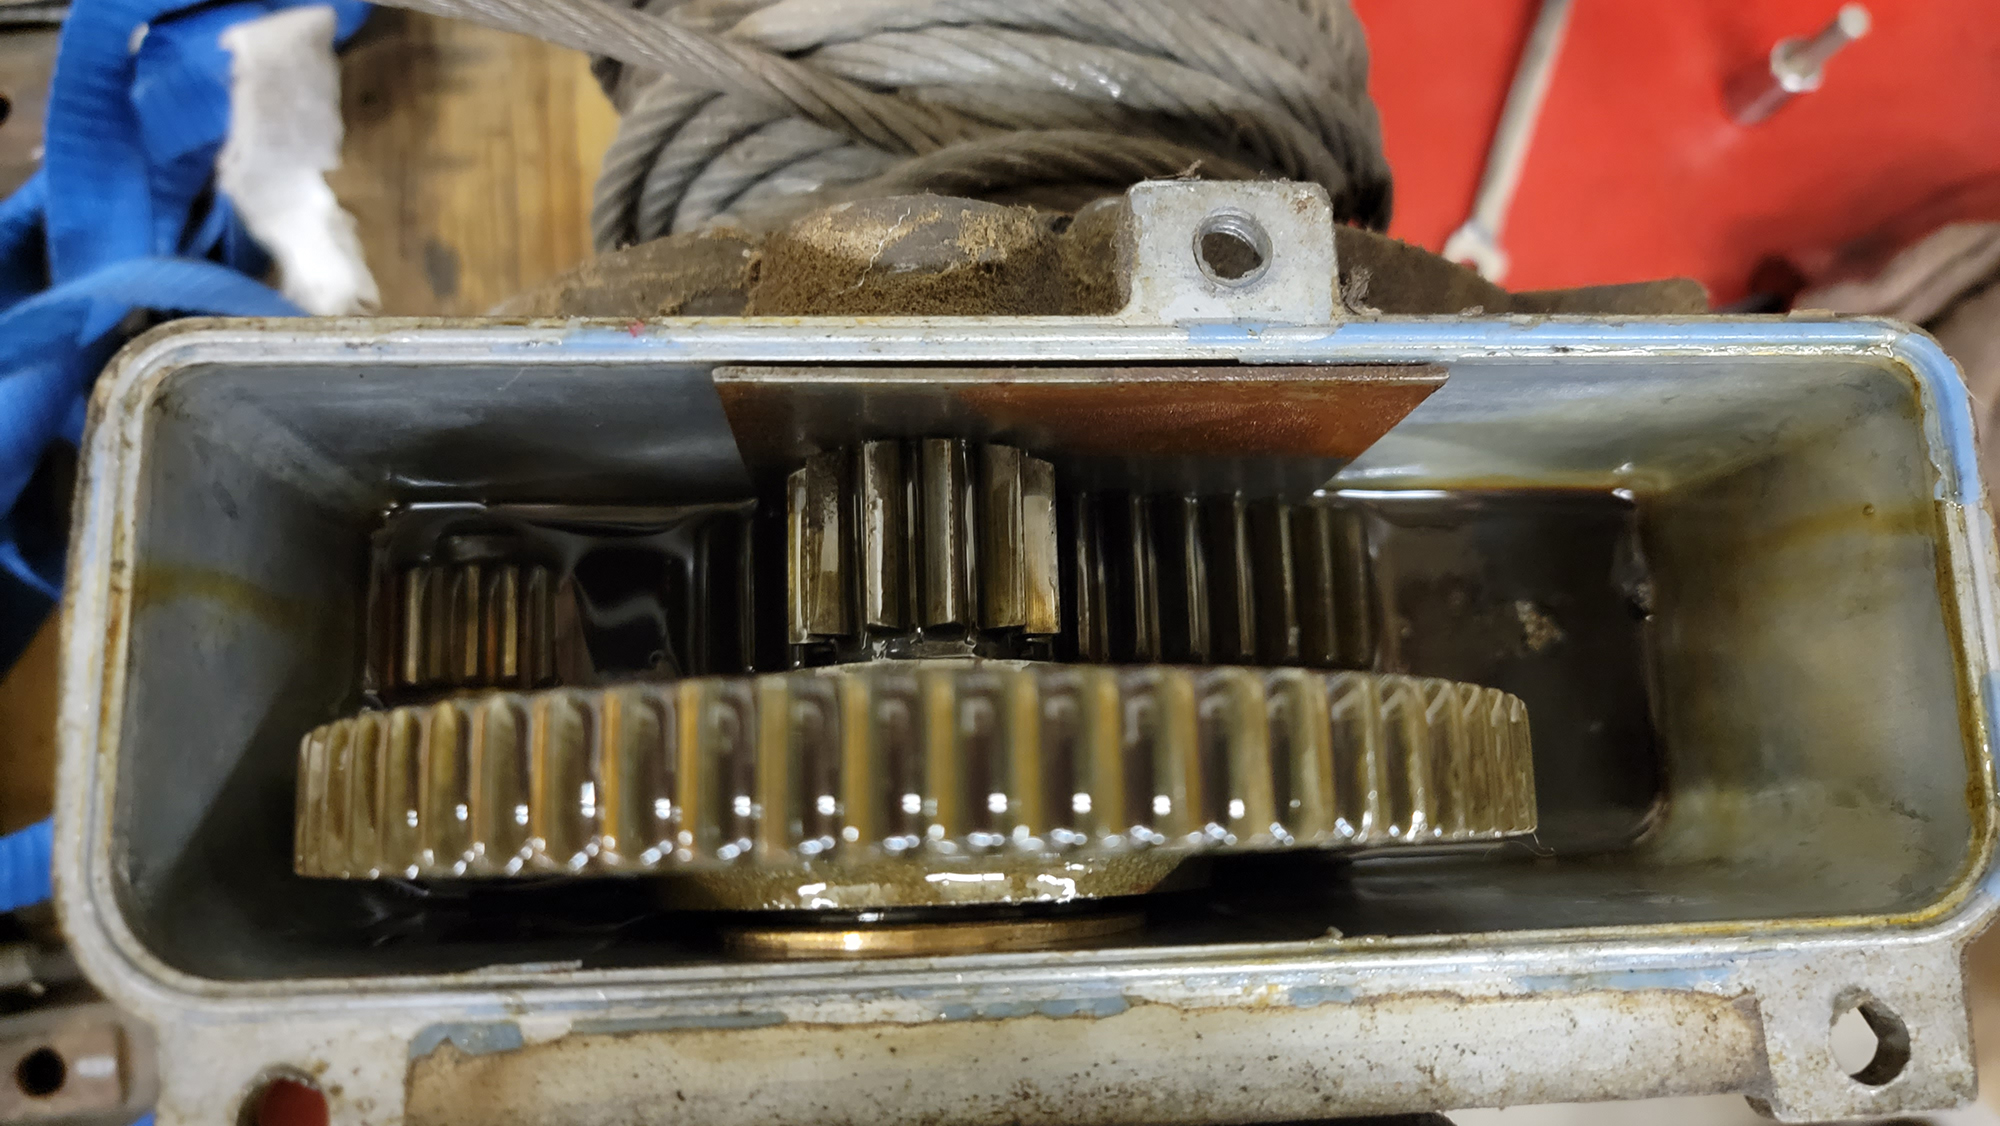
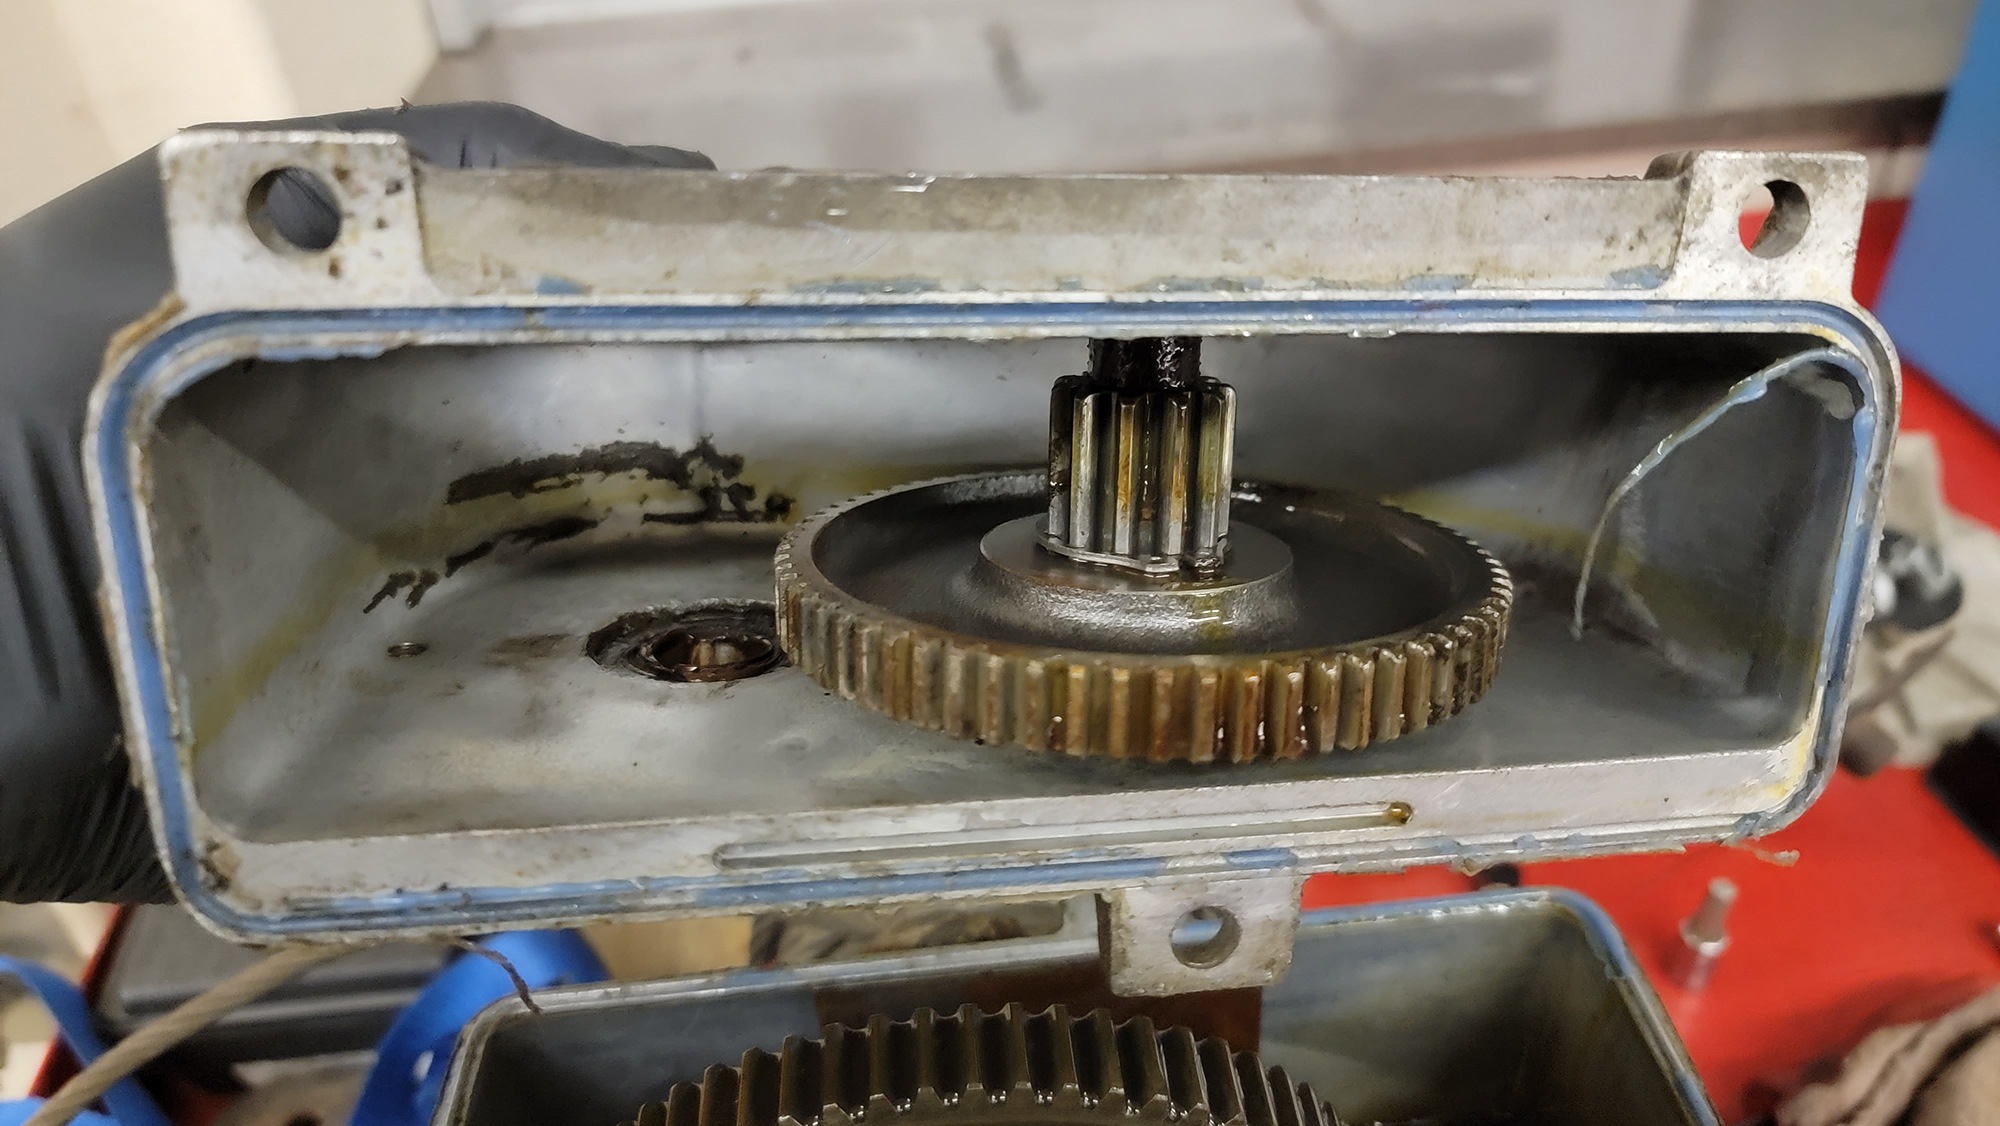
You can see the oil inside, which was typically 30W non-detergent motor oil. It was still mostly golden-brown in color, a bit surprising considering how long it was inoperative. The winch body is sealed, and the lower housing gears sit in the bath — in use, the oil moves through the gearset and lubricates everything.
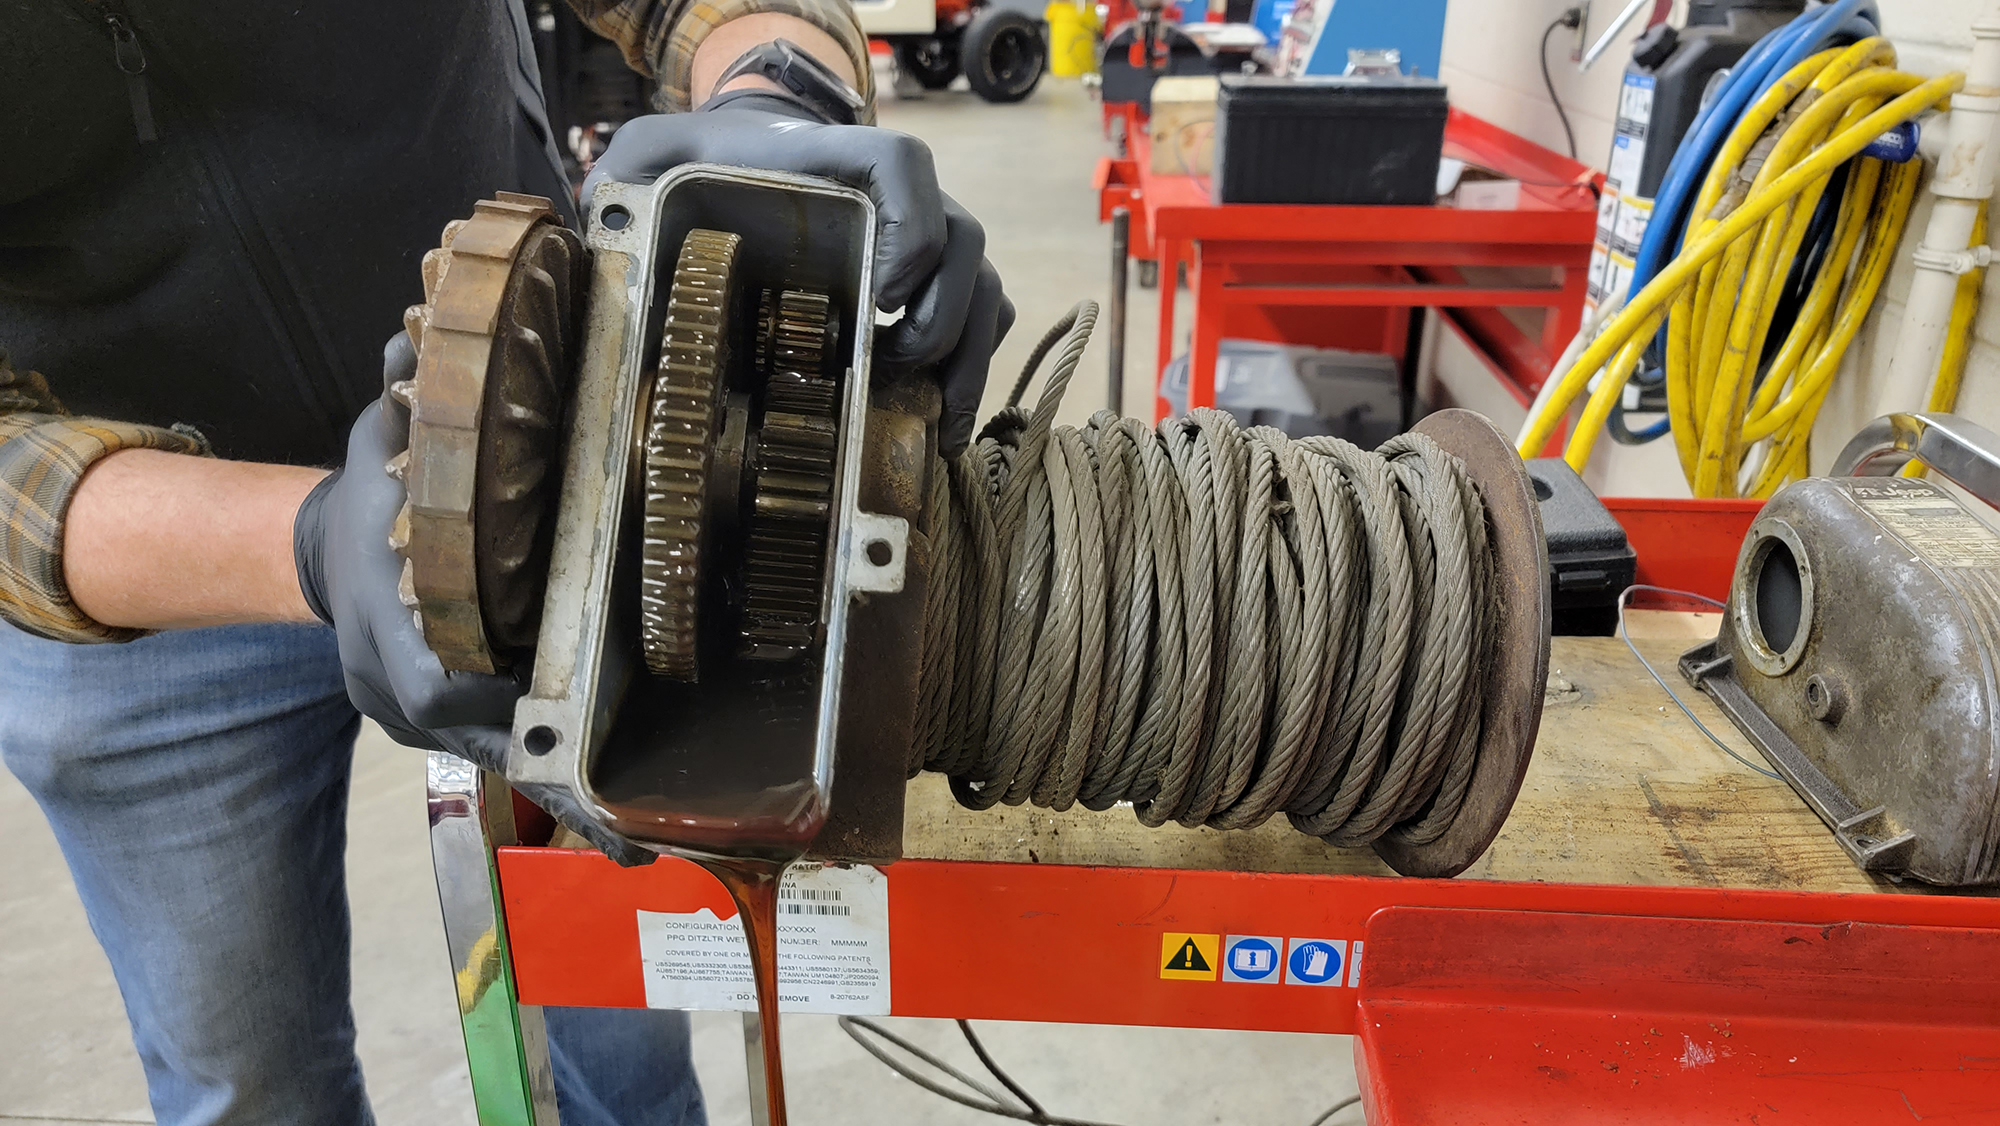
There was some sludge at the bottom, but no glitter or chunks of metal. The teeth of the gears were all in great shape.
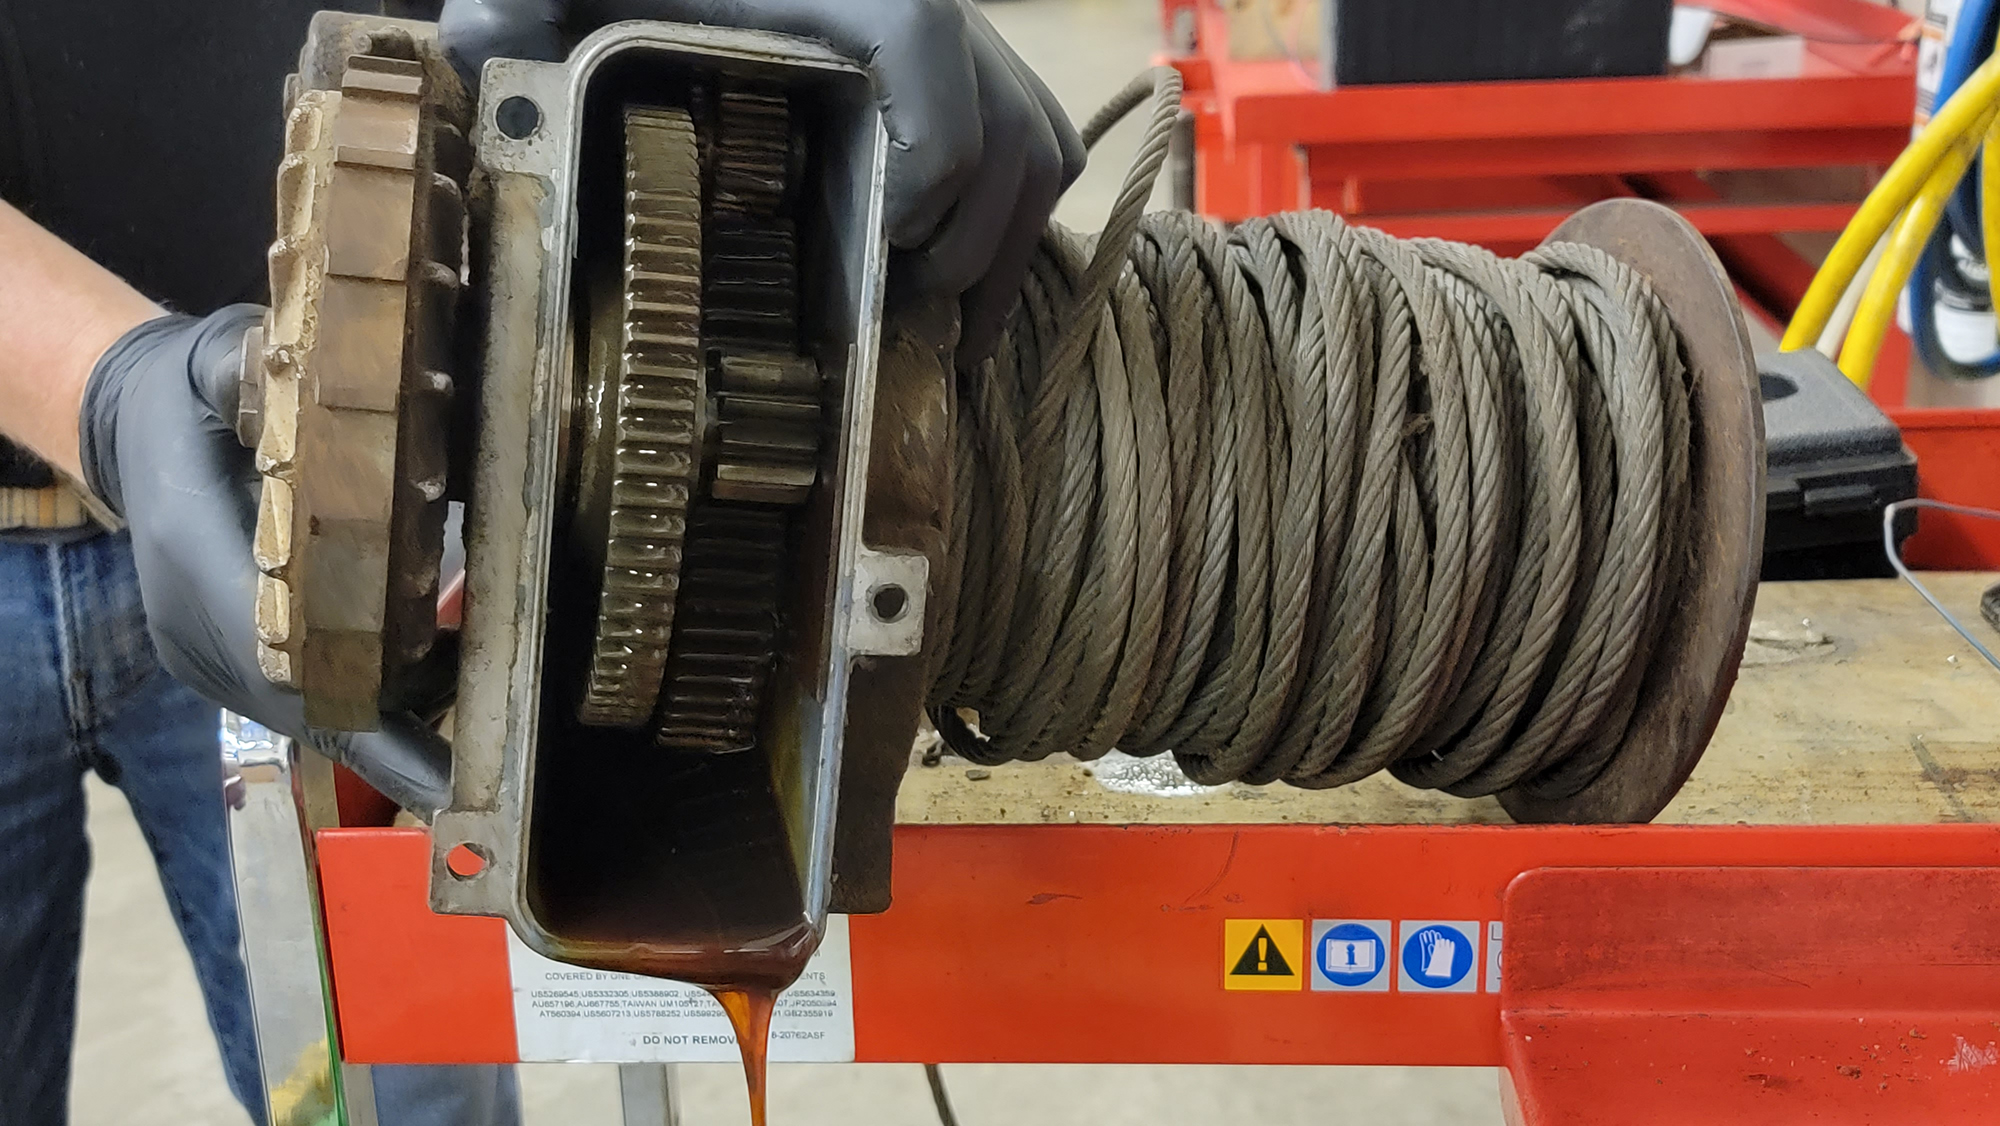
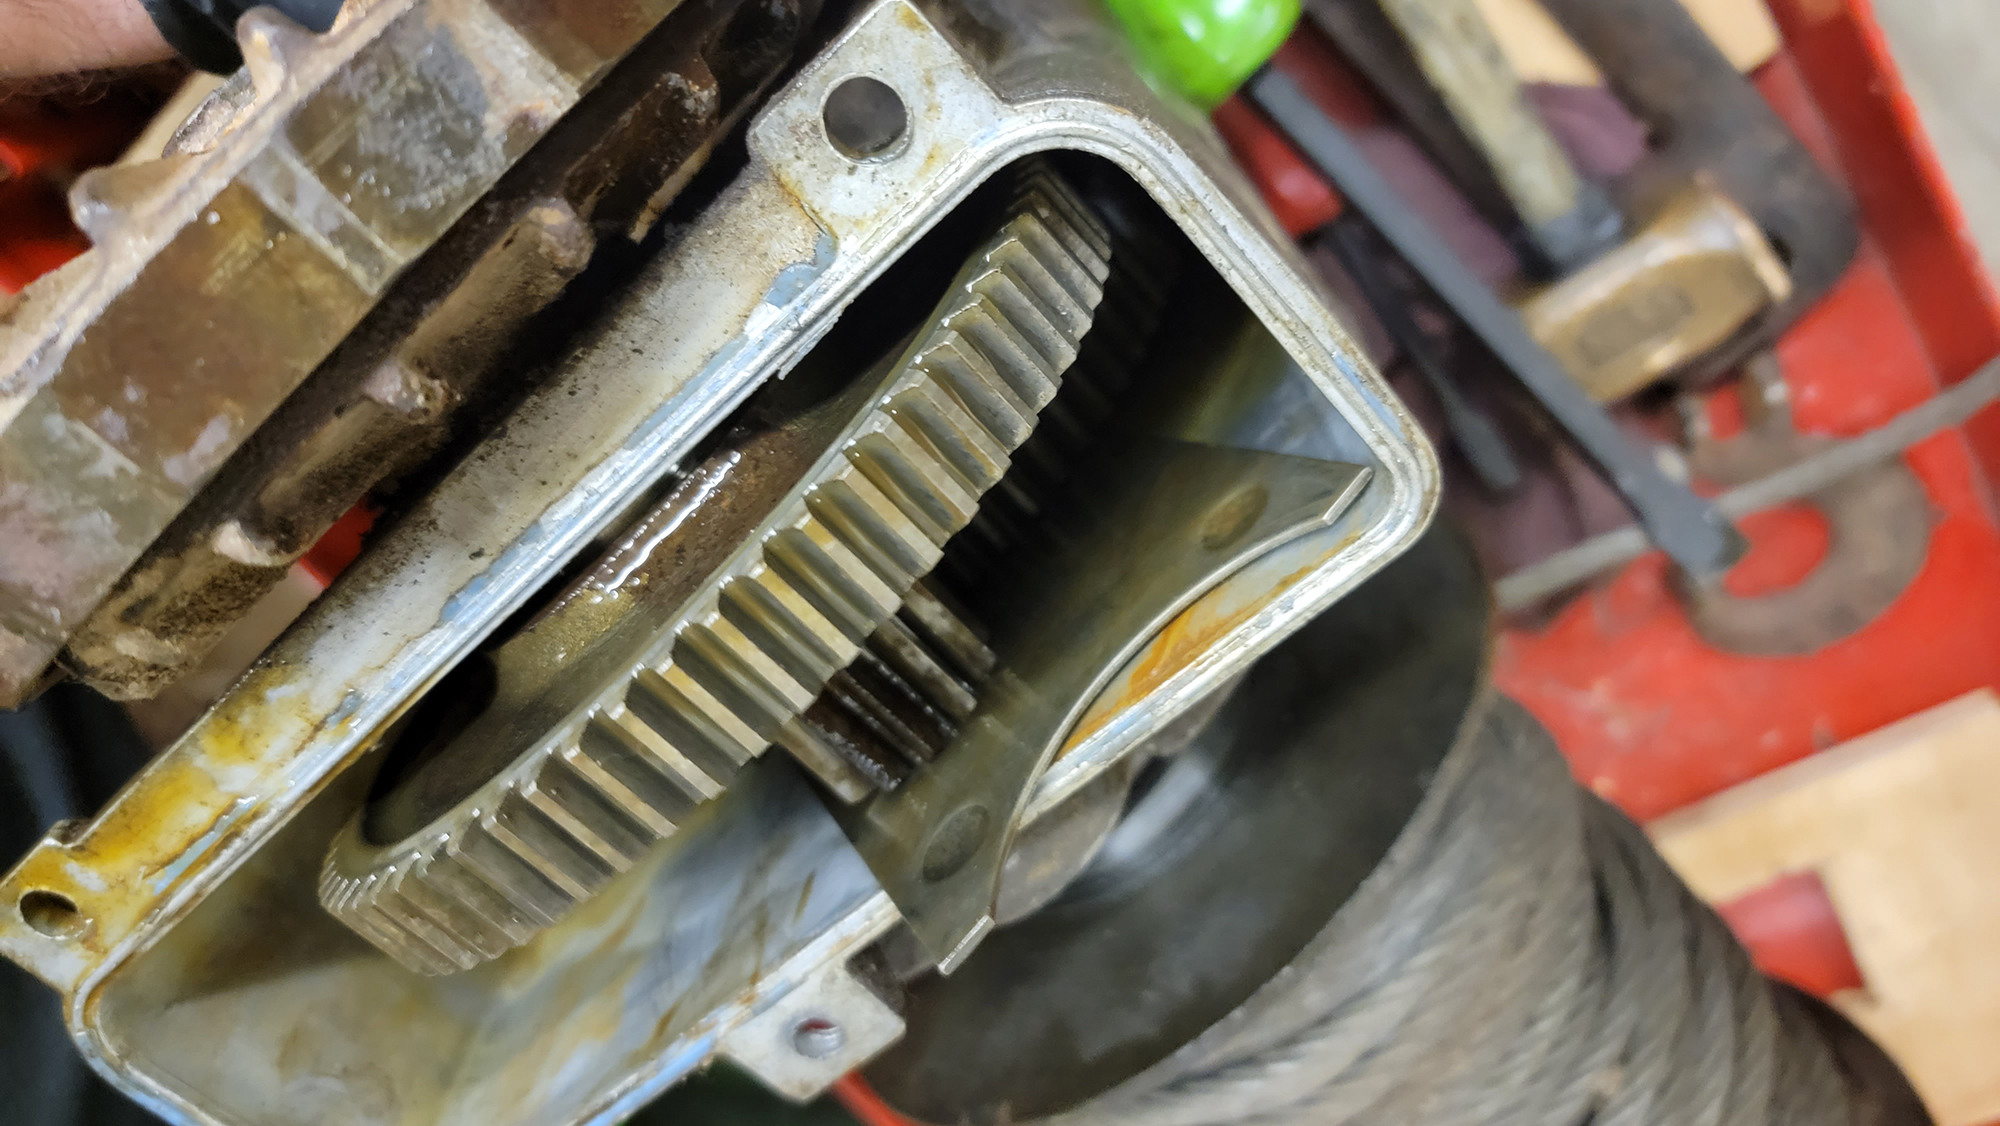
With all the vintage petroleum out of the way, the winch can finally be tilted so more components can be removed and inspected in the lower housing.
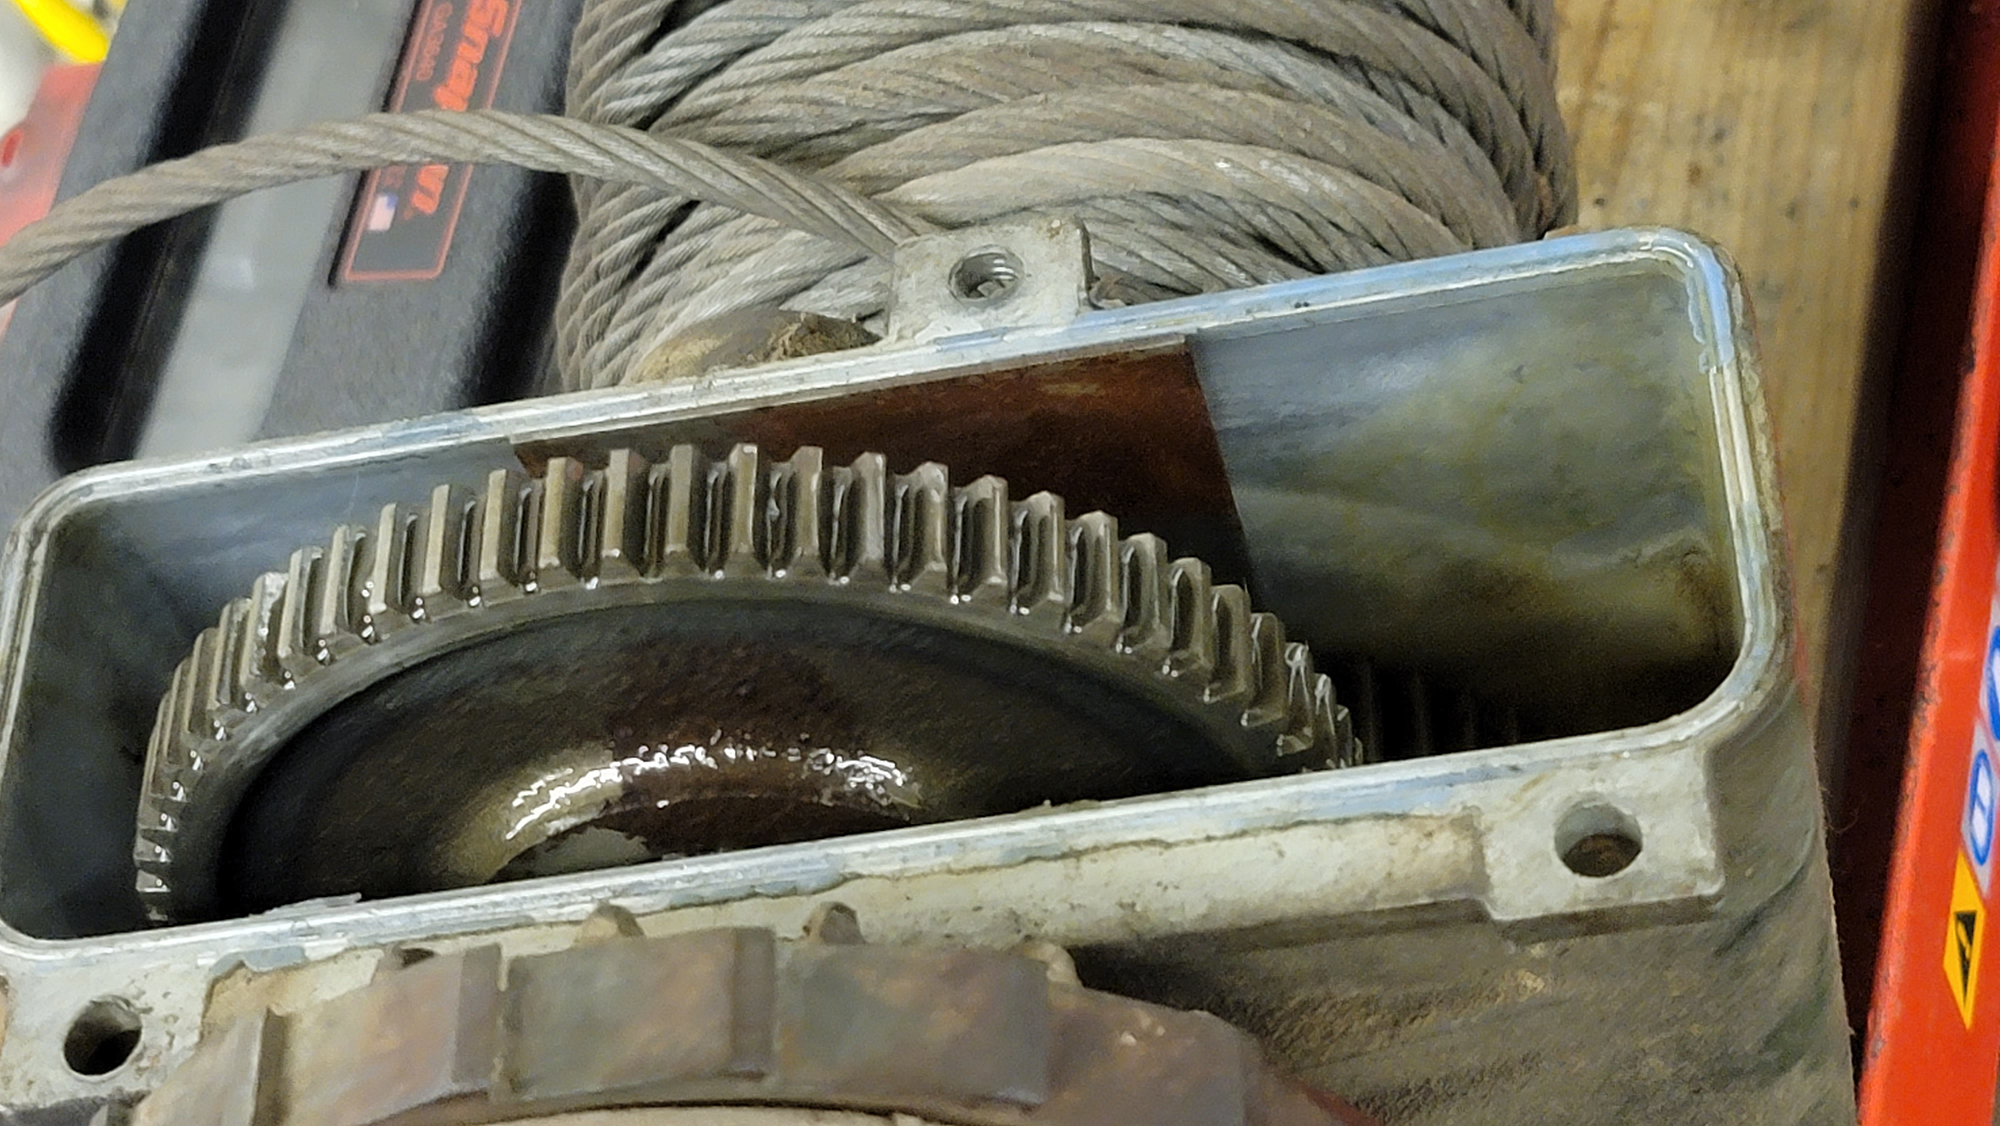
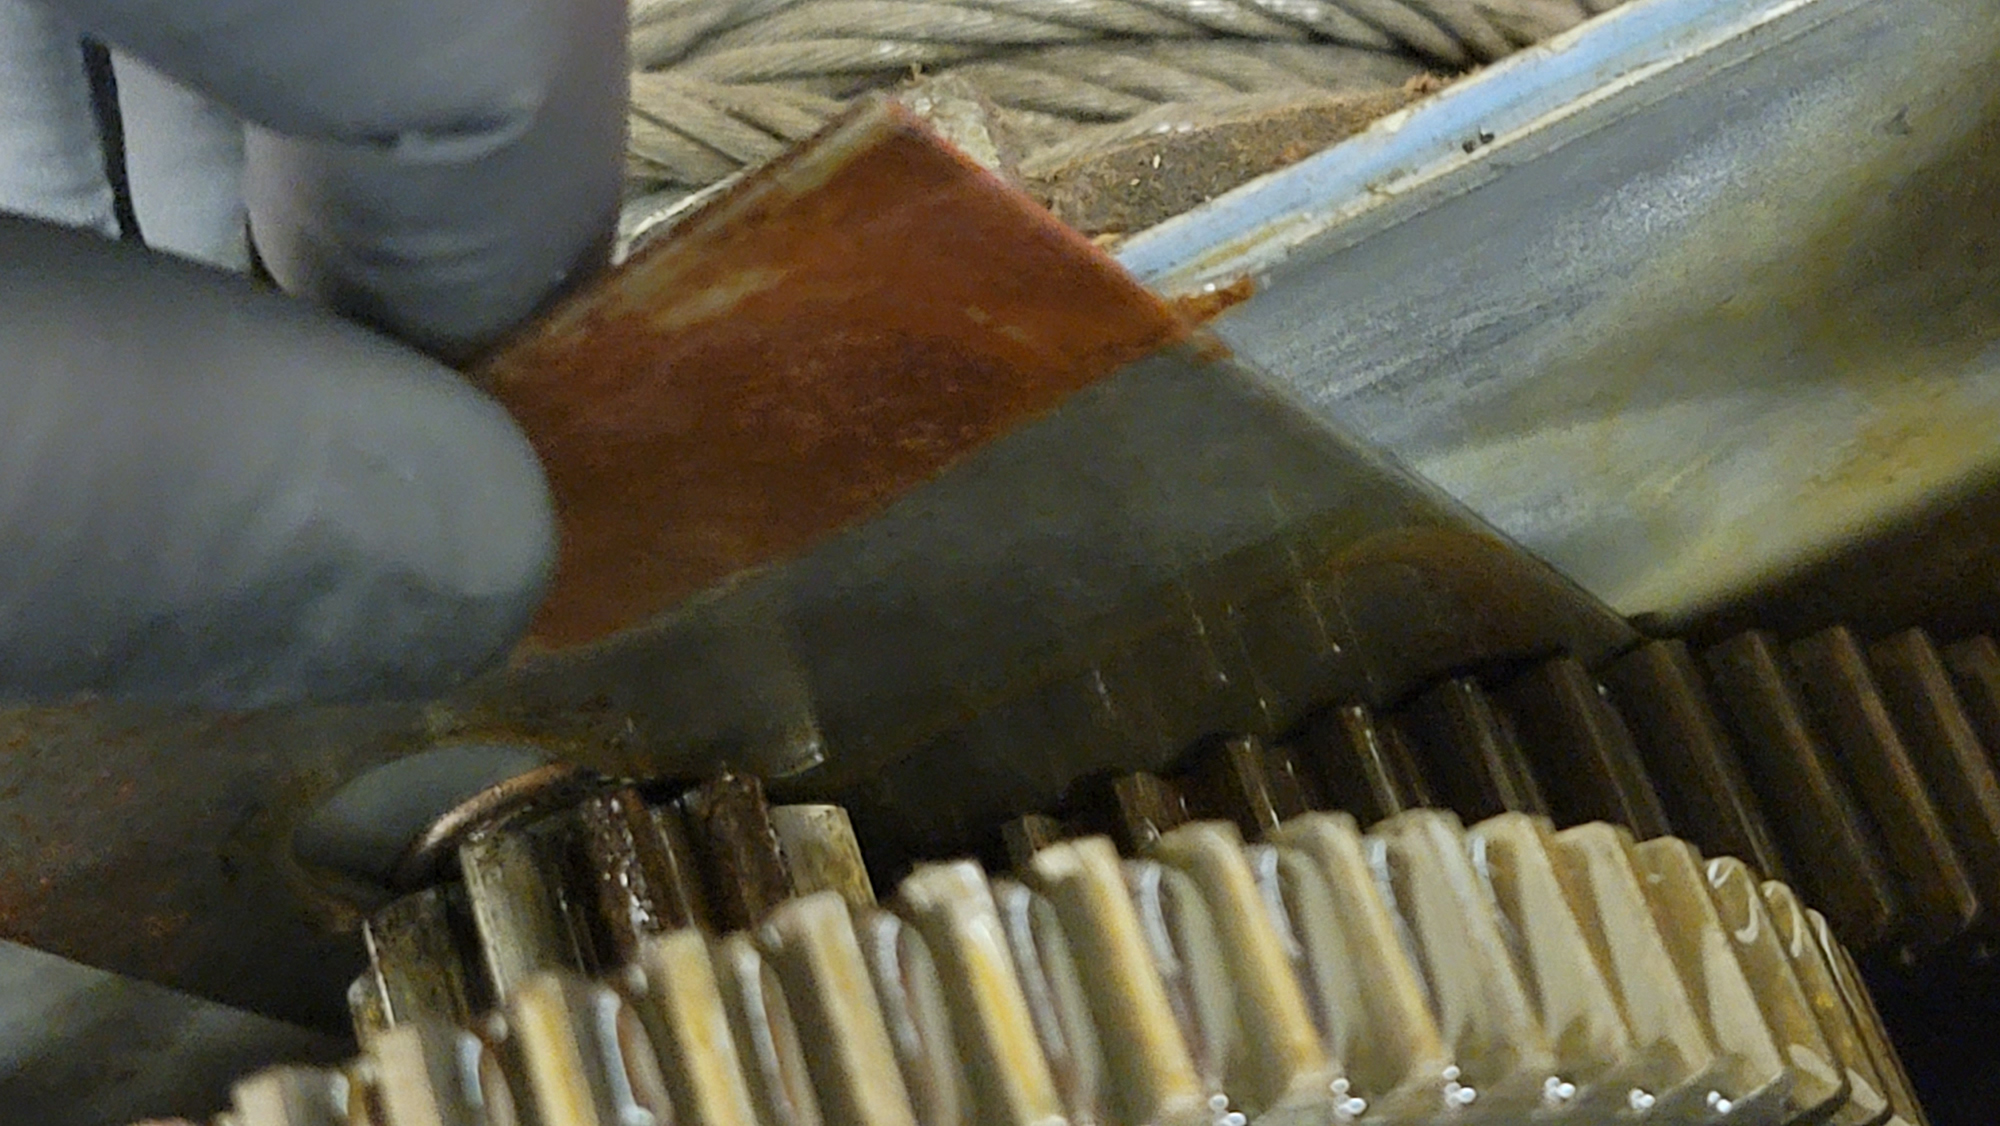
This metal plate holds the drum in place in the lower housing, and is locked in place with the upper housing installed. Once lifted and flipped out of the way, the drum can be pulled out of the housing, seal and all.
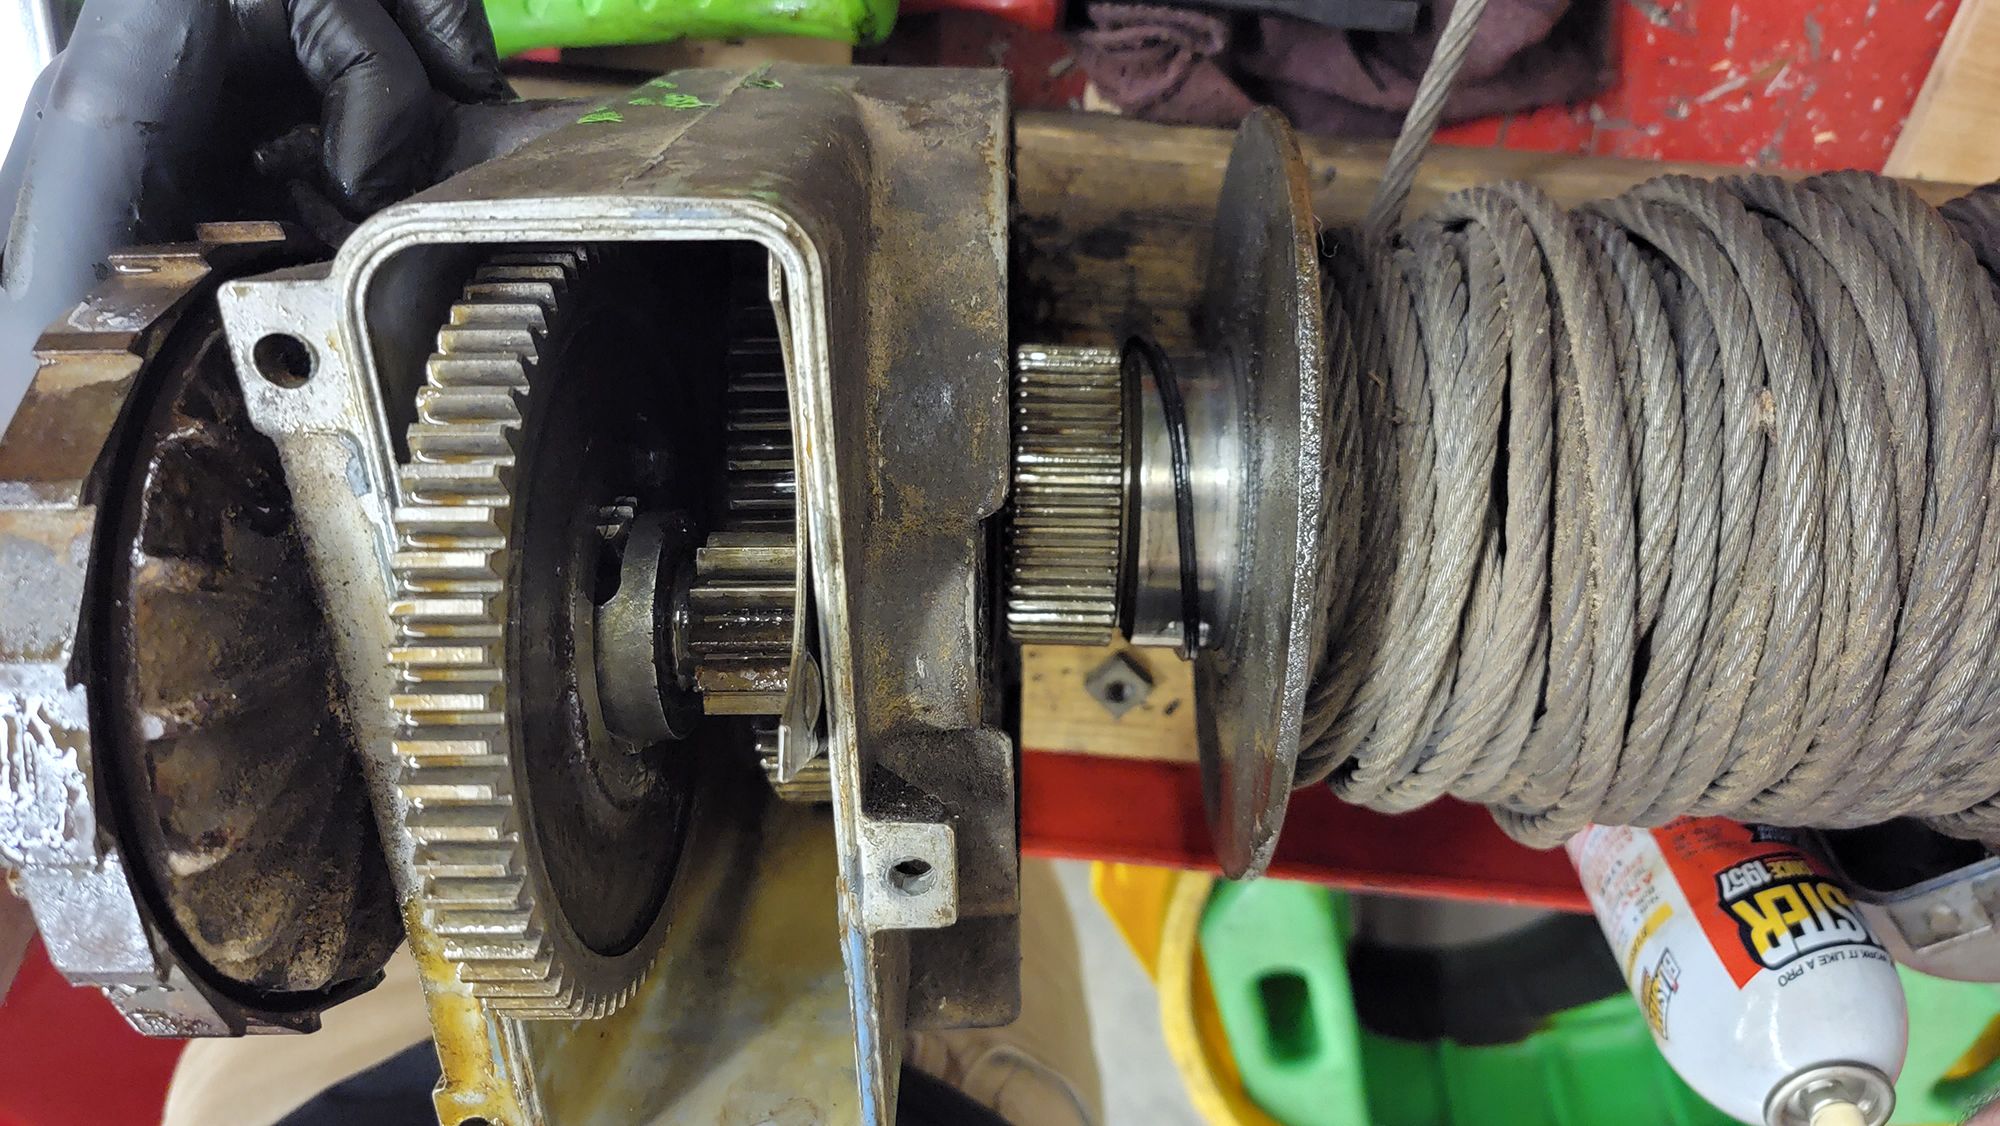
On these early winches, the circlip that holds the brake can be a real safety issue. If it works its way out of the groove under load, or fails completely, it can cause the brake assembly to completely come apart in the worst possible way. Obviously not what most people would want in a safety device, so we’re going to address it during the upgrade as well.
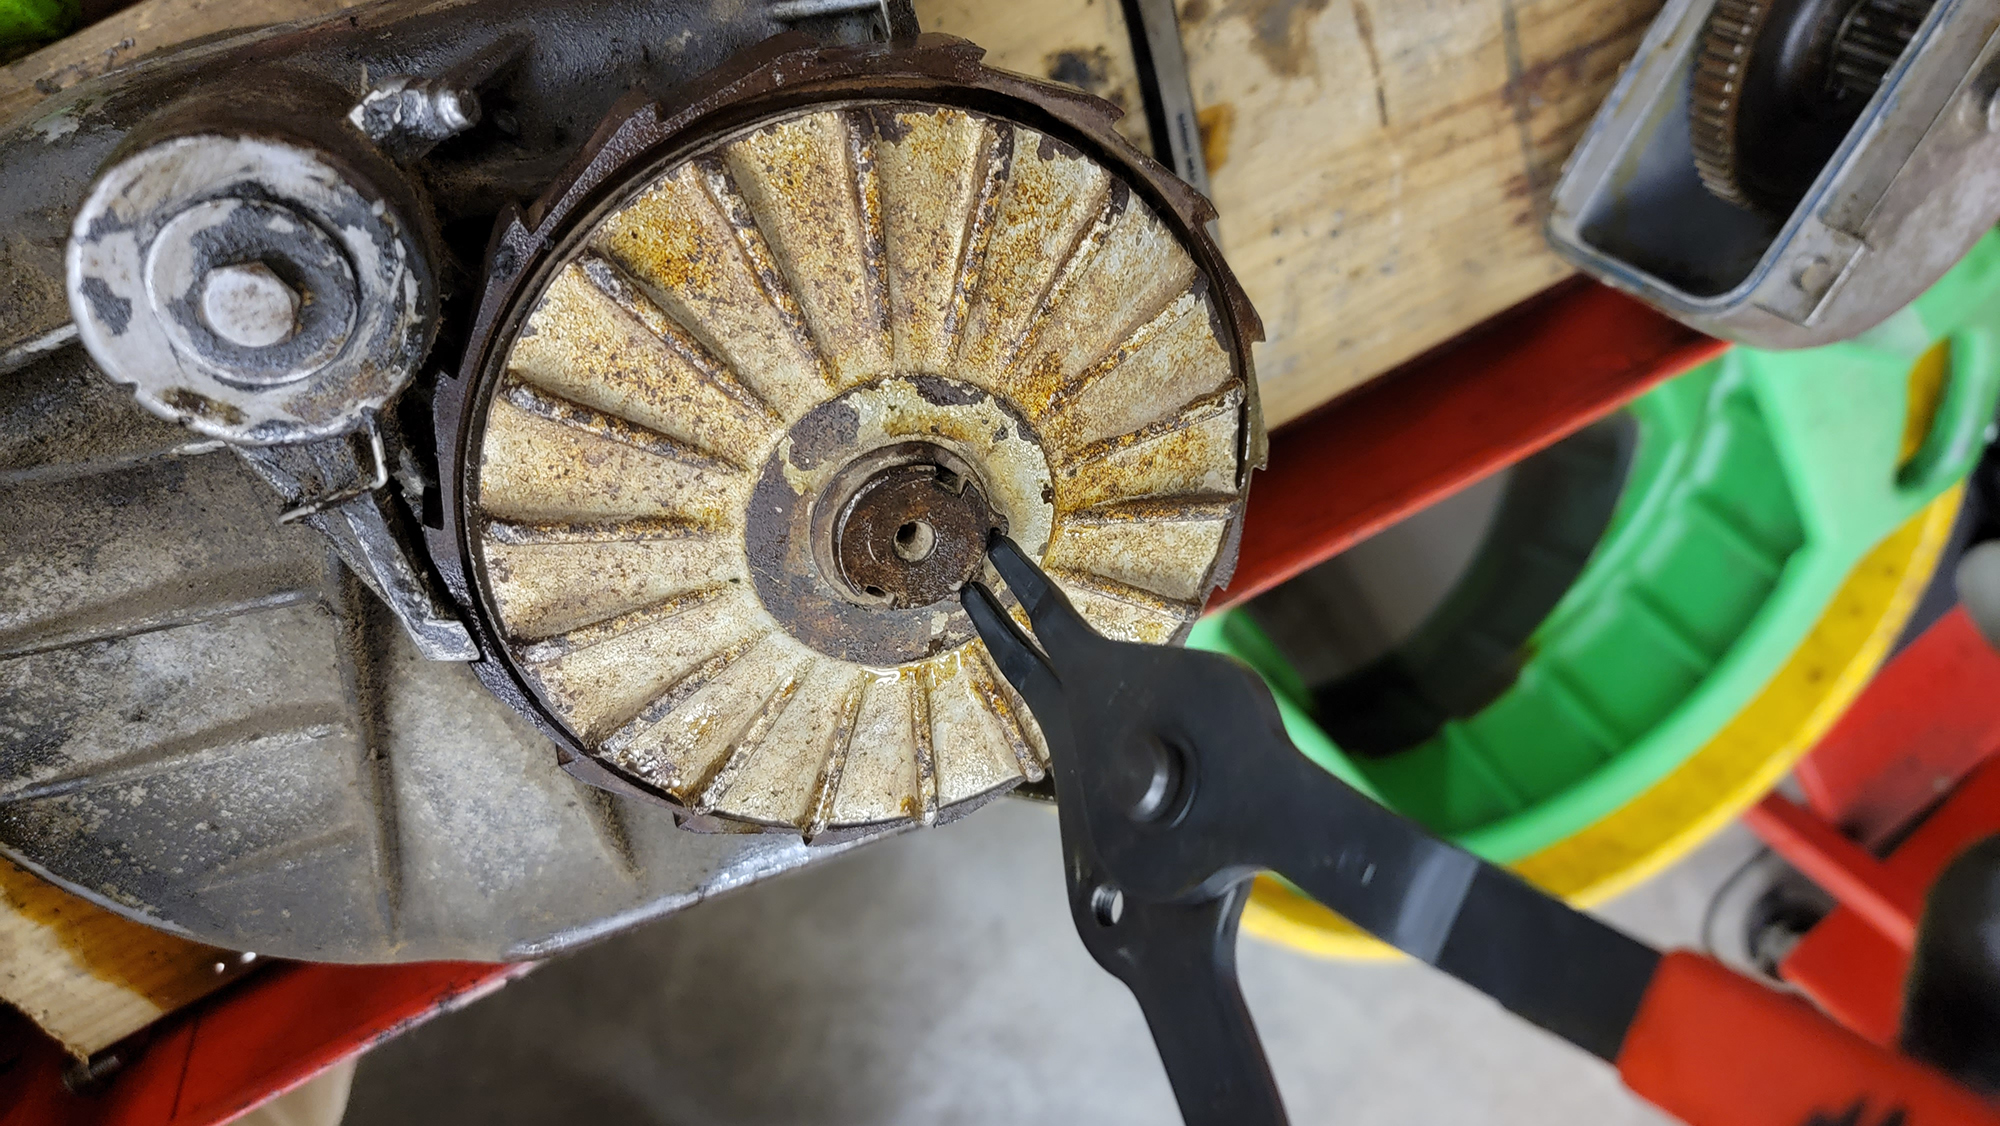
In fact, it was so frozen in place that it snapped during removal, with very little force applied.
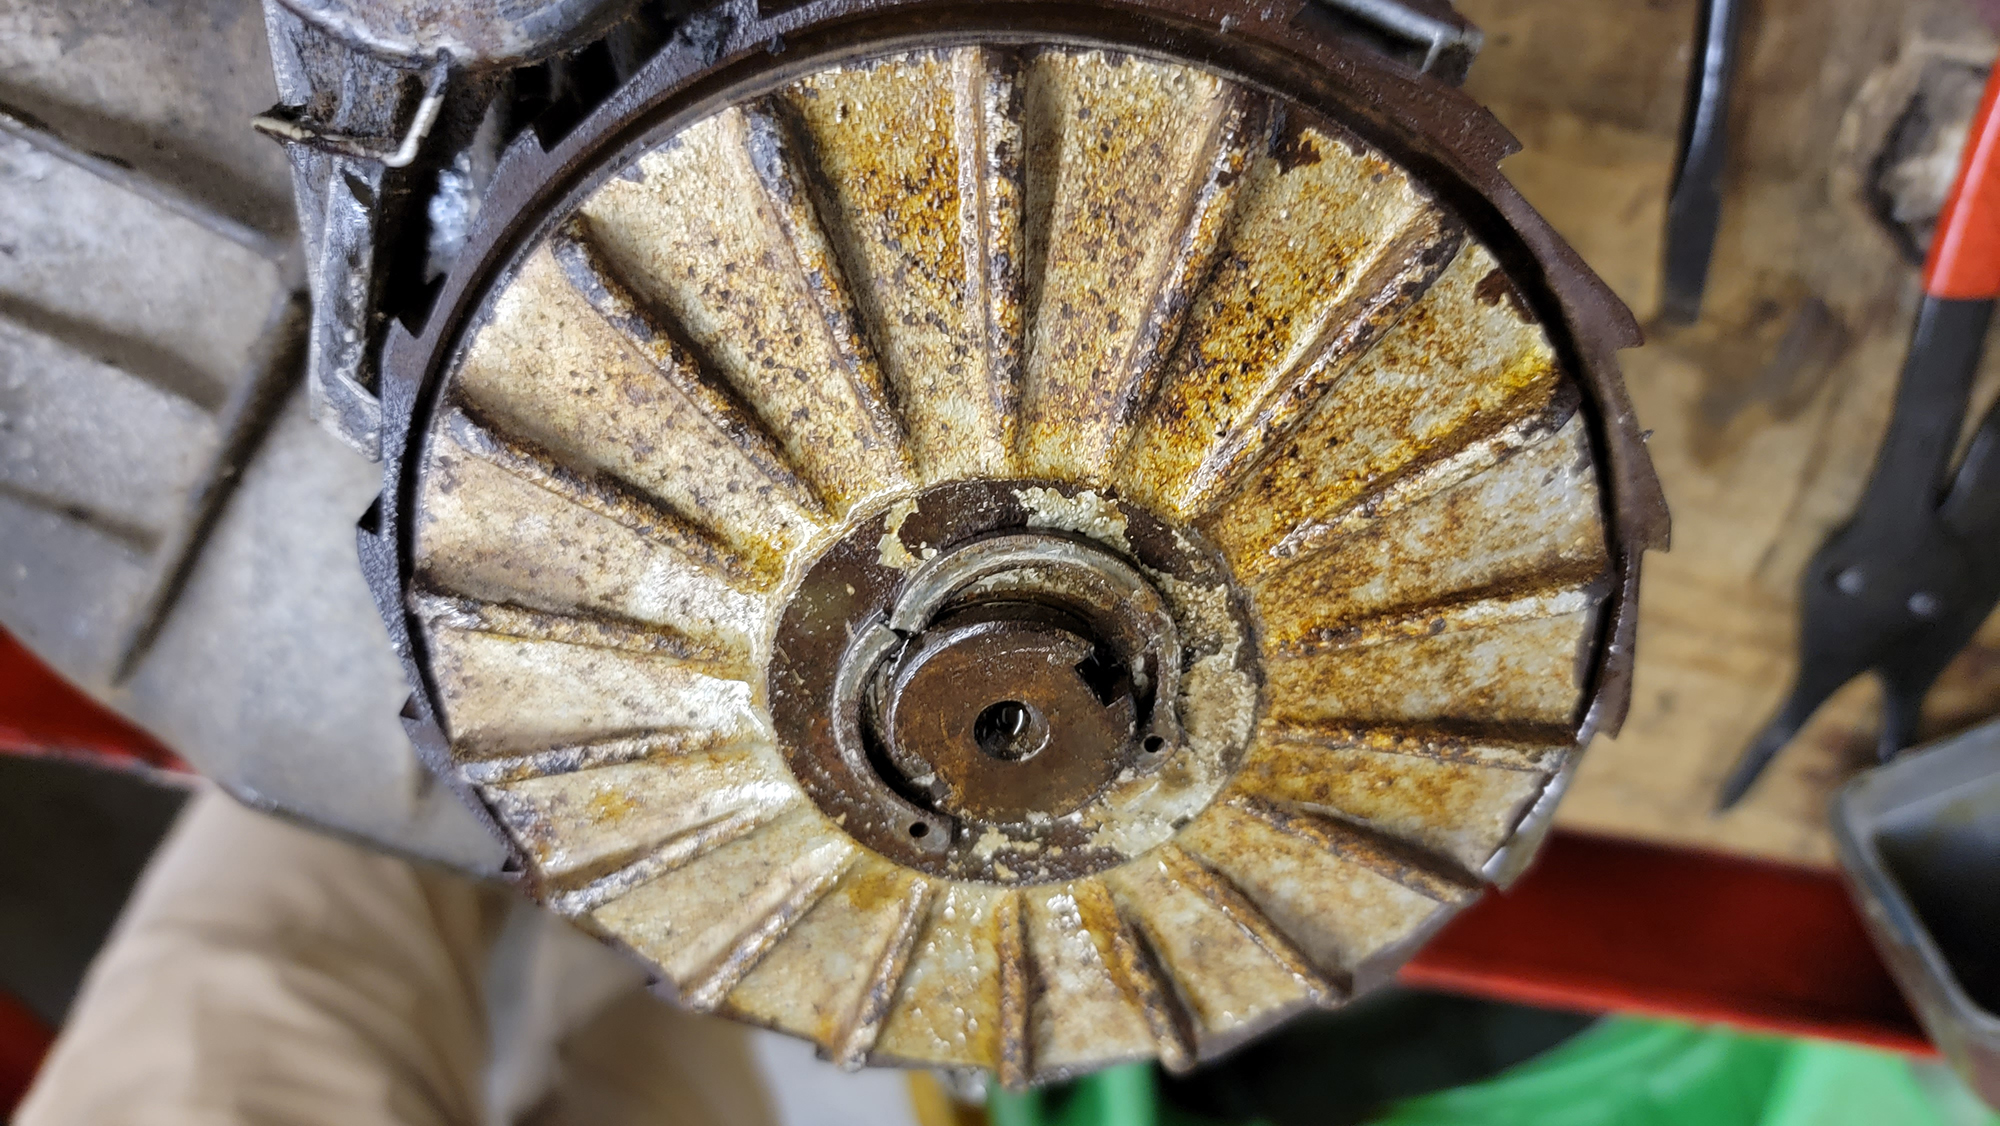
There was probably little chance of this particular brake assembly falling apart, though, as it was firmly seized on the shaft and would take a lot of work to remove. This assembly needs service from time to time, and the friction material, various springs and ball bearings inside it all come in a rebuild kit that Quadratec offers.

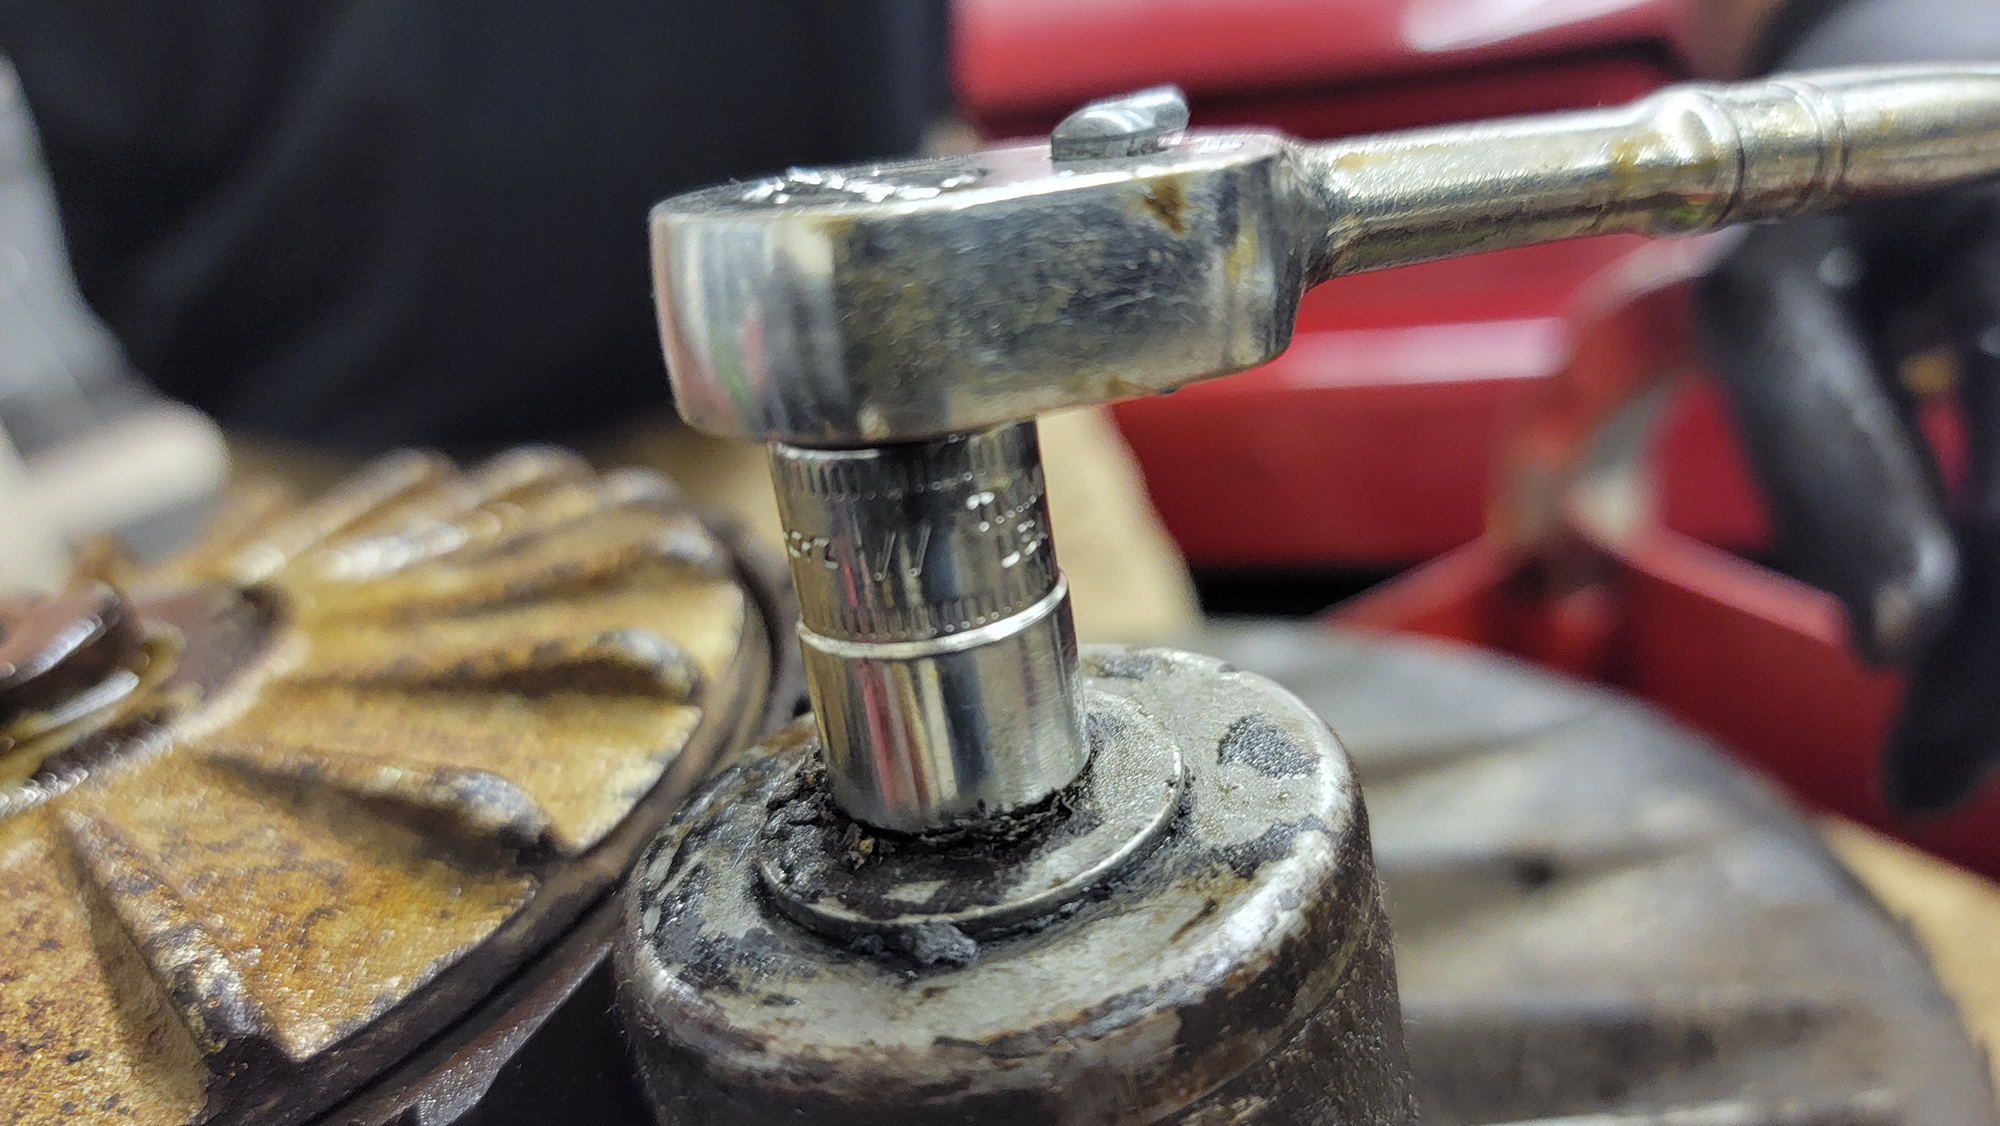
This spring-loaded pawl engages the toothed gear on the outside of the brake and has a grease fitting on the outside.
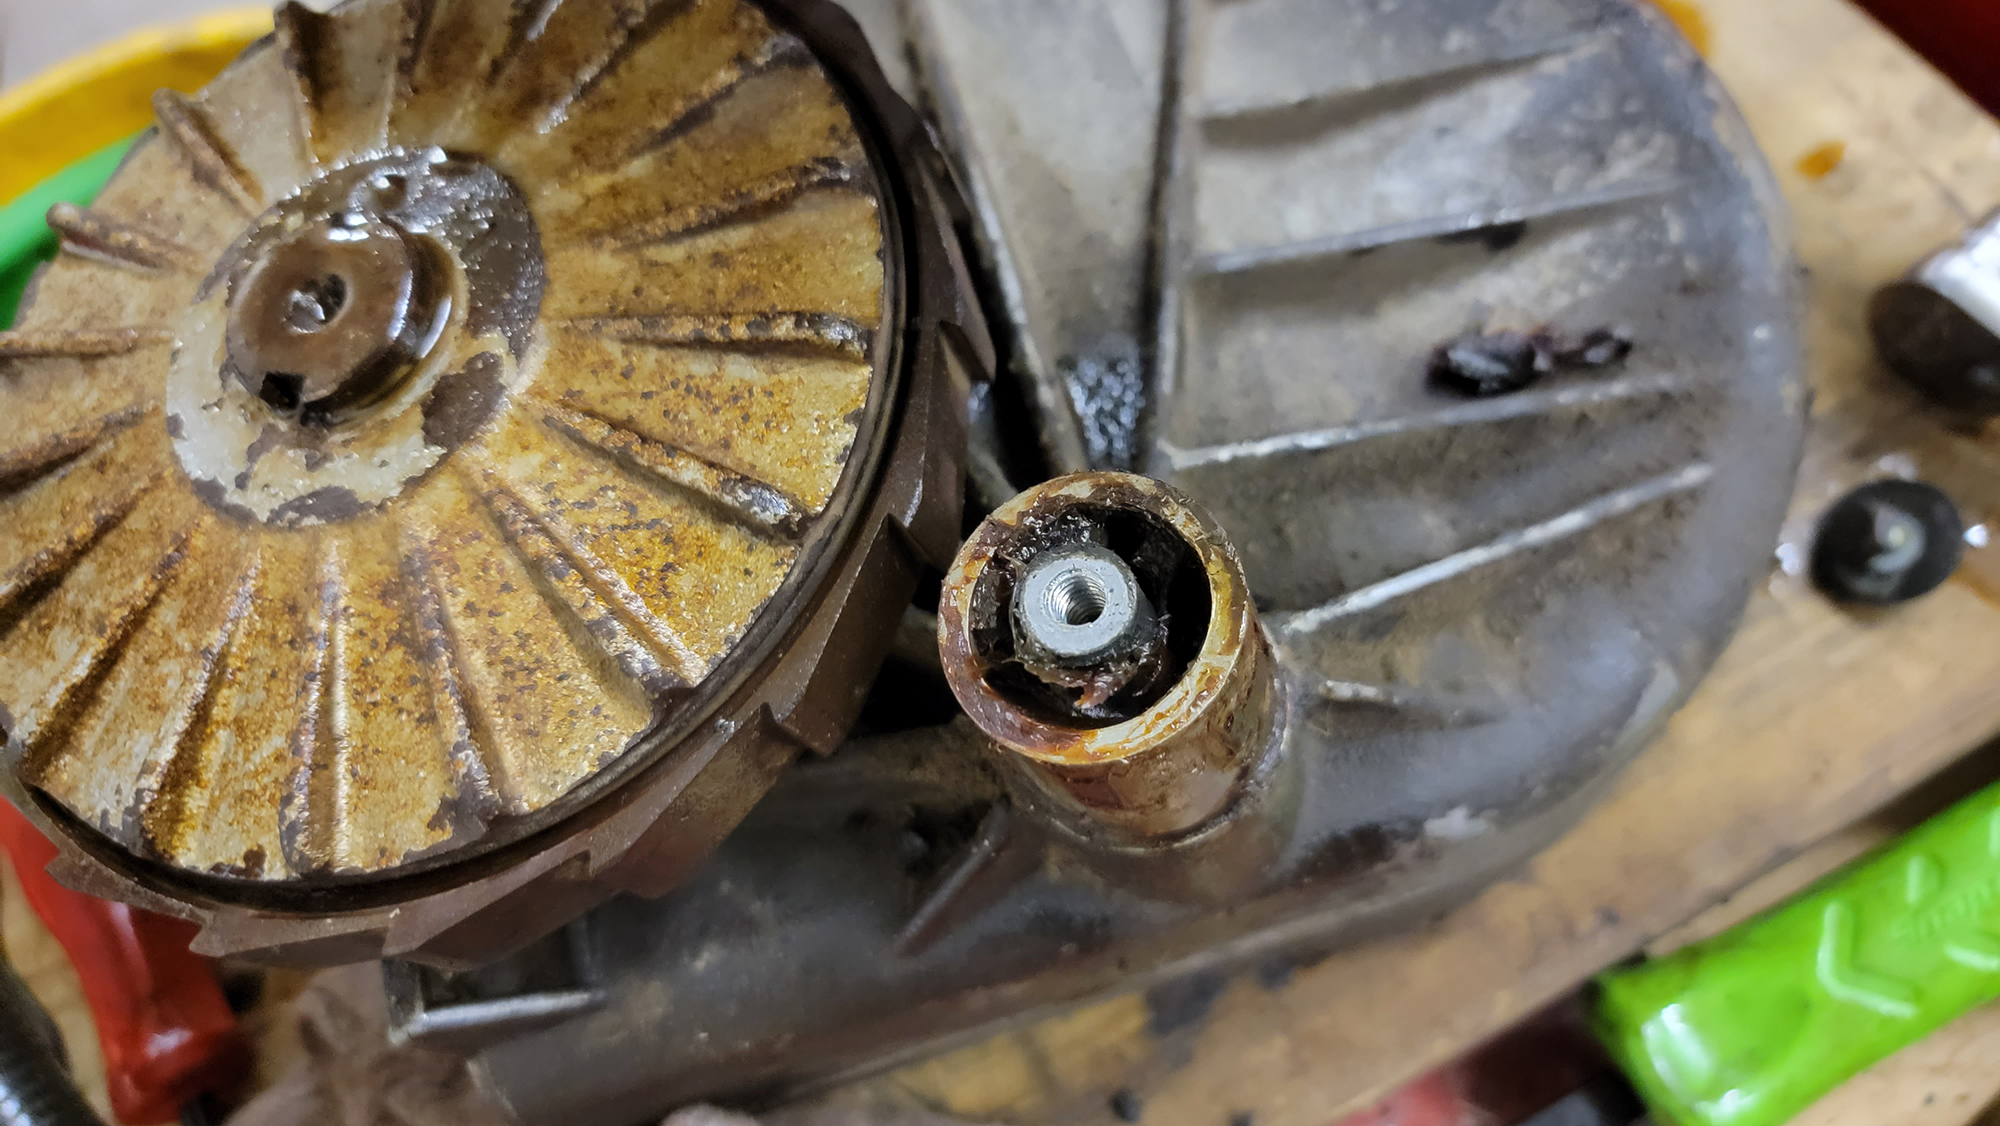
On the inside, we need to remove decades of solidified grease before reassembly. Luckily the parts seem to be in serviceable condition, so we will be able to safely reuse the components.
Coming soon in part two of this series, we will remove the stuck brake assembly from the main shaft and take a closer look at the internals.
Once everything has been thoroughly cleaned and inspected, we’ll select new parts and continue restoring this icon of off-road recovery to a stronger-than-showroom status.
