by Josh Wayman
Torque Staff Writer
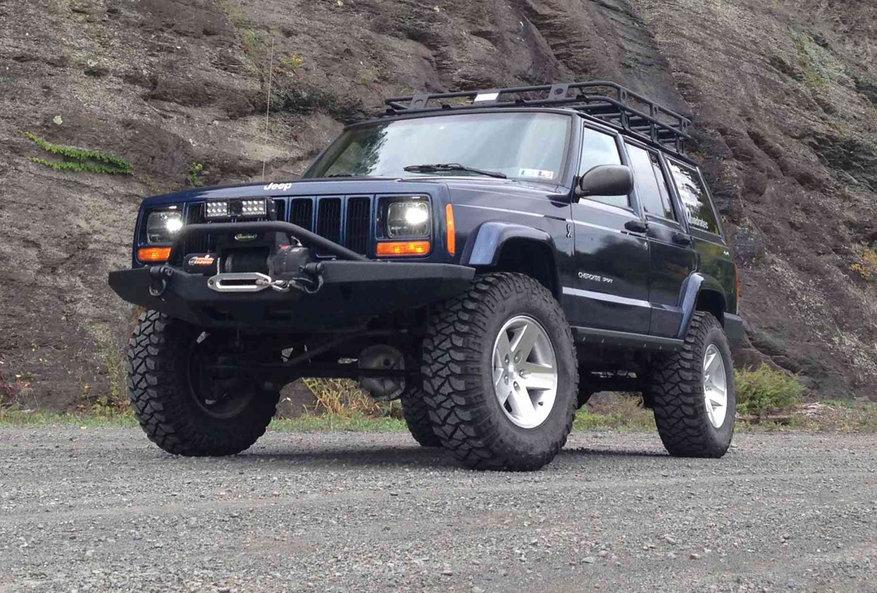
Recently, the odometer on my 2001 Cherokee XJ hit 218,000 miles. Now, this is not a particularly rare feat for an XJ as many have crossed that 200,000 mile threshold, and it’s not uncommon to see one to reach even 300,000 miles or beyond.
This longevity is mostly attained because of an unkillable AMC 4.0-liter inline-six engine that powers most XJs on the road. But if you want your vehicle to keep running this long, then maintenance is a must. And the most routine and important bit you’ll need to perform is regularly changing your XJ’s oil.
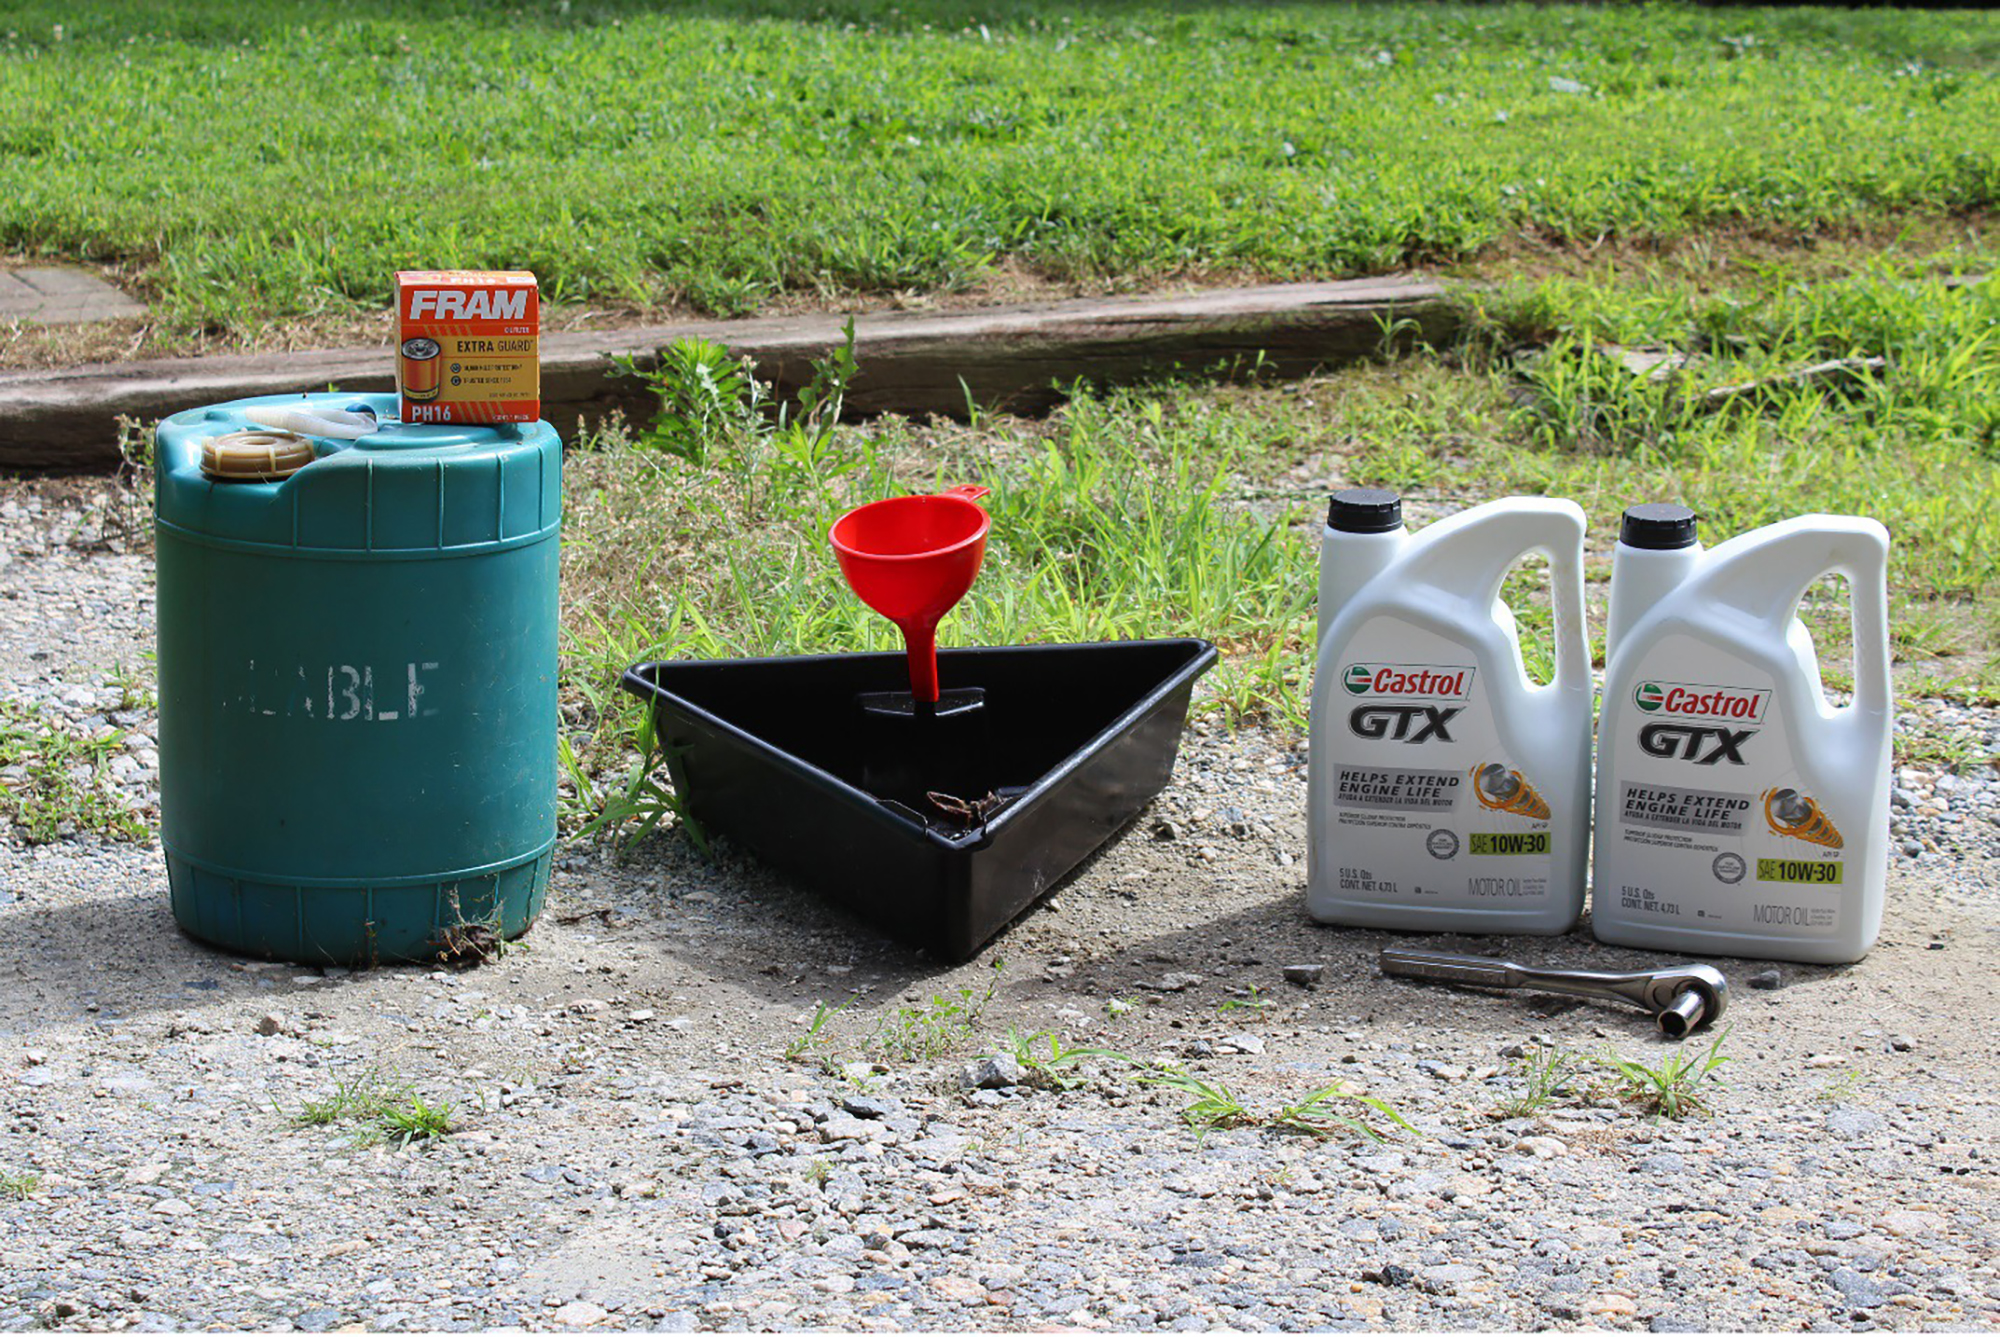
What You Will Need
- 6 quarts of 10W-30 Motor Oil 52250.9000
- New Oil Filter
- Ratchet Wrench
- 5/8” or 14mm Socket, depending on model year
- Oil Filter Socket or Metal Band Wrench
- Drain Pan
- Rubber Gloves
- Paper Towels
Instructions
Before working on your XJ, especially for any job that requires getting underneath the vehicle, put it into park, set your parking brake and place chocks behind each wheel. Additionally, make sure to park on a flat, level surface.
Thanks to the XJ’s exceptional ground clearance, it isn’t necessary to jack the vehicle up to change the oil. However, if you prefer to place it on jack stands, or if you’re lucky enough to have a garage lift, then that extra clearance isn’t a bad thing.
Also, before you begin, make sure to gather all necessary supplies so they are readily available. It’s just good practice to have everything you need within easy reach.
So, when you are all set to change the oil, run your engine first for a few minutes to warm the oil so it drains easier. Be sure not to run it for too long, as you may burn yourself or have trouble removing the engine oil cap.
Next, remove the engine oil cap from the top of the valve cover to allow for better airflow while draining your oil.
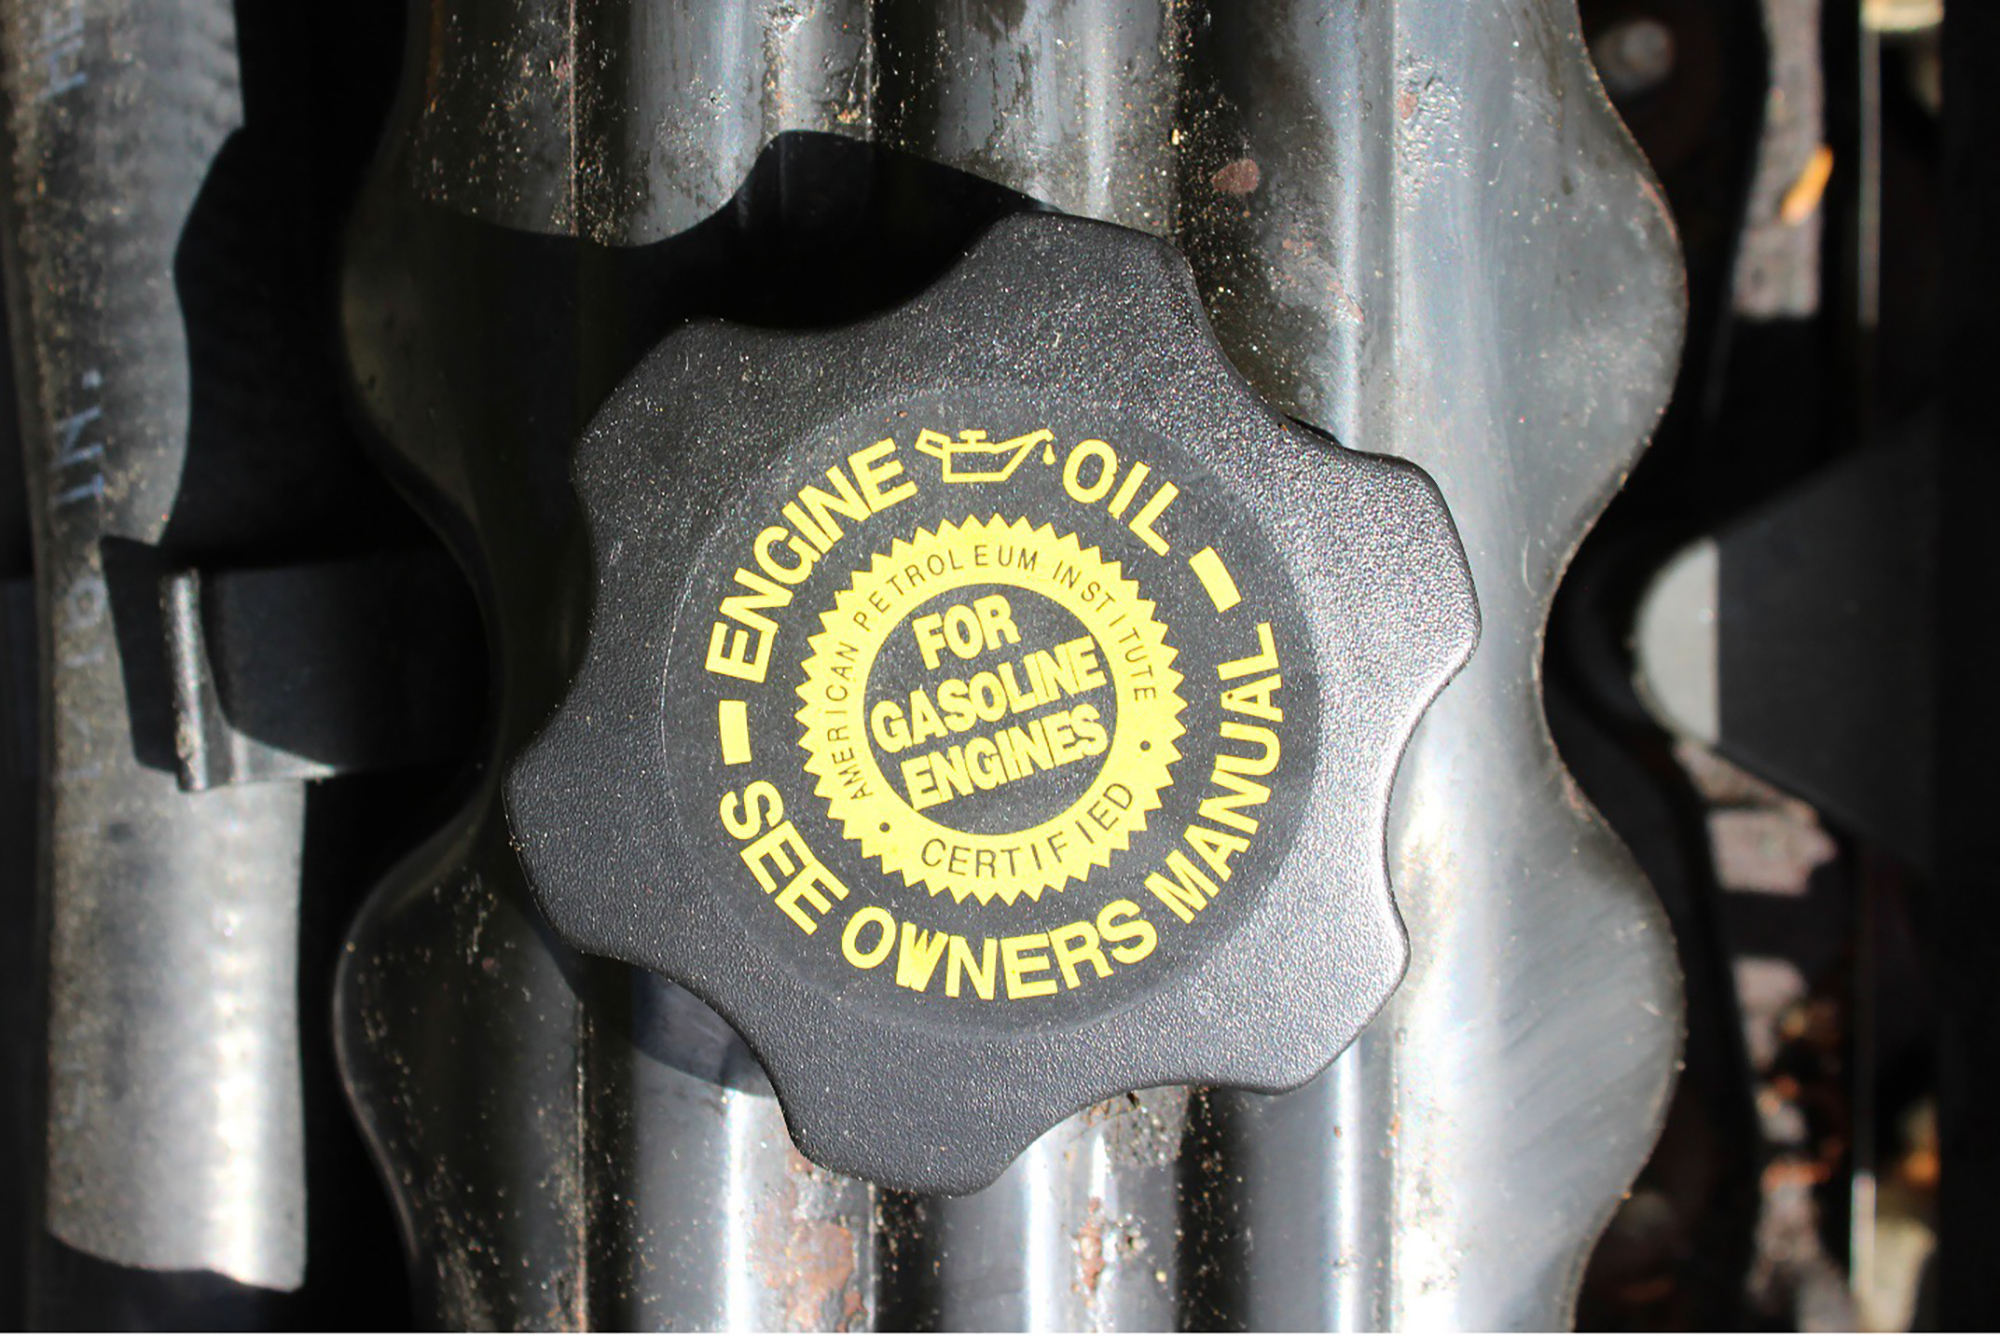
Then, place your funnel in the oil filler hole to prevent debris from falling into your engine while you’re underneath the vehicle.
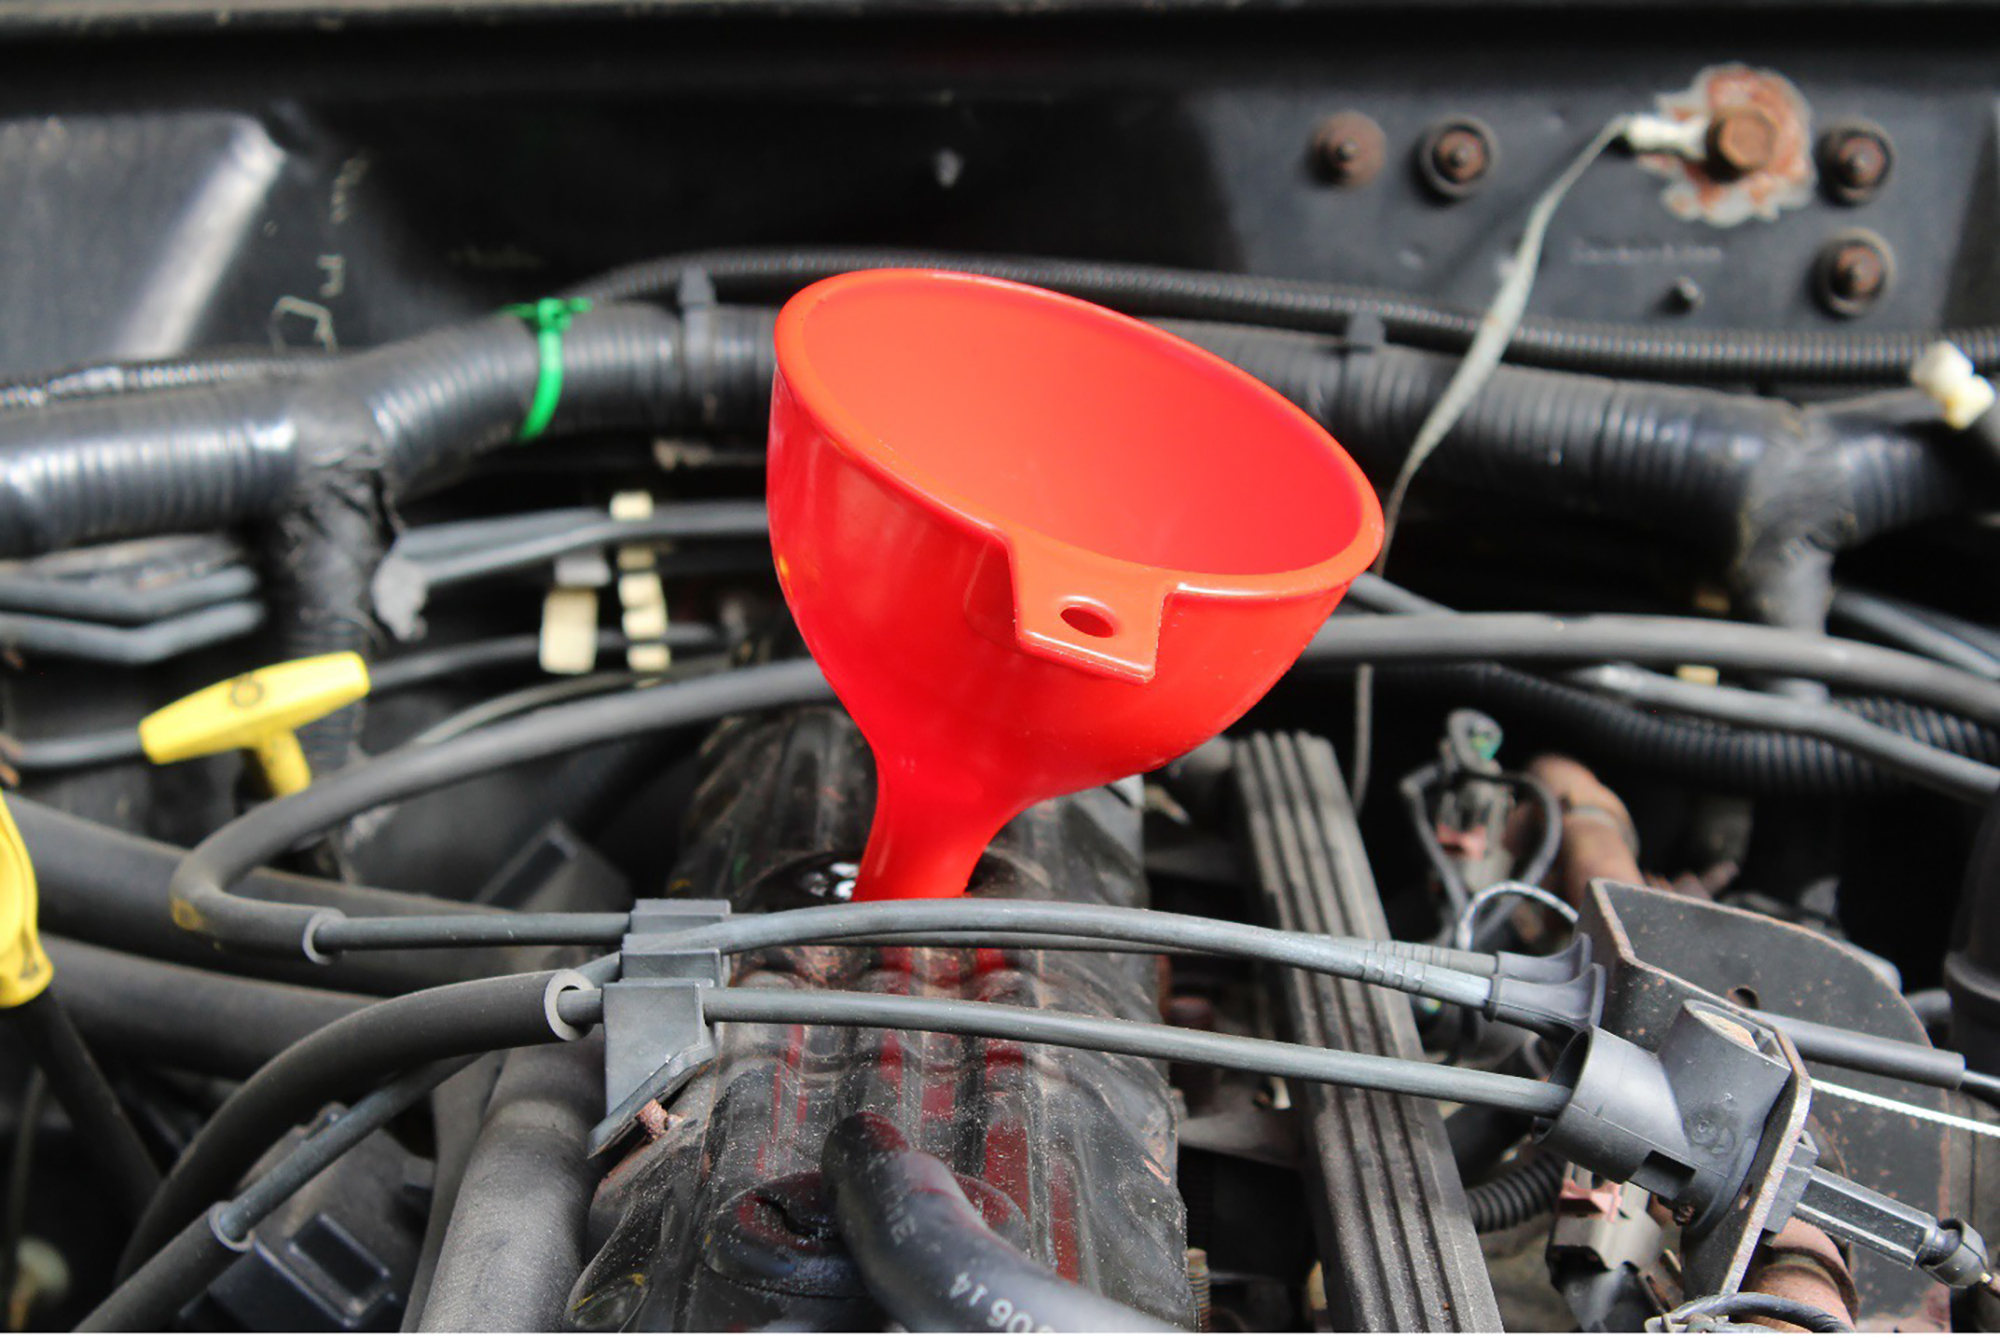
Place your oil drain pan underneath the oil pan. If you’re working in a garage, it’s a good idea to put newspapers (or some other shielding agent) underneath the drain pan as well.
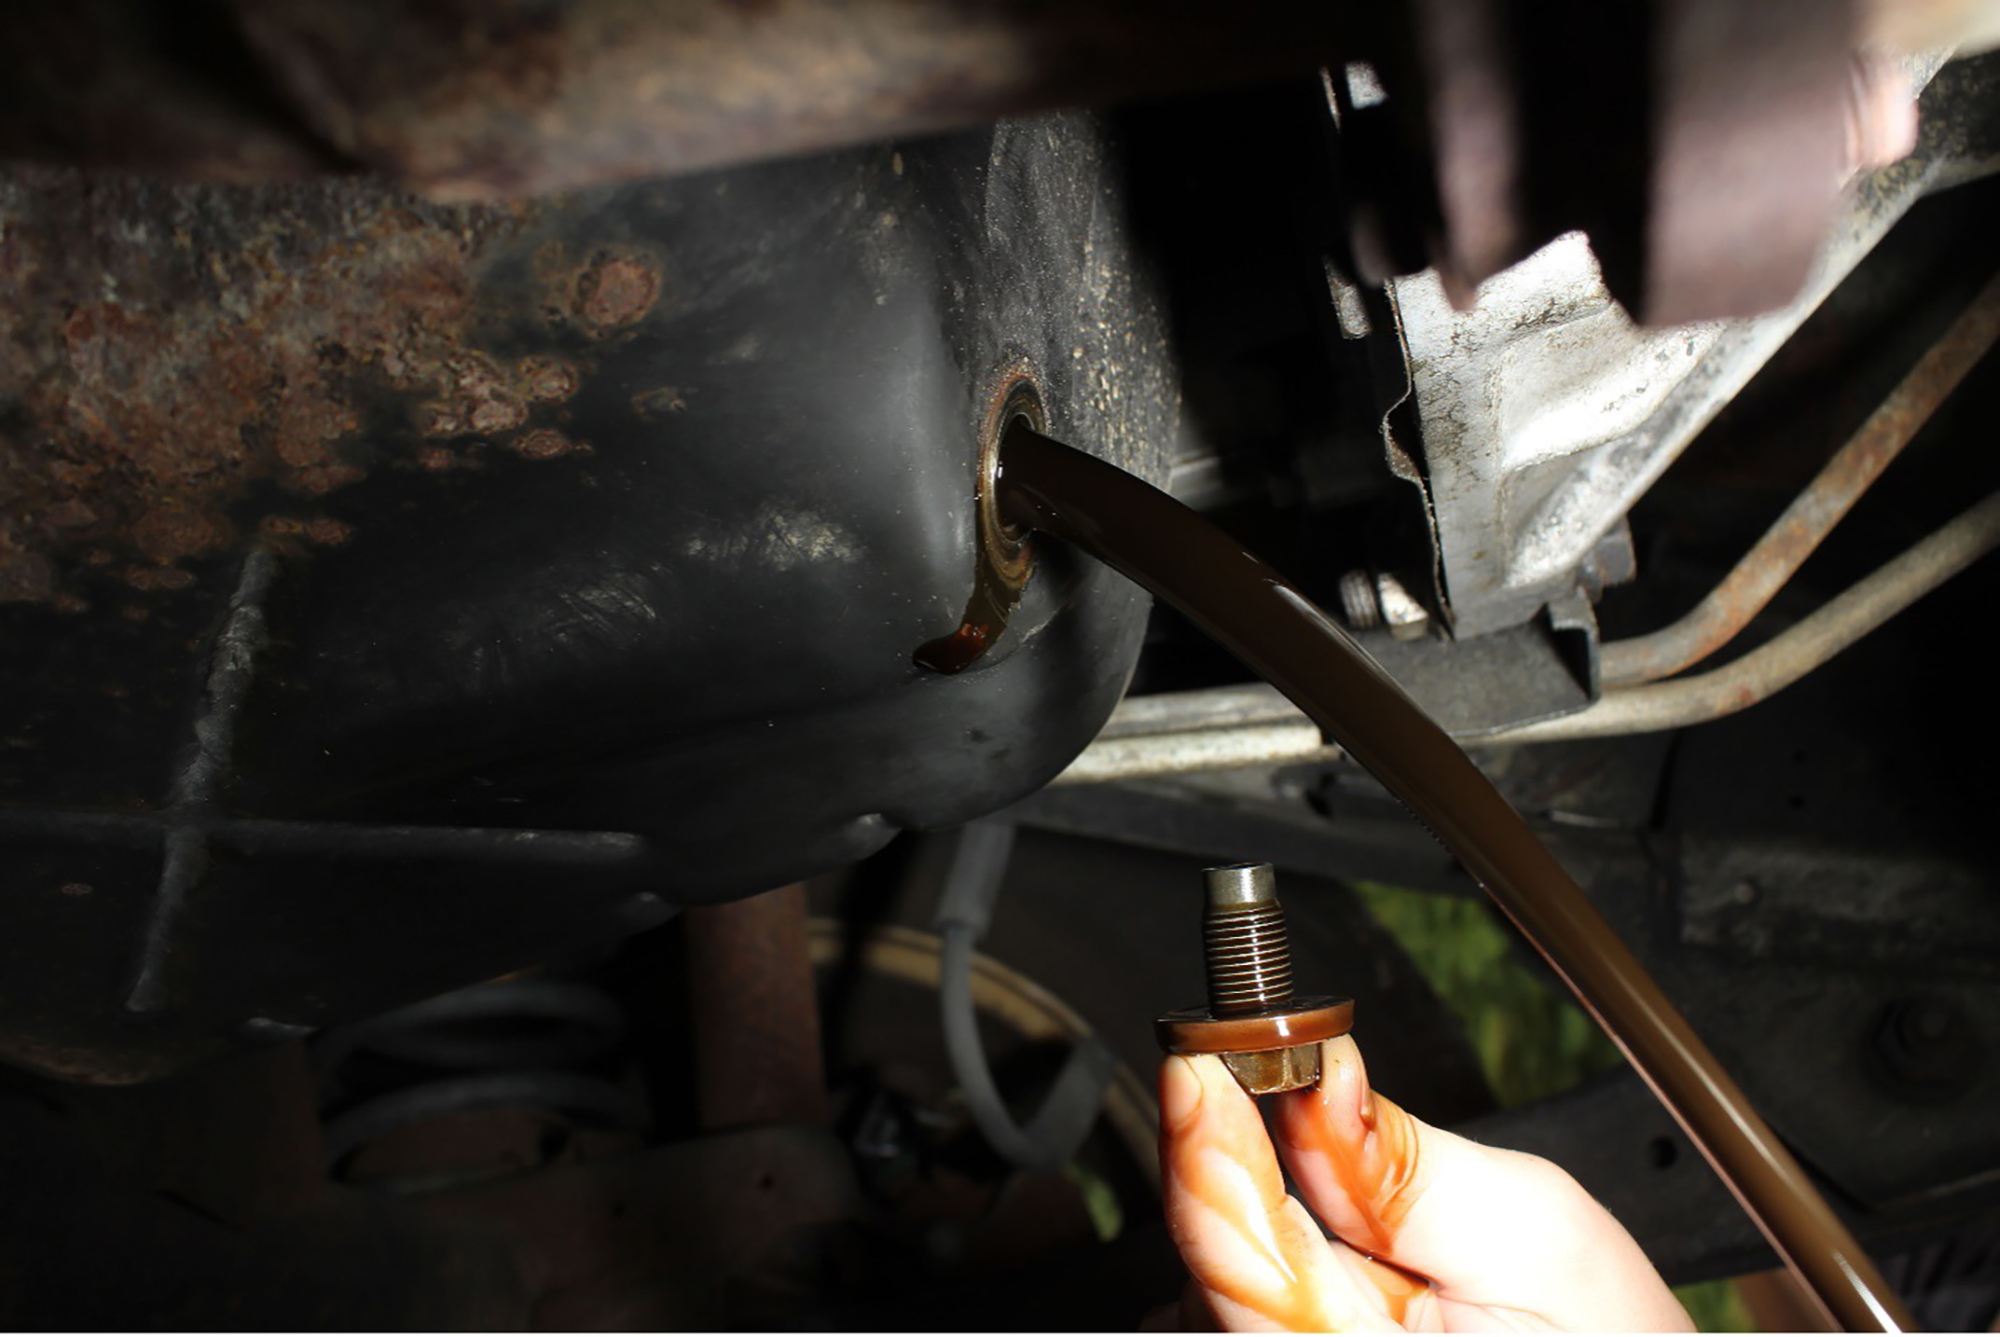
Using a 5/8” or 14mm socket wrench, loosen the oil pan drain plug until it is finger tight. Remove it the rest of the way with your fingers.
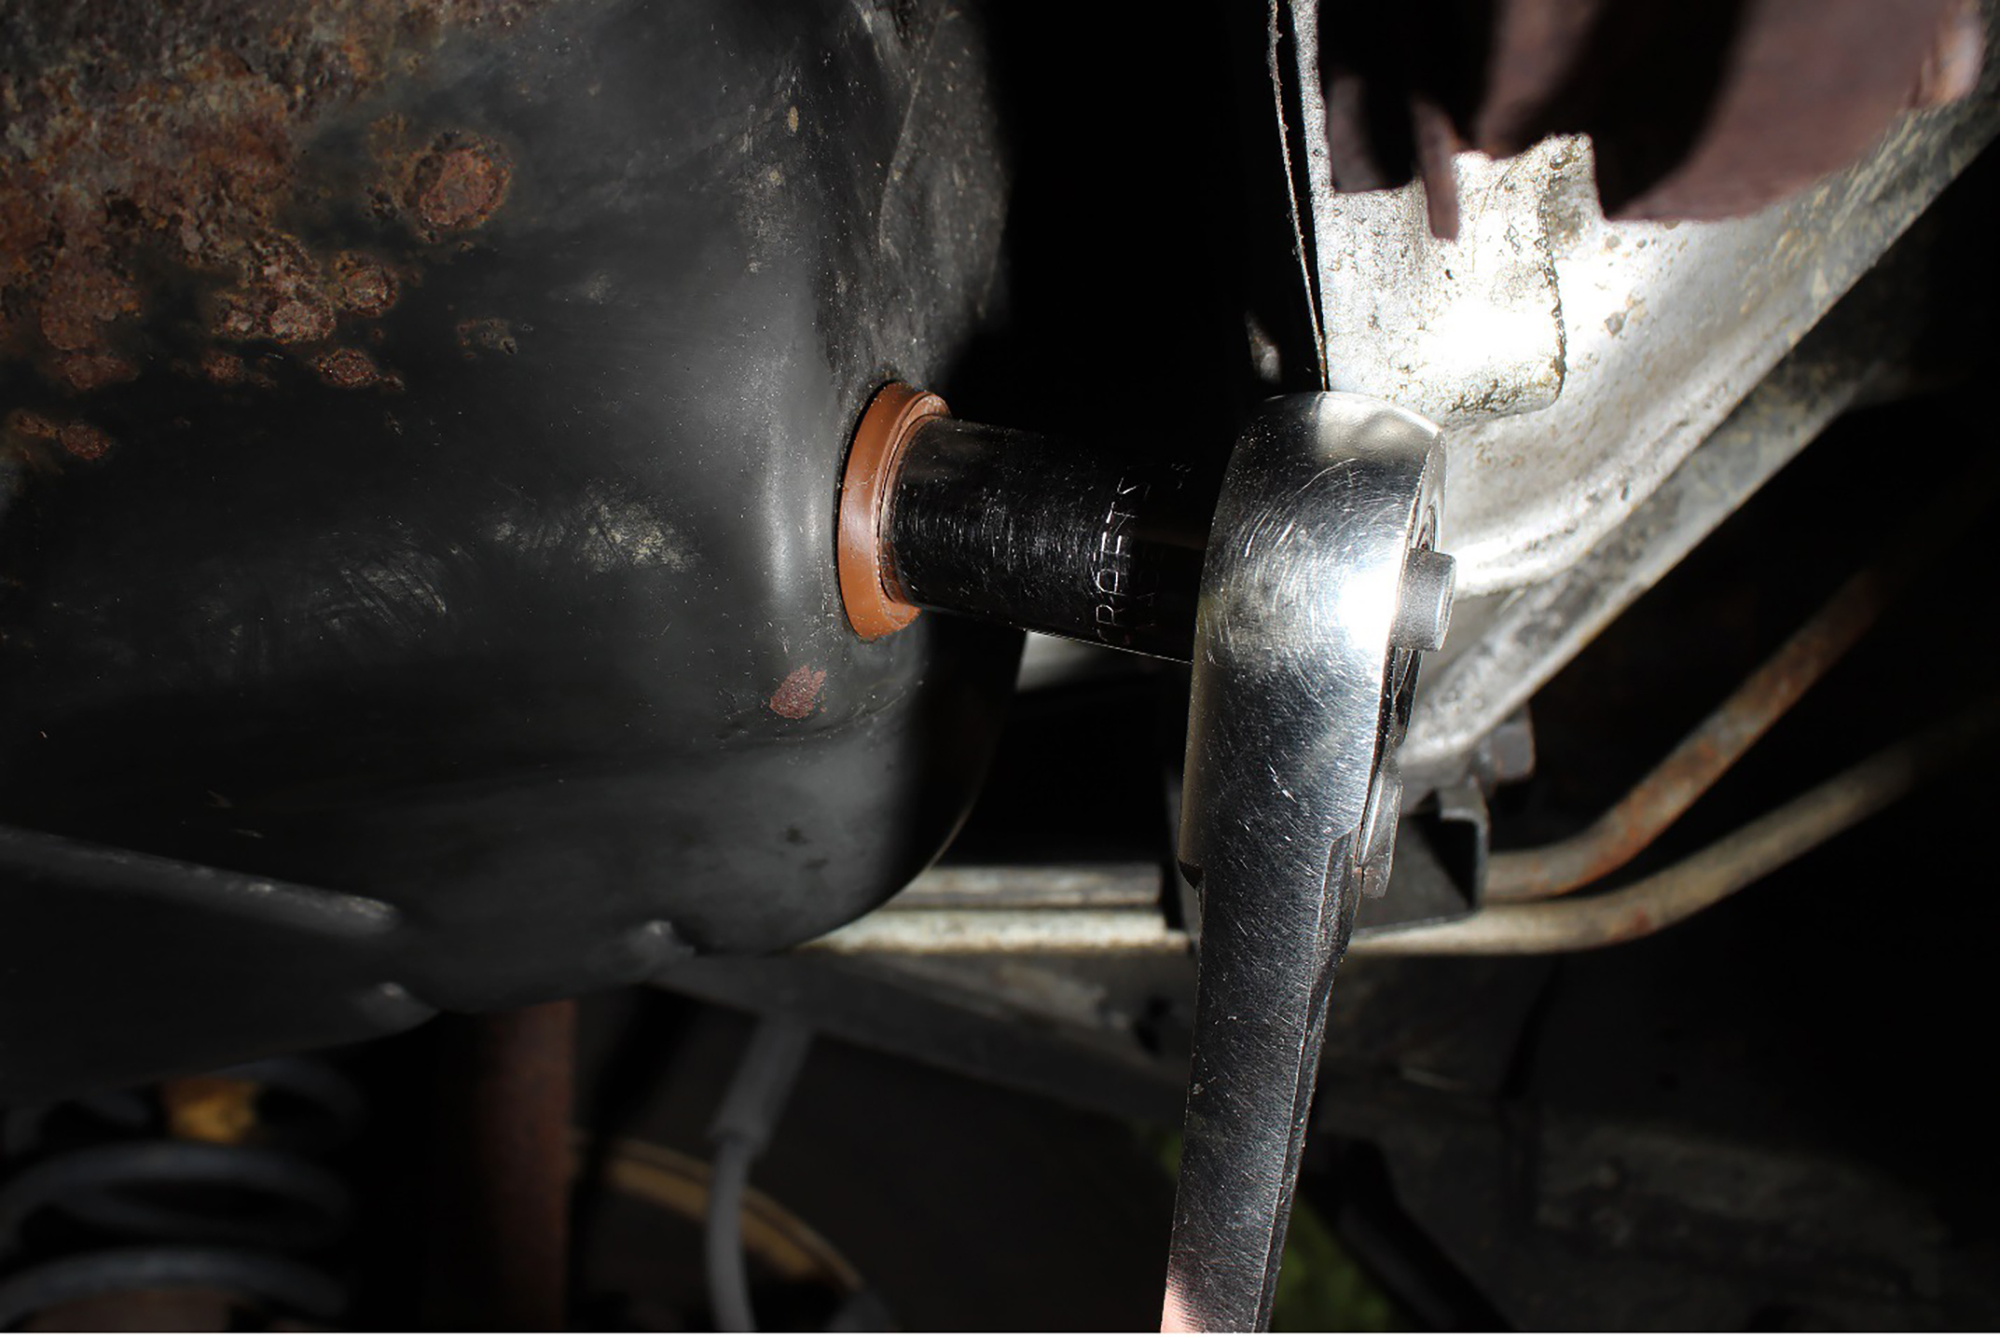
Now, wait for the oil to drain into the drain pan. Once it has completely drained, insert and tighten the oil pan drain plug.
When that process is complete, next remove the oil filter. If it cannot be removed by hand, use an oil filter socket on your ratchet wrench or a metal band wrench. Depending on the size of your oil drain pan, you may need to reposition it to catch any spillage from your old oil filter. Additionally, your old oil filter may be a different brand or color than the Fram I use.
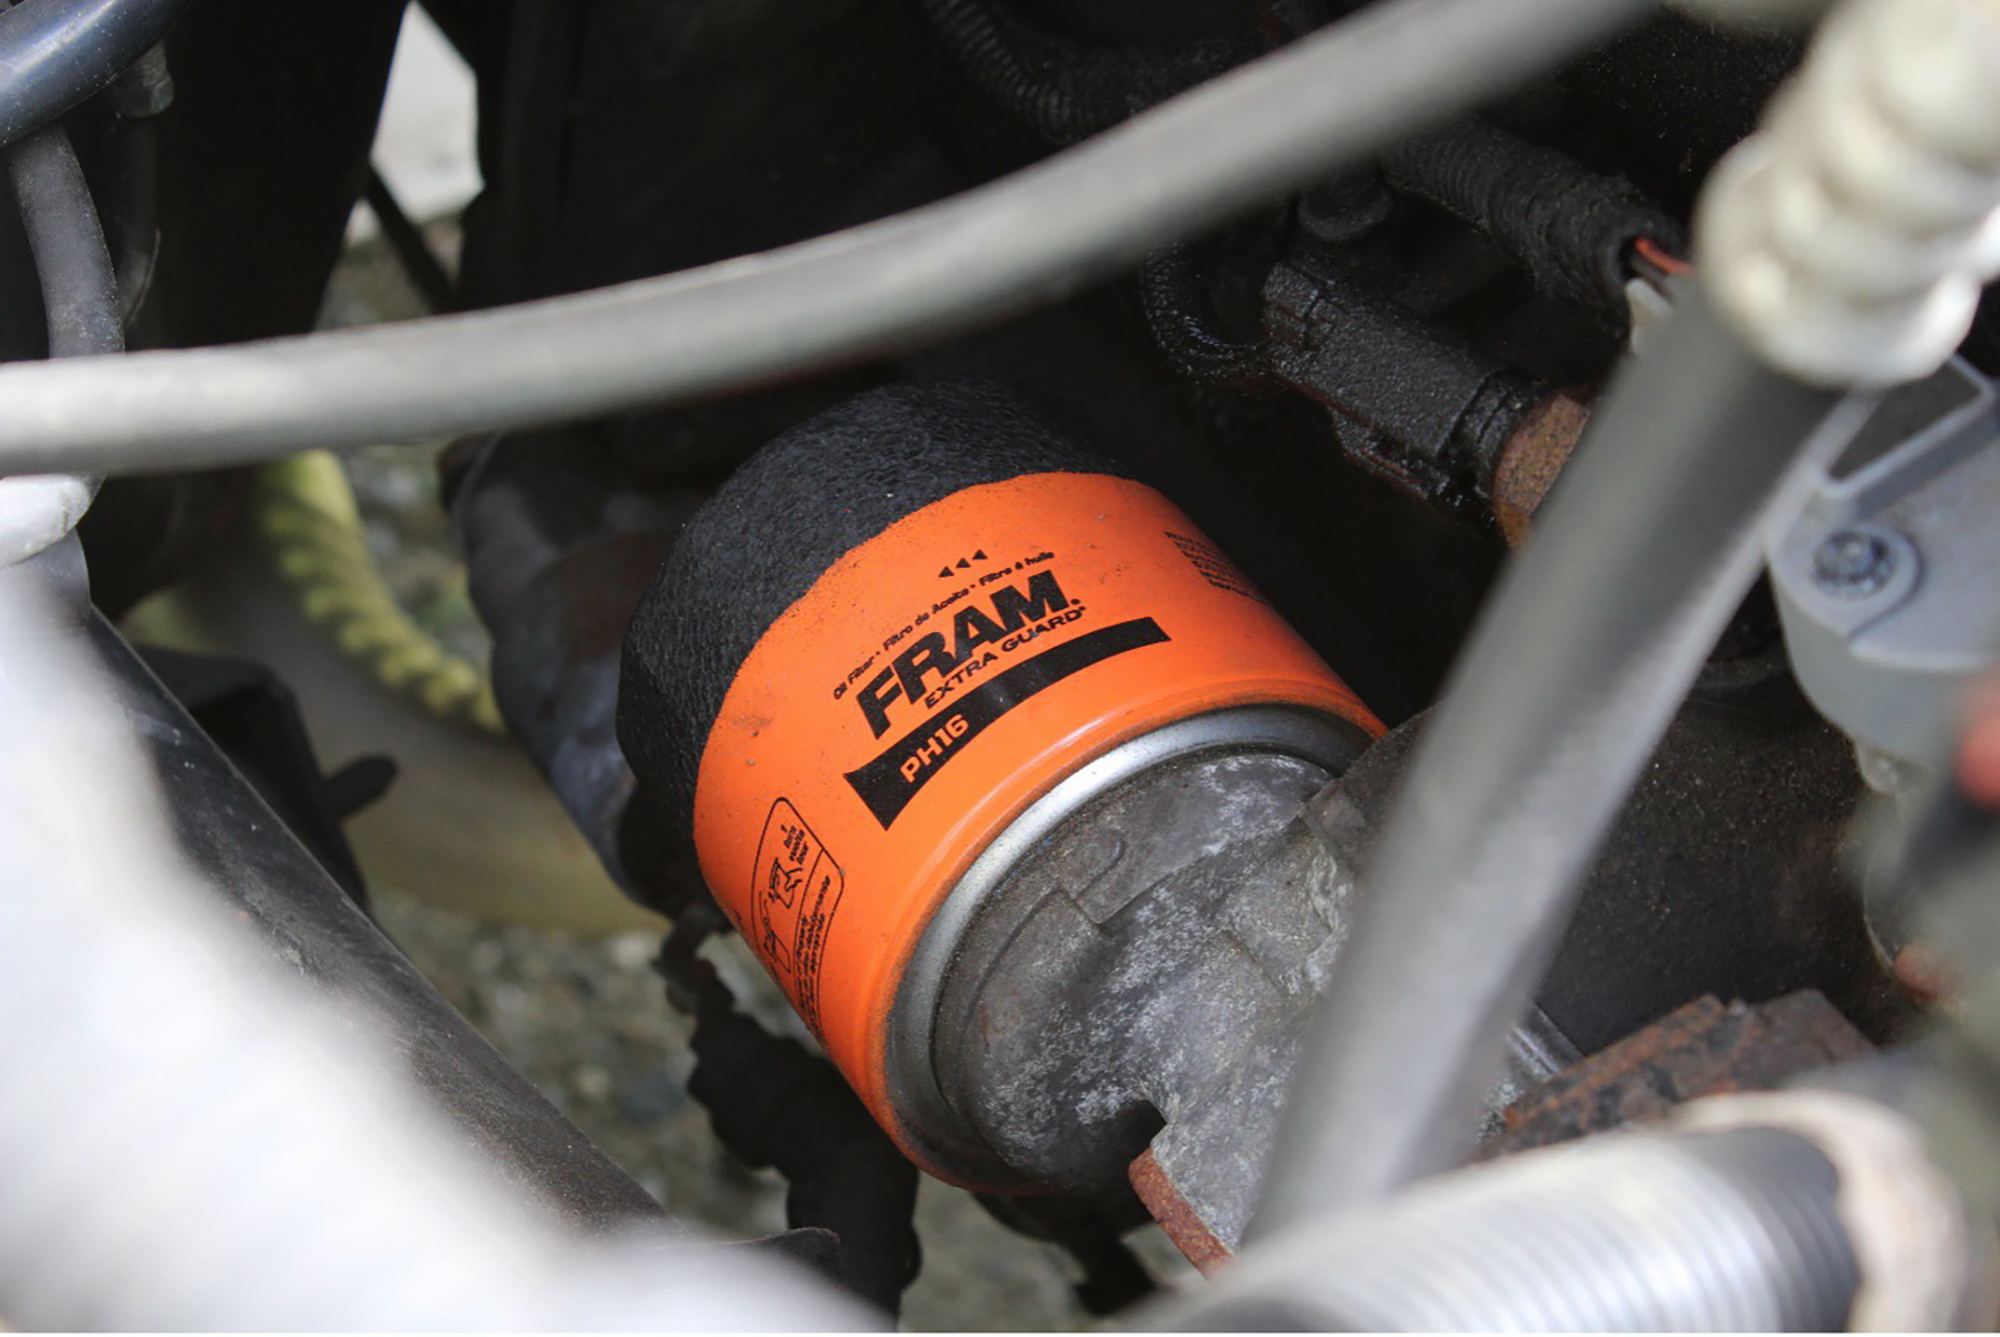
After the old filter is removed, take your new oil filter out of the package and dip your fingers or a clean shop cloth in your new engine oil. Lightly coat the rubber gasket of your new oil filter with that oil. This provides a better seal and less leaks, and it will make that filter easier to remove the next time you change your oil.
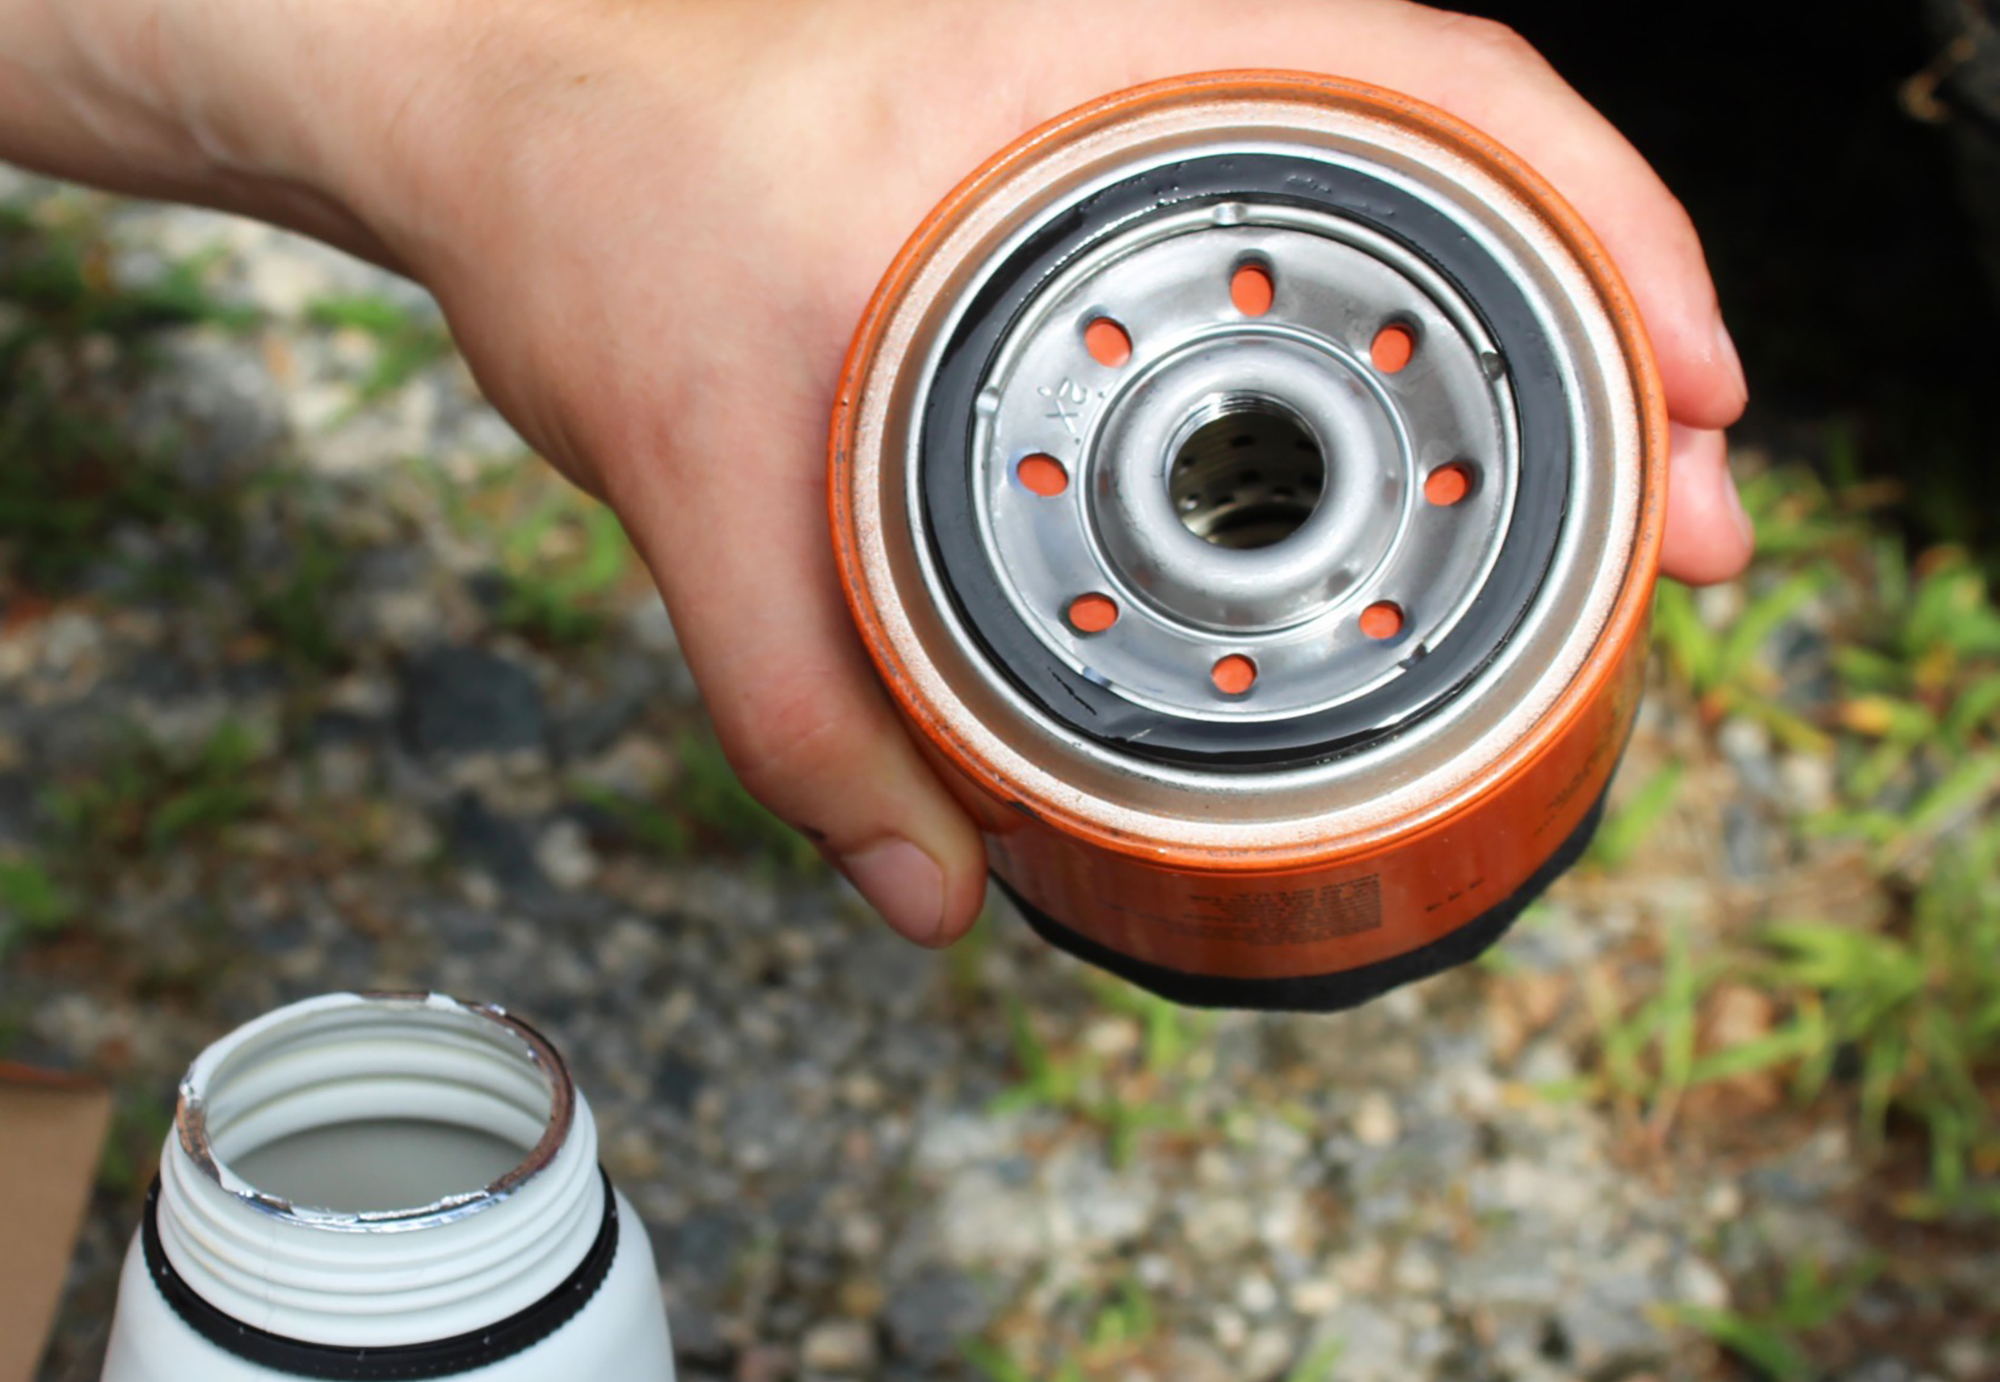
When installing your new oil filter, make sure not to cross thread while tightening. With your oil filter socket or metal band wrench, tighten one turn past hand tight.
Once the new filter is in place, move on to adding that new oil. Pour six quarts of 10W-30 oil into the funnel. If you are using 5 quart jugs, hold it horizontally to get a steadier pour.
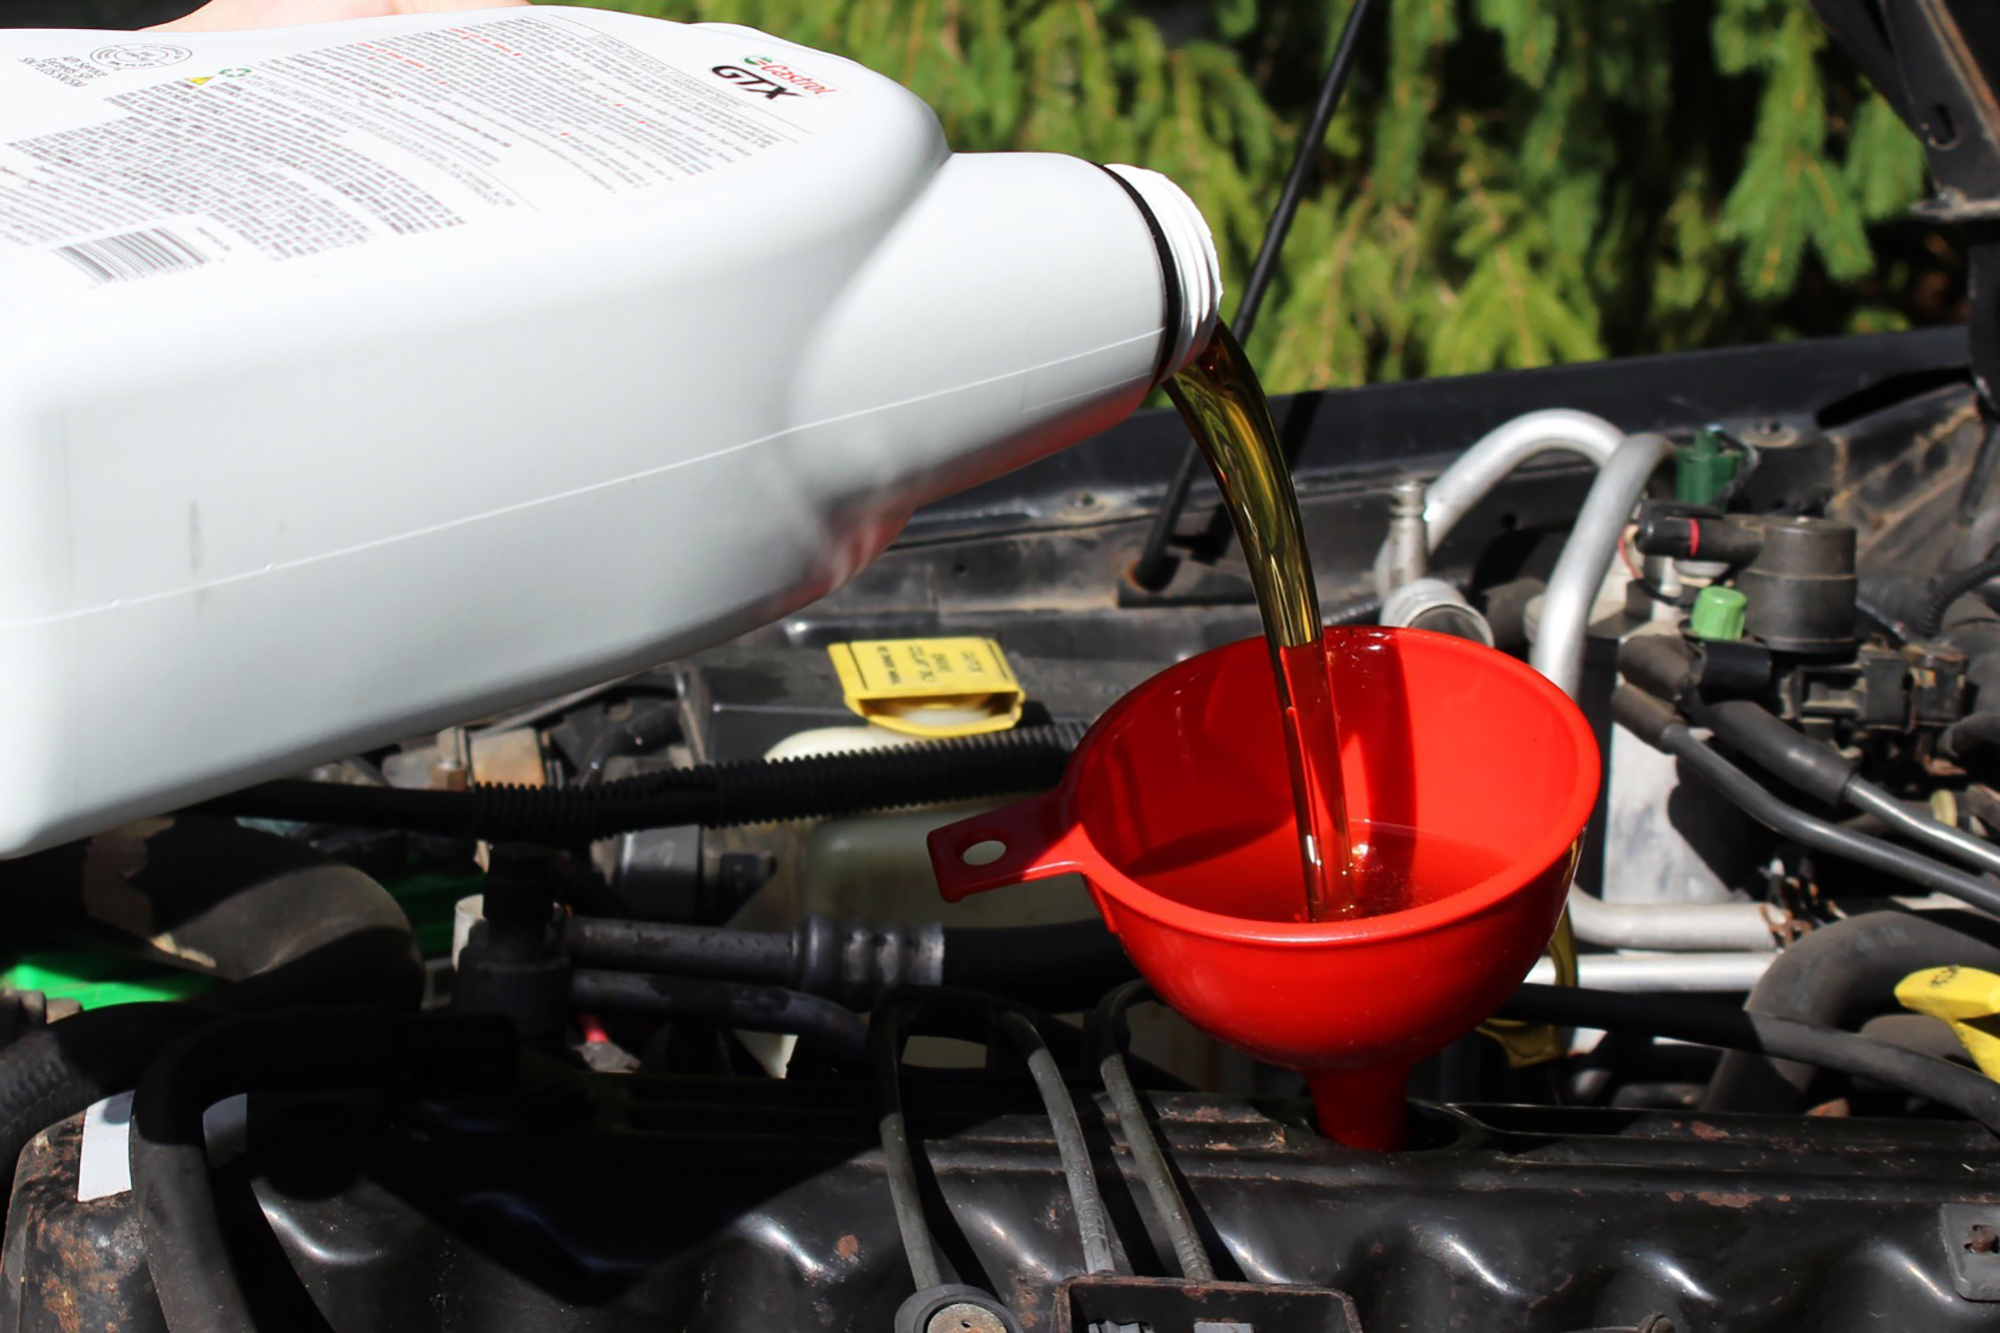
After filling to the correct level, replace your engine oil cap and tighten until it clicks a few times.
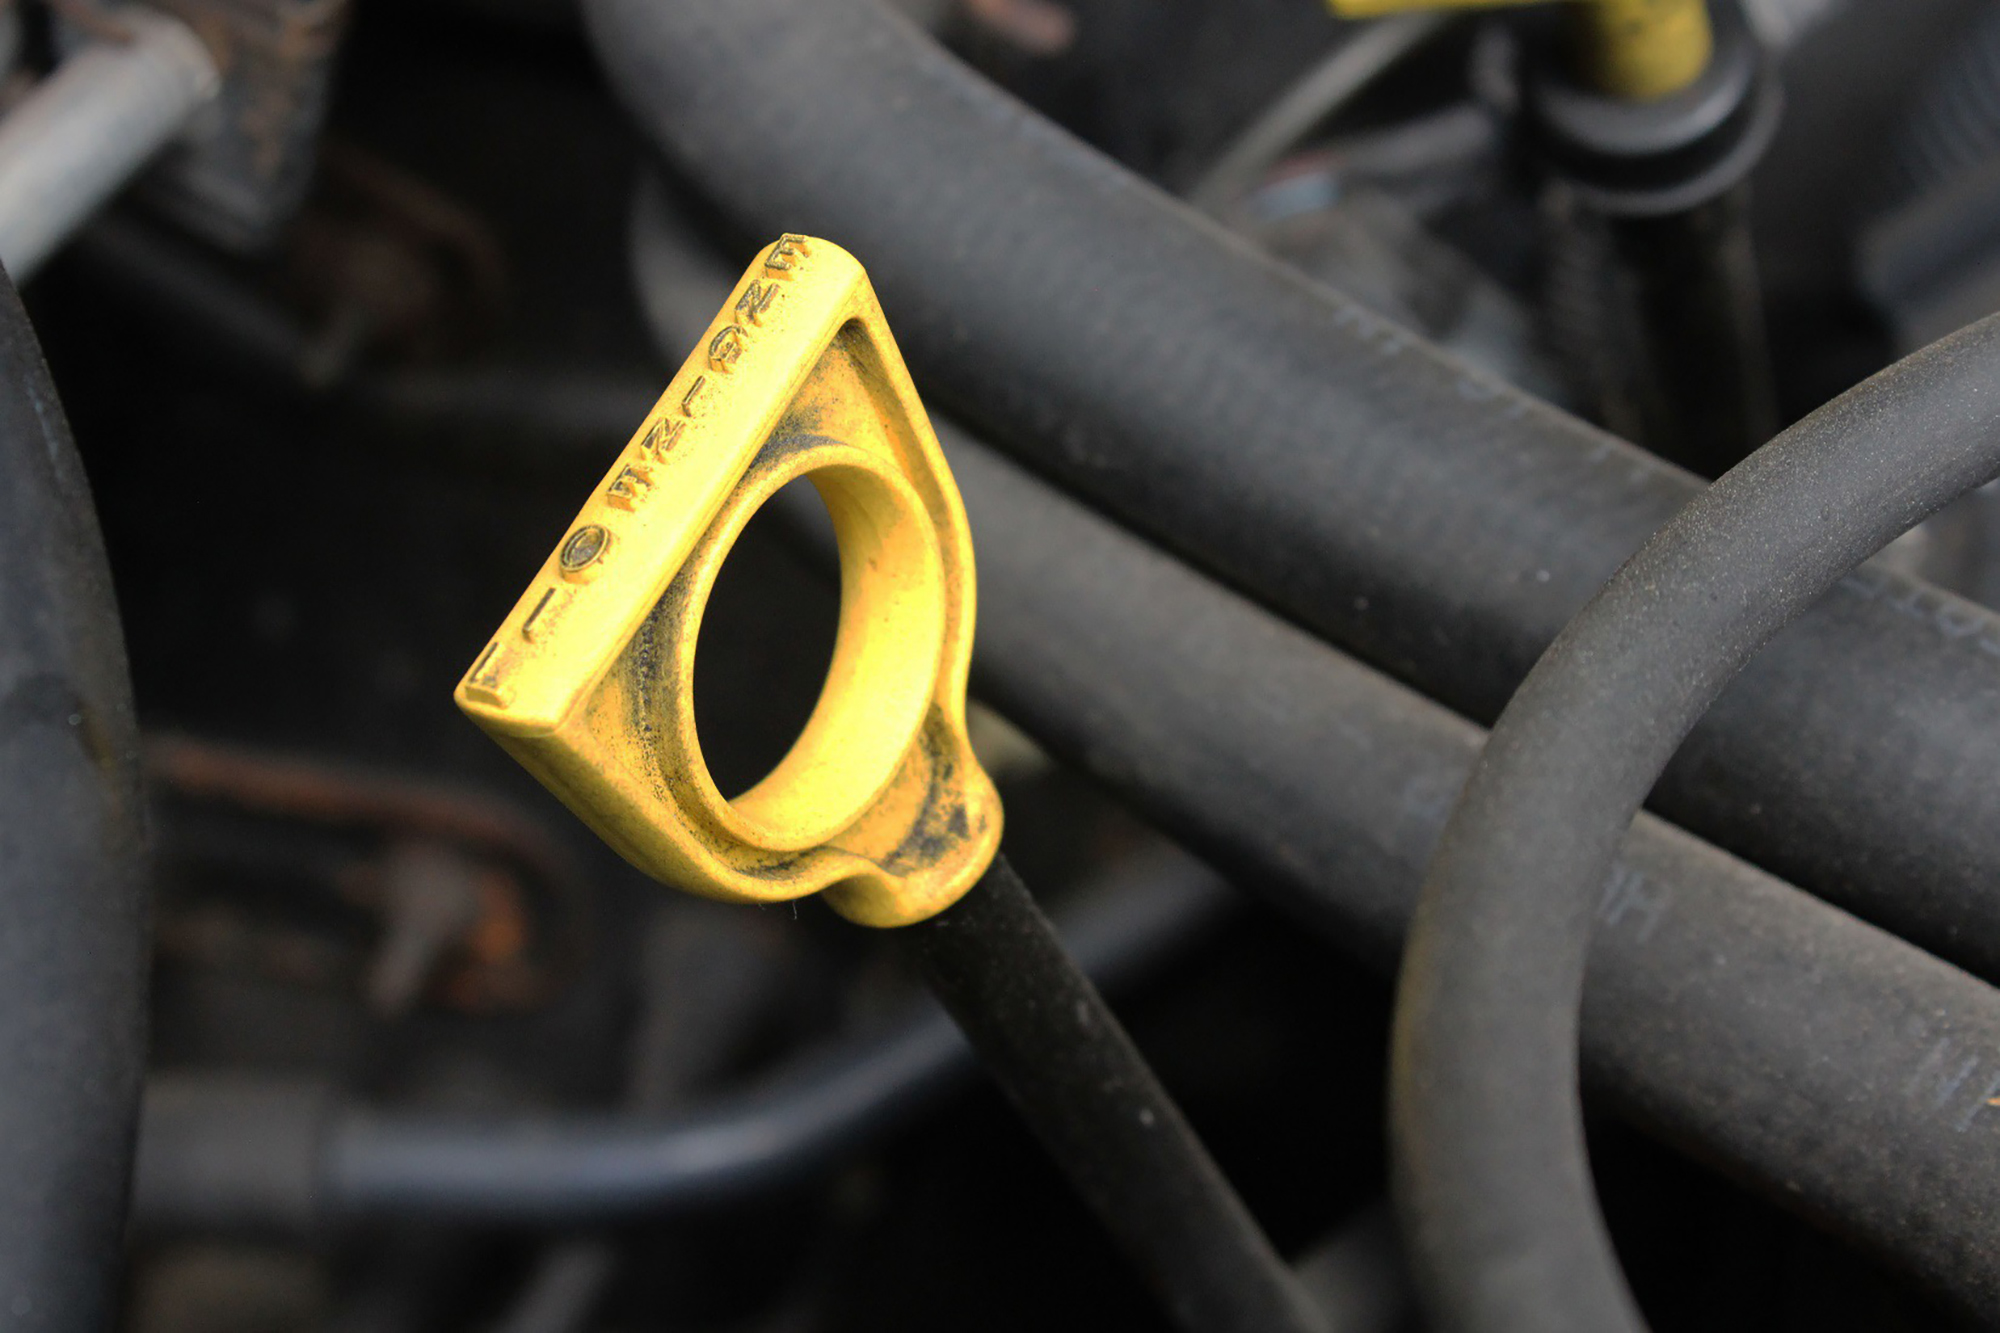
When you’ve tightened everything and cleaned up, make sure to run your engine for a few minutes and then turn off. After about five minutes, check your oil level to ensure you didn’t over or underfill.
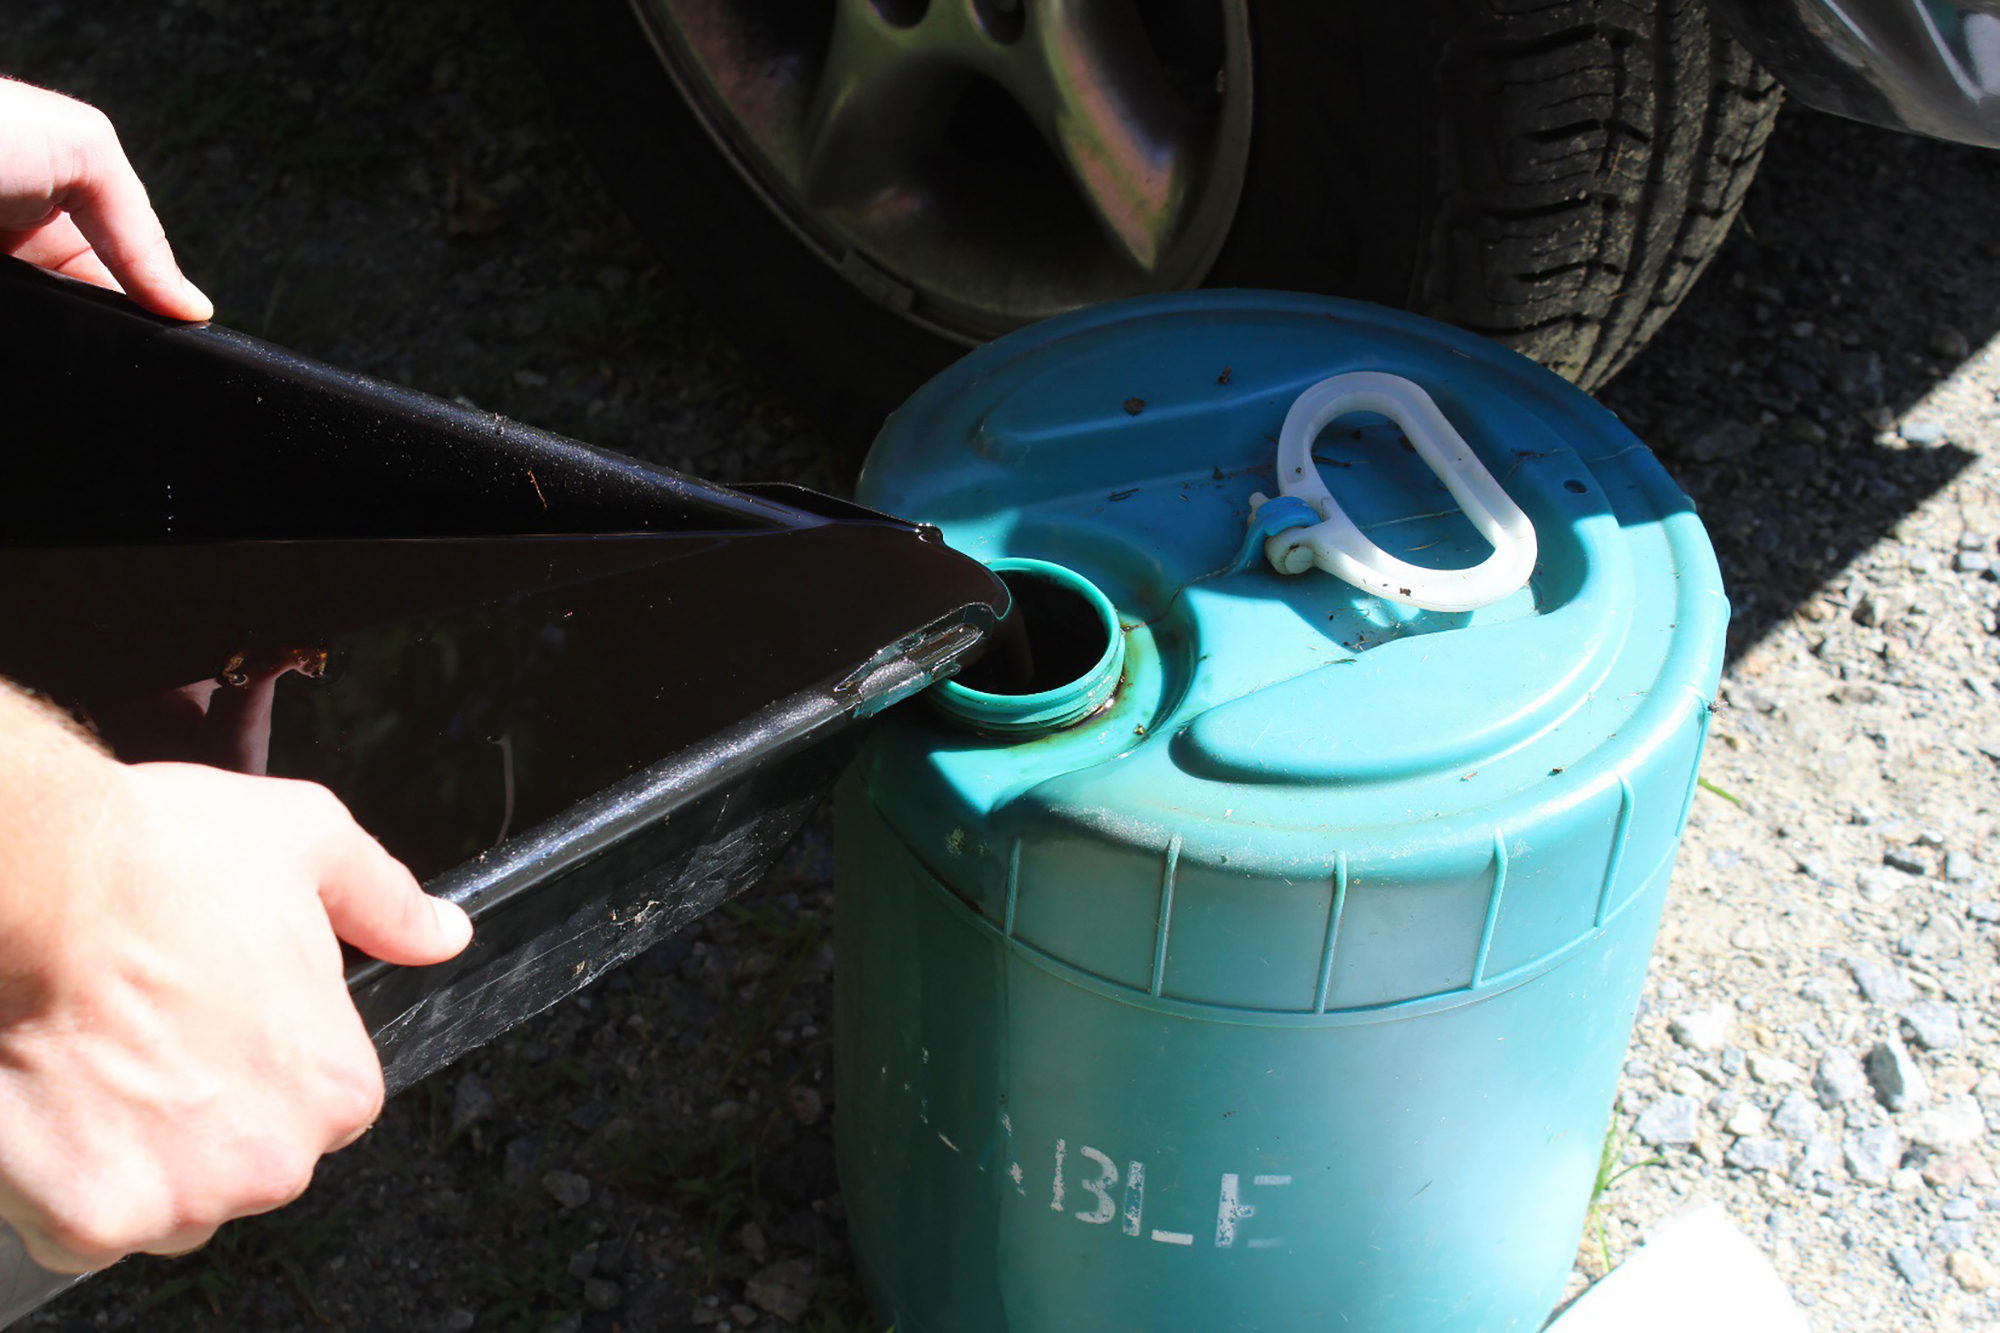
If everything looks correct, finish off the oil change by emptying your oil drain pan — don’t just leave it sitting around. You can use empty oil jugs, old milk cartons, or you can pick up a larger jug from your local hardware store. You can then dispose of used engine oil at most recycling centers or auto parts stores.
That’s all it takes to change the oil on your XJ. It’s a quick and simple job that, if done personally, will save you money and provide peace of mind as you can make sure everything is done right. It also allows you the opportunity to add quality engine oil and filters instead of whatever bulk supplies your local auto shop uses.
Cherokee XJ’s are old vehicles now and mine, the model's final production year, even qualifies for historic tags in most states. In order to keep these Jeeps running on the road and trail, it’s up to us to make sure they are properly serviced. Routinely changing your oil is a crucial part of that process.
Now go out there and get your hands dirty.
Related Articles:
How Do I Air Down My Jeep's Tires?


