by Sean McComsey
Quadratec Channel Correspondent
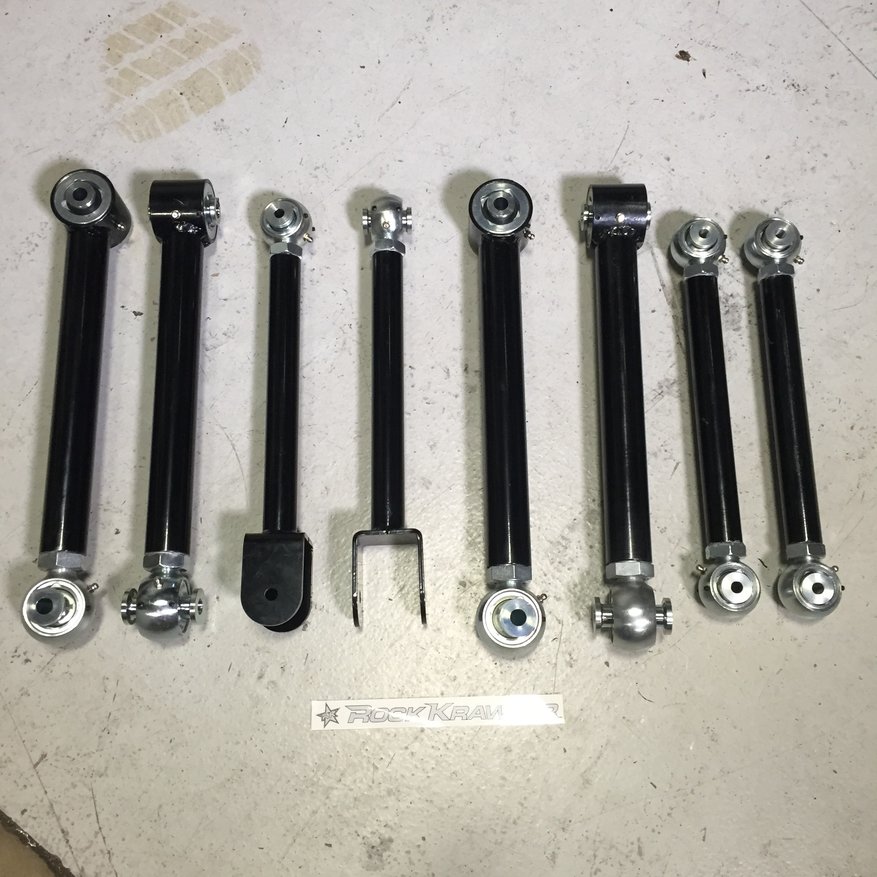
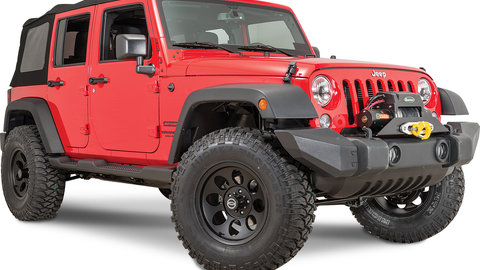
Aftermarket control arms are a great upgrade if you lift your Jeep and plan to take it off road. These larger control arms are much stronger than the factory ones and if you get adjustable arms you can set you caster or pinion angle where it needs to be. For this install we went with Rock Krawlers upper and lower, front and rear control arms. The quality on these arms is phenomenal and the adjustable sides feature a rebuildable spherical joint. Made from solid alloy steel they come with an Abuse Proof Lifetime warranty.
First we got our Jeep up on the lift and took off the front wheels. We found it easiest to do one control arm at a time and we started with the front lower arms first. We put a jack stand for auto lifts under the axle to support the axle and allow minimal movement once the arms are removed. Use a 21mm socket and wrench to remove the two bolts holding in the lower control arm. One bolt at the bottom and one at the top.
Once the stock control arm was out we got our new lower arms and made them the exact same length.
Since this Jeep has a 2.5 inch lift the only arms we will make longer are the rear uppers which ill explain later. With the lower control arms the correct length we went ahead and installed the new one. Installation is just the opposite of the removal.
Repeat the same procedure for the opposite side.
Now for the front uppers, which is actually a little more difficult. To make the removal of the uppers easier we found removal of the bottom track bar bolt, bottom shock bolts and coil springs allows the process to go much faster. The bottom shock bolts are 13mm and the bottom track bar bolt is either a torx or a hex bolt.
Once those are out you can work the front springs out.
Now to remove the upper control arms, again one side at a time. You will use a15mm socket to remove both the bolts holding in the upper arms.
Once the first upper arm is out we again made the uppers the same length as the stock ones. Install the new upper arm and repeat on the other side.
With the new upper arms in reinstall the springs, shocks and bottom bolt of the track bar. Now on to the rear.
The rear install is very similar to the front. With the Jeep in the air we again used a jack stand for auto lifts to support the axle. We started with the rear bottom control arms. There are brackets on the stock control arms holding on the e-bake line, remove them first with a 13mm socket.
Now you can remove a bottom control arm held in by 2 bolts with a 21mm socket.
After the control arm was out we made both the new lower arms the same length and installed the new ones. Repeat same procedure for the other side.
Next were the rear upper control arms and setting our rear pinion angle. The same as all the other arms, 2 bolts holding in the arms and the uppers can be removed with a 15mm socket.
However, this time we removed both arms and lowered the Jeep off the lift. With the Jeep sitting at on the ground at ride height we can now set our pinion angle.
The upper arms need to be lengthened slightly in order to rotate the rear axle pinion up. Since my Wrangler is equipt with a CV driveshaft and has coil springs you want the angle of the driveshaft to be the exact same angle as the axle yoke. Earlier model Jeeps with leaf springs you will actually want to set the pinion several degrees below the driveshaft to accommodate axle wrap that causes the axle to lift upwards when power is applies. Some people can eyeball the correct angles, if not use a angle finder. With the pinion angle correct make the upper arms the right length to hold that angle then your good to install them.
Double check to make sure any bolts removed are torqued to the correct specs for your year Wrangler and grease any fittings necessary. Once that is all done youre ready to hit the traill, enjoy!


